
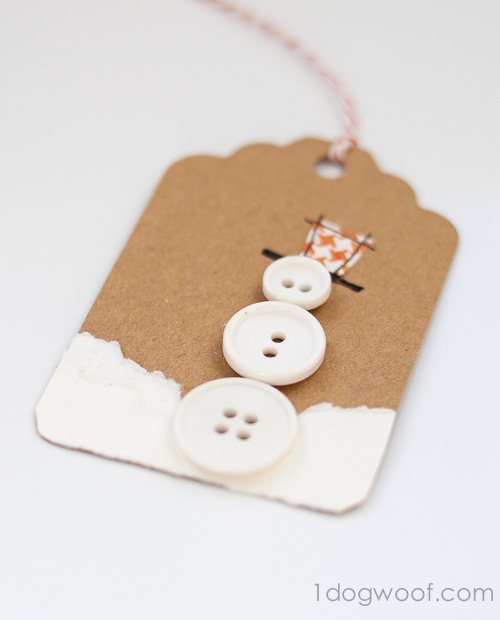
What day are we on now? Day 6? Alright! Half way through! Here’s my Button Snowman Gift Tag.
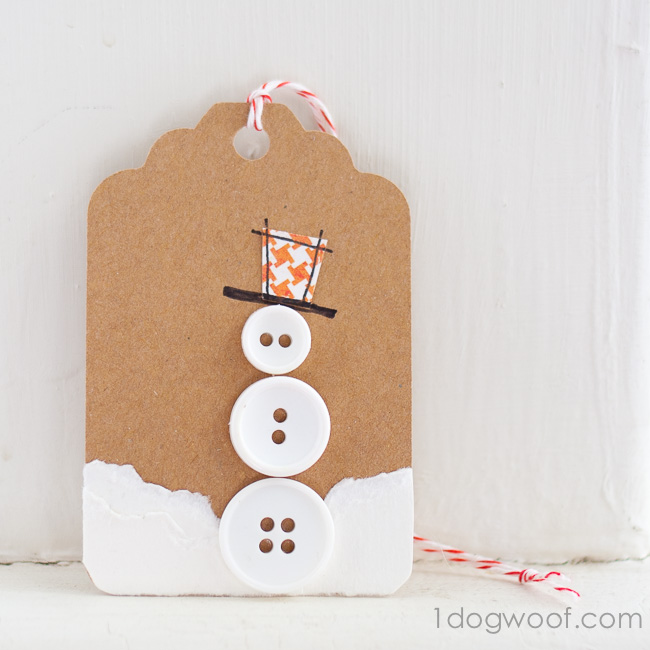
Ok, I think this one today is my favorite gift tag of them all. I dunno, maybe it’s tied for another one coming up next week. You know what I love? The ripped paper. Yup, saw the idea on Pinterest, (where else right?) and then I crossed my fingers and hoped I had some thick textured paper hiding somewhere in my craft room. I really didn’t want to go out to the store just to buy paper just to go home and rip it up! And voila! I had some thick homemade-ish paper left over from my wedding – yay for hoarding!
Supplies
3 white buttons – small, medium and large
thick textured white/off-white paper
black pen
scrapbook paper
super glue and craft glue
Building the Snowman
1. Rip the white textured paper to make the “snow”. I found that the homemade style paper rips well and gives that fluffy look on the edges. You don’t want it to rip cleanly in this case. Rip 2 “hills” and layer them for a more dimensional look.
2. Glue the buttons on to build the snowman. Use super glue. See why here.
3. Cut out a small rectangle from the scrapbook paper to make the hat, and outline it with the black marker.
4. Dance around and sing Frosty the Snowman!
More Gift Tag Ideas!
Day 1 | Day 2 | Day 3 | Day 4 | Day 5 | Day 6 | Day 7 | Day 8 | Day 9 | Day 10 | Day 11 | Day 12


CUTE!
What a cute series this is! Just pinned this one. Great job!! 🙂
Thanks for the pin, Diana!
Love all of your tag ideas!! Thanks for sharing with us at the Monday Funday party this week 🙂
I love the Christmas tags. But I was wondering what you used for the tag itself. Yesterday I sW one that you printed in your printer. And today I love the tags that are brown color. Hope someone can help me. I want to make some of them.
Thank U