
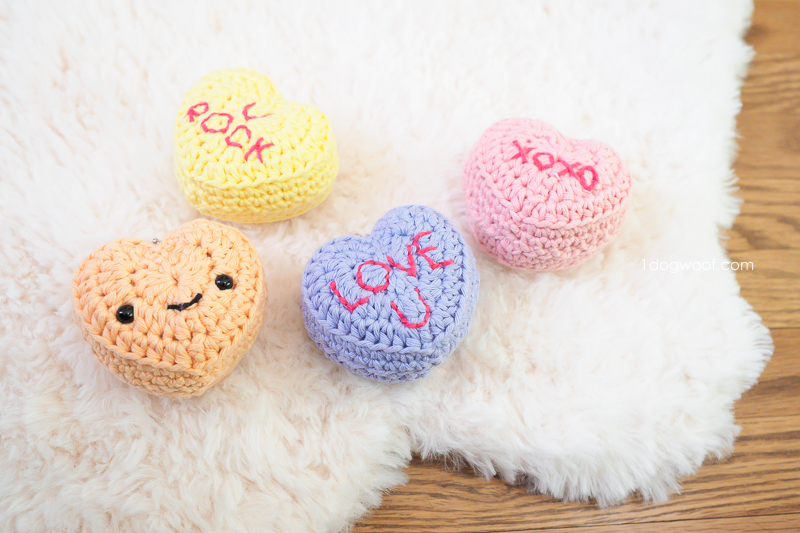
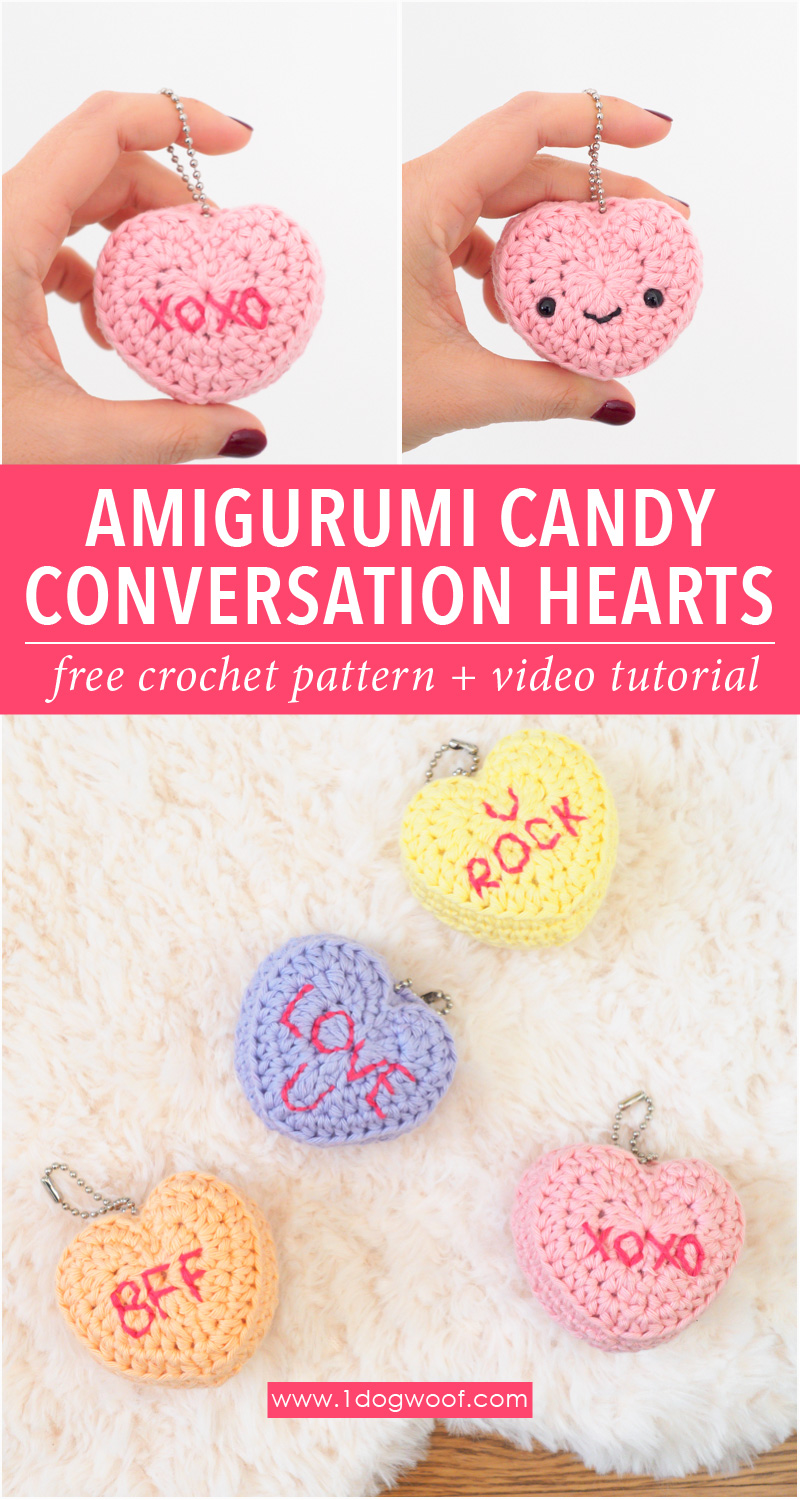
One of my design goals for 2019 is to create a new amigurumi design for each month of the year to add to the 2018 Amigurumi Advent series. These small, relatively simple designs are fun to make and are an easy way to enjoy a pop of color. Plus, all of them make great keychains, bag charms or small favors for children’s classrooms. January’s design is looking ahead to Valentine’s Day with these Candy Conversation Hearts Keychains.
Making a conversation heart keychain means you’ll learn how to make a heart applique as well, since the construction of the amigurumi is to stitch 2 heart appliques together to create a 3-dimensional object. Of course, this heart applique may be slightly different the others you see online, since this one needs to be tightly worked so that stuffing can’t come out from between the stitches.

The hardest part about this project is the embroidery of the words, which is the essence of the conversation heart. If you are skilled at embroidery, maybe this isn’t as much of a problem for you, but if you’ve had trouble embroidering on a smile on other amigurumi, embroidering the words adds an extra challenge. I found that the best way to get through this challenge is to go slow, treat yourself gently and don’t worry if it doesn’t look perfect. Even real conversation hearts often have their letters crooked or smudged. Here’s a few more tips on adding your letters:
- Stick to short and simple phrases, preferably with letters using straight lines.
- Use yarn that is approximately half as thick (in plys) as the yarn you used for the heart itself. Or choose a brightly colored embroidery thread.
- Choose a thin needle with a sharp point that can accommodate the yarn you use.
- Work your stitches into the middle of the crochet stitches and not into the spaces in between stitches. This will hold each embroidery stitch better.
- While you can work long straight straight stitches for straight letter edges, I find it’s neater to work short stitches, whether for straight lines or curves, to create a more consistent look.
- Use the center of the heart as a guide. Four letter words should have 2 letters on either side of the center.
There’s no perfect way to embroider the letters on, as it’s not the same as sewing onto a piece of cloth tightened in a hoop, or even into an even field of crochet stitches. Remember that you’re working into an uneven surface, so it might be helpful to hold the heart as taut as possible when sewing the letters on. One last tip – *embroider the letters before stuffing the heart. You’ll want to be able to see the back of your stitches.
Once you get through the embroidery, the rest is like any other amigurumi. Attach your safety eyes in the lower half of the heart, and sew on a quick smile in between and slightly below the eyes. Attaching eyes on this design is similar to the Peppermint Candy amigurumi or the Camera amigurumi.
Below is a step by step tutorial to help you with making your own candy conversation hearts! If you find the video helpful, I’d love for you to click on over to YouTube and subscribe to my channel for more project tutorials.
Supplies
- MC: Paintbox Cotton Aran in any color (preferably pastels)
- F/3.75mm crochet hook
- Cluster fiberfill
- 6mm safety eyes
- scissors
- embroidery thread or lightweight yarn in Black
- embroidery thread of lightweight yarn in bright pink
- tapestry needles in different sizes
- ball chains
Abbreviations
- st(s) – stitch(es)
- sl st – slip stitch
- sk – skip
- ch – chain stitch
- sc – single crochet
- hdc – half double crochet
- hdc inc – increase: work 2 hdc in same st
- BLO – back loop only
Pattern Notes
- Rounds in heart are worked with a seam and joined with a regular join.
- Eyes are placed approximately 1.0-1.25 inches apart.
- The 2 sides of the heart are joined together using a mattress stitch.
Conversation Heart Instructions
Round 1: Start with a magic circle. Ch 2 (does not count as st). Work the following into the magic circle: 3 hdc, 3 dc, ch 2, sl st into side of dc, sl st in center of magic circle, ch 3, 3 dc, 3 hdc. Join to first hdc with sl st. (14)
Round 2: Ch 2 (does not count as st). Work 2 hdc in same st as join. Work 1 hdc in each of next 2 sts, 2 hdc in each of next 2 sts, 3 hdc in next st. Work 2 sc in first ch from previous round, ch 1, sk 2, sl st in center of magic circle. Ch 1, sk 2, work 2 sc in last ch, 3 hdc in next st. Work 2 hdc in each of next 2 sts, 1 hdc in each of next 2 sts, 2 hdc in last st. Join to first hdc with sl st. (29)
Round 3: Ch 2 (does not count as st). Work 2 hdc in same st as join. Work 1 hdc in each of next 5 sts, [2 hdc, 1 hdc] 3x. Work 1 sc, sk 1 (the ch st), sl st in next st (should be the center sl st from previous round). Sk 1, work 1 sc in next st, [1 hdc, 2 hdc] 3x, 1 hdc in each of next 5 sts, 2 hdc in last st. Join to first hdc with sl st. (35)
Round 4: Ch 1. Work 1 sc in BLO of each st around. Join to first sc with sl st. (NOTE: At the top of the heart, skip the stitch right after the center sl st, and then work 1 extra sc in the join st to keep the stitch count correct.) (35)
Round 5: Ch 1. Work 1 sc in each st around. Join to first sc with sl st. (35)
- Fasten off and weave in all ends, making sure to secure the magic circle.
- Repeat Rounds 1-5 to make a 2nd heart. Leave a long tail at the end of the 2nd heart for sewing the two sides together.
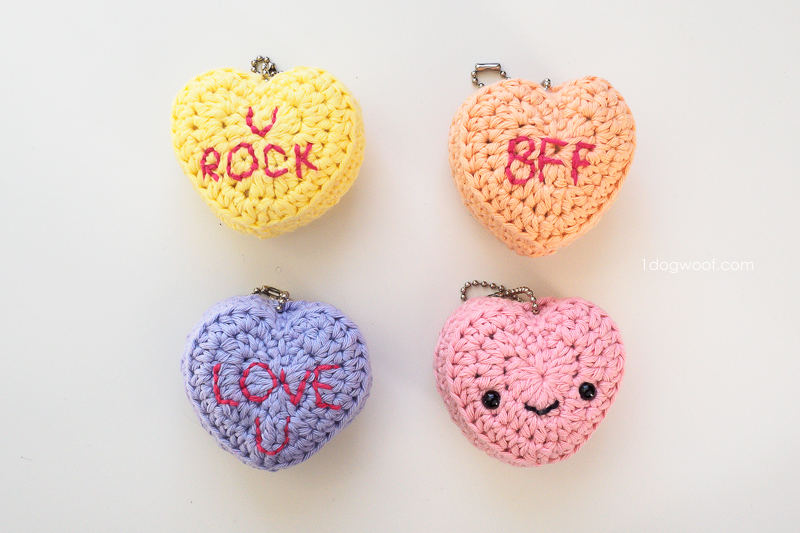
- On the first heart, embroider a short conversation heart saying. Examples include “U ROCK”, “LOVE U”, “BFF”, and “XOXO”.
- On the second heart, attach safety eyes and embroider a small smile.
- Use a stitch marker to join the 2 hearts together at the top center stitch. Line up the stitches back to where the long tail is at the bottom of the heart. Use the long tail to mattress stitch the two sides of the heart together. When you reach the top 3 stitches of the heart, skip the center stitch on both sides and pull tight to create a small divot at the top of the heart. Continue with the mattress stitch down the other side of the heart, stopping to stuff the heart. Stuff lightly to retain shape. Use mattress stitch to close up the amigurumi, fasten off and weave in ends.
- Use a large tapestry needle to open up a small hole at the top of the heart, and feed in a ball chain for the keychain.
How many of these candy hearts will you make and what will you use them for? Share your creations with me on Instagram with hashtag #convoheartami and tag me @1dogwoof in your post. You can also join my Facebook group where you’ll find hundreds of other amigurumi lovers with which to share your work and ask for help! Have fun!


Thank you Candy !
You know NECCO isn’t doing the candy ones this year right? This is kwel
My sister was just bemoaning the lack of conversation hearts this year. I’ll have to make one for her thanks to you. Also, I have been using your ribbed beanie pattern to make hats for folks in need of that extra bit of warmth. They are well received and I can’t thank you enough for sharing your creativity so freely. All the best to you and yours!
This is a great pattern!
I’m so sad there won’t be any conversational hearts any more. It just doesn’t seem like Valentines day without them ????
Great tutorial, very cute hearts!! Thank you!!
Hello. Love ur work! Is it ok to sell the finifsh keychain? Thanks
for the keychains…to protect the wool from wear i have begun using a tiny jewelry sized split ring (not a jump ring) added like a bead where the keychain is going to be attached. the keychain moves more smoothly and does not tear at the yarn.