
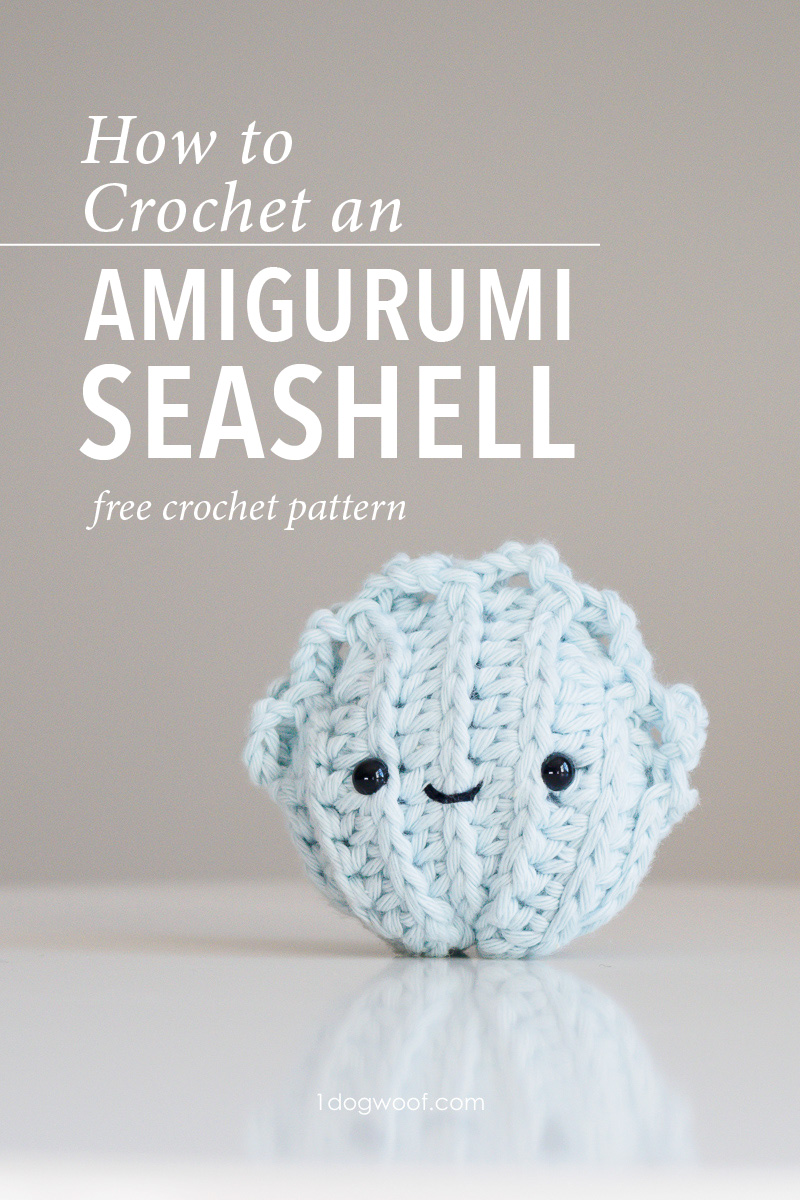
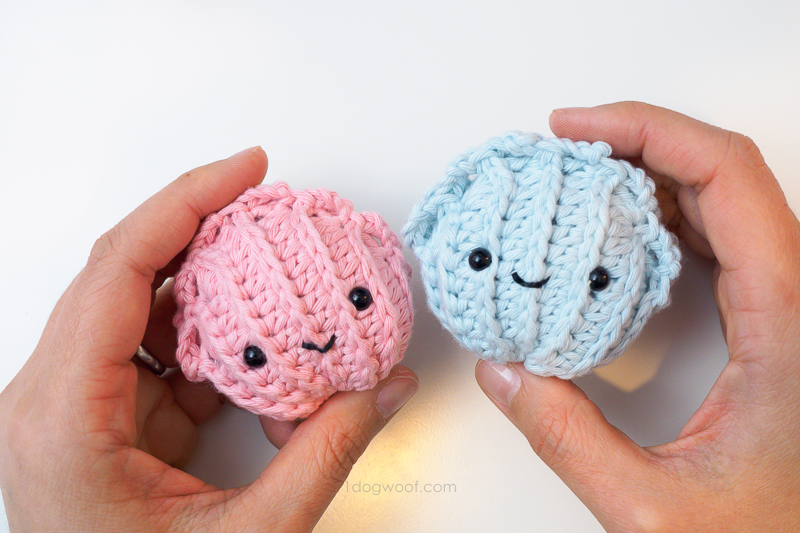
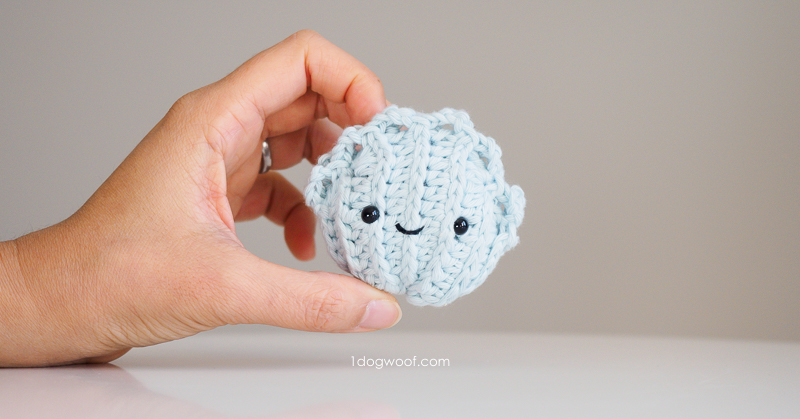
I don’t know why I decided to make an amigurumi seashell for a winter/Christmas advent calendar. Maybe I was pining for that sunshiny California weather, or was just feeling random. Either way, it’s a little something different, both in its theme and in its construction. I’ll take you through each step below!
——————————————
Purchase the PDF from Ravelry or Add to your queue
——————————————
This seashell amigurumi is not built in rounds like all the other ones so far in the Amigurumi Advent Calendar. Instead, it’s worked in rows, like a book, then folded in half and scrunched together. Think of it another way, it’s like my ribbed beanie, where you work everything flat, then seam it into a tube, and pull one end of the tube closed. Unlike the beanie however, we’re closing up the other end as well so we can add eyes and stuff it per a regular amigurumi.
Working the rows themselves isn’t too complicated; it’s basically a ribbed stitch using half double crochets and slip stitches. You work the rows to create both sides of the shell, flat.
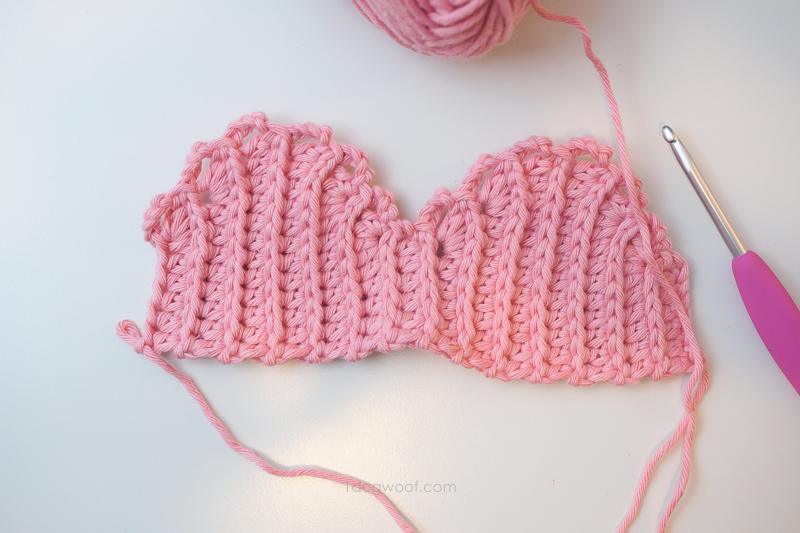
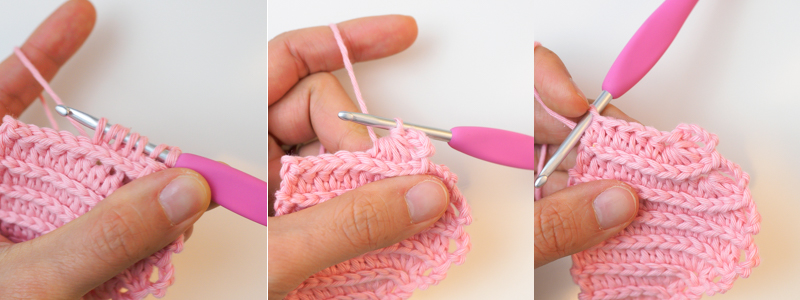
Then, fold the sides together, right side facing out, and join the last row of stitches to the first row of stitches using a row of slip stitches. I recommend working the slip stitches through the back loops of the last row so the slip stitches aren’t too bulky, but whatever you need to do to seam up that side will work.
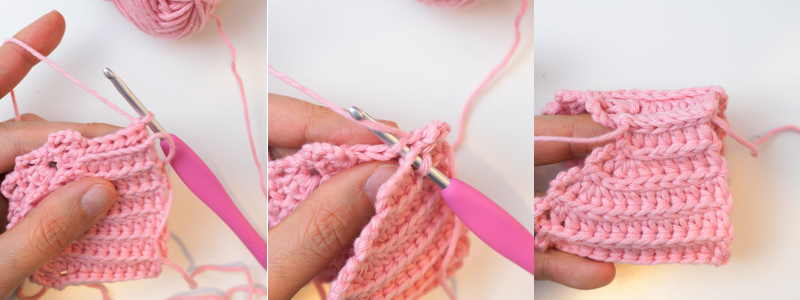
Once the side is seamed, you have a shell shaped tube, with two long tails on either end.
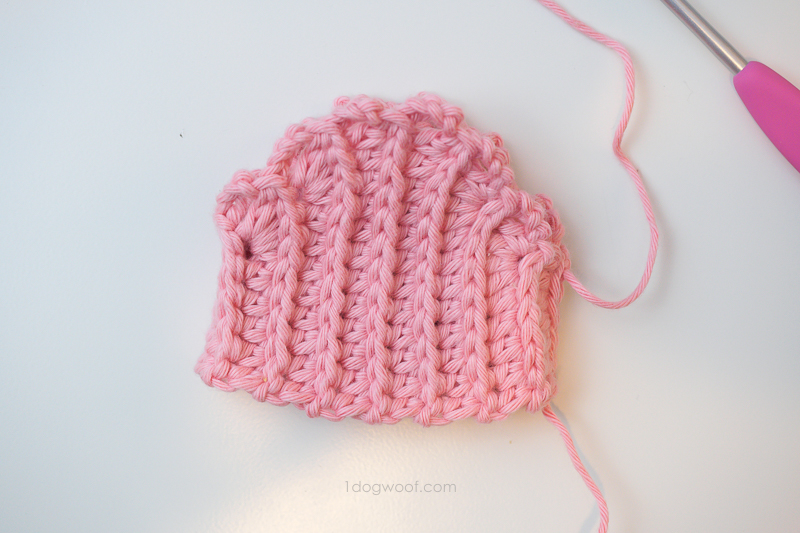
The beginning tail is woven whip-stitch-style along the entire bottom of the shell, then pulled tight. The hole doesn’t close completely and it’s more of an oval because there’s too many stitches there, but that’s ok. We like the oval shape, and you can use the rest of the tail to whip stitch the hole closed. Make sure to tie a knot with the tail to secure it and weave it in on the wrong side of the shell.
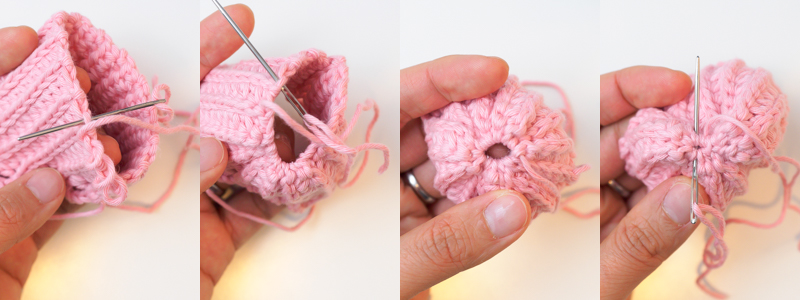
Now that you’ve got one end of the tube closed, you can attach the safety eyes and add the mouth. There’s no exact place for the face, except to follow the general rule of having it centered and right around or below the equator of the piece.
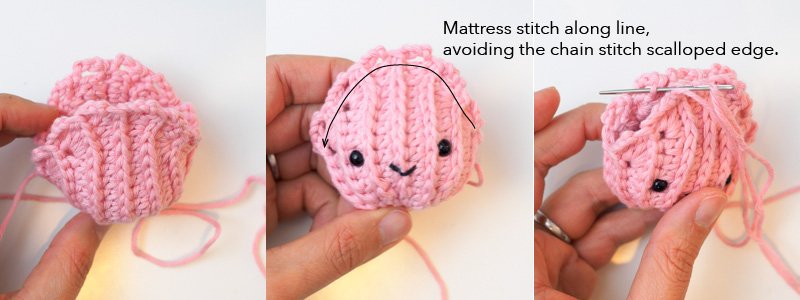
The ending tail is used to sew the top of the shell closed. Since you worked chain stitch scallops at the top of the shell, leave those chain stitches alone, and sew the shell together using the solid half double crochet stitches instead. You can use the mattress stitch here, inserting your hook wherever you can get traction. Just remember to not stitch onto those scallops! When you’re nearing the end, stuff the shell enough so you don’t feel the back of the safety eyes, but don’t overstuff. You used half double crochet stitches here and they’re not as watertight as single crochet stitches, and we don’t want stuffing coming out. Then finish up closing the shell with the mattress stitch and you’re all done!
If you need help with amigurumi in general, like how to sew on a mouth, or working the amigurumi close, you can check out my Amigurumi Flan video tutorial which goes through the basic techniques needed to create an amigurumi in the round.
Make sure to head over to social media and share your seashell with me by tagging @1dogwoof with the hashtag #AmigurumiAdventCAL. I can’t wait to see your seashells on the seashore!
Supplies
- Paintbox Cotton Aran in color of choice
- F/3.75mm crochet hook
- Cluster fiberfill
- 6mm safety eyes
- scissors
- embroidery thread or lightweight yarn in Black
Abbreviations
- st(s) – stitch(es)
- sl st – slip stitch
- ch – chain stitch
- hdc – half double crochet
- hdc4tog – Yarn over, insert hook into 1st st, bring up a loop. Insert hook into 2nd st, bring up a loop. Insert hook into 3rd st, bring up a loop. Yarn over, insert hook into 4th st, bring up a loop. Yarn over, pull through all 7 loops on hook.
Pattern Notes
- Eyes are placed approximately 1.0-1.25 inches apart.
Amigurumi Seashell Instructions
- Worked in rows.
Row 1: Leave a 12 in tail. Ch 8.
Row 2: Starting from the 3rd ch from hook, work 6 hdc. Turn.
Row 3: Ch 1. Work 1 sl st in each st across. Turn. (6)
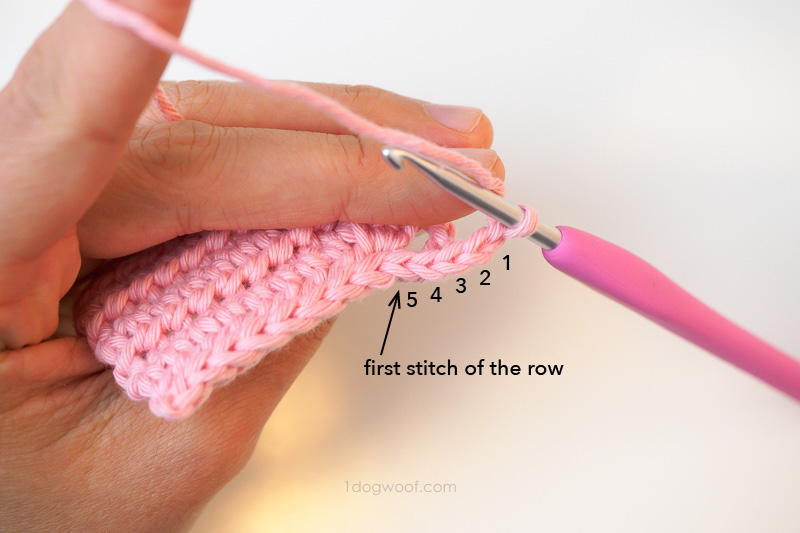
Row 4: Ch 4. Work 4 hdc in first st (The first st in the row is the 5th st from the hook). Work 1 hdc in each of next 5 sts across. Turn. (9)
Row 5: Ch 1. Work 1 sl st in each st across. Turn. (9)
Row 6: Ch 4. Work 4 hdc in first st. Work 1 hdc in each of next 8 sts across. Turn. (12)
Row 7: Ch 1. Work 1 sl st in each st across. Turn. (12)
Row 8: Ch 4. Work 1 hdc in each st across. Turn. (12)
Row 9: Ch 1. Work 1 sl st in each st across. Turn. (12)
Row 10-11: Repeat Rows 8-9.
Row 12: Ch 4. Work 1 hdc4tog. Work 1 hdc in each of next 8 sts across. Turn. (9)
Row 13: Ch 1. Work 1 sl st in each st across. Turn. (9)
Row 14: Ch 4. Work 1 hdc4tog. Work 1 hdc in each of next 5 sts across. Turn. (6)
Row 15: Ch 1. Work 1 sl st in each st across. Turn. (6)
Row 16: Ch 2. Work 1 hdc in each st across. Turn. (6)
Row 17-28: Repeat Rows 3-14.
- Fold shell in half, and sl st sides together.
- Fasten off, leaving a long tail.
- Similar to the amigurumi close, weave the beginning tail along the bottom of the shell, inserting the hook from inside towards the outside. Pull tightly to close as much as possible. Use remaining tail to whip stitch the opening shut. Push needle to the inside of the shell, tie a knot to secure and weave in ends.
- Add eyes centered and slightly below the middle of the shell.
- Sew mouth centered between and slightly below the eyes.
- Use the end tail to sew across the top of the shell, below the chain stitch scallops.
- Stuff the amigurumi before closing all the way. Do not overstuff.
Check out my pattern shops on Ravelry and Etsy where you can purchase printable PDFs of my latest crochet patterns. These PDFs are formatted without comments or ads, and have instructional photos at the bottom for optional printing.
I sometimes include affiliate links in my supply lists. Purchasing from these merchants earns me a small commission with no extra cost to you, and goes towards supporting One Dog Woof.
Please be respectful and do not sell or distribute this pattern in any way, especially as your own. Instead, share the original blog post link! You can sell finished products made from this pattern by giving credit to One Dog Woof as the pattern designer and linking to the blog post. If you have any questions regarding distribution or translation of this pattern, please see my Terms of Use. Thank you for your consideration!


Thanks for sharing this design. Ypur instructions are very clear. I was able to make a neat sea shell =)
Thank you for the darling patterns!
I will go to this place
Can you explain what you mean by
Turn.
Turn means will flip over your work. For example if you just finished on the left hand side of your work, you’ll flip over your piece so where you just ended is now on the right hand side.