
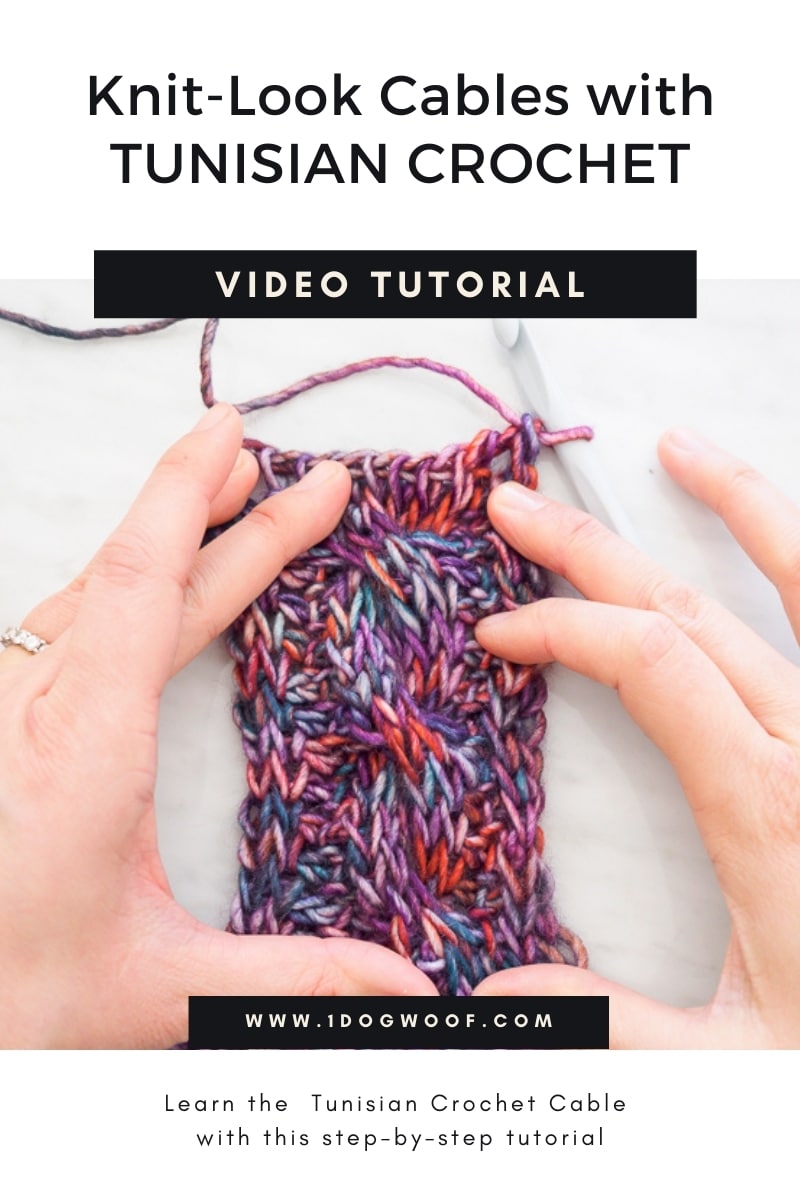
Tunisian Crochet cables are similar to knitted cables, yet, by working them, you get a much better understanding of the mechanics of a cable stitch. And once you have the concept down, no twist or braid will ever intimidate you again.
Supplies
For this tutorial, you’ll need yarn and a matching tunisian crochet hook. You can even use a regular straight crochet hook for this swatch, since the stitches for this cable will fit on the length of the hook. Just be sure to not use an ergonomic crochet hook!
In addition, you’ll need 2 cable holders. I like using thin knitting needles for this exercise rather than specialty cable needles, but either works. If you have neither, a pair of wooden chopsticks can work too!
Tunisian Crochet Cables Summary of Steps
The basics for working a tunisian crochet cable is the same, regardless of the stitch that you use. You can work it with a Tunisian Simple Stitch, or like in this sample, a Tunisian Knit Stitch. I’m listing the basic steps below, or keep scrolling for the video tutorial. You’ll want to start with a bit of a foundation to your swatch before you begin the cable, which you can work with this nifty tunisian crochet hack.
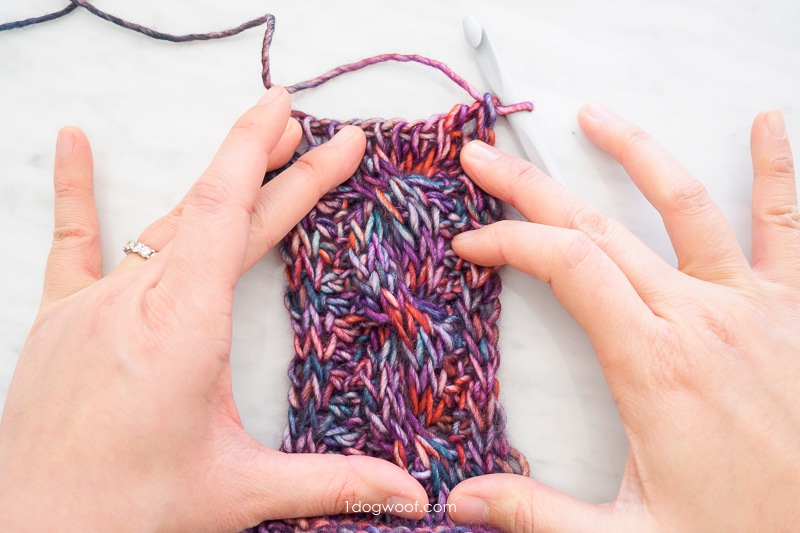
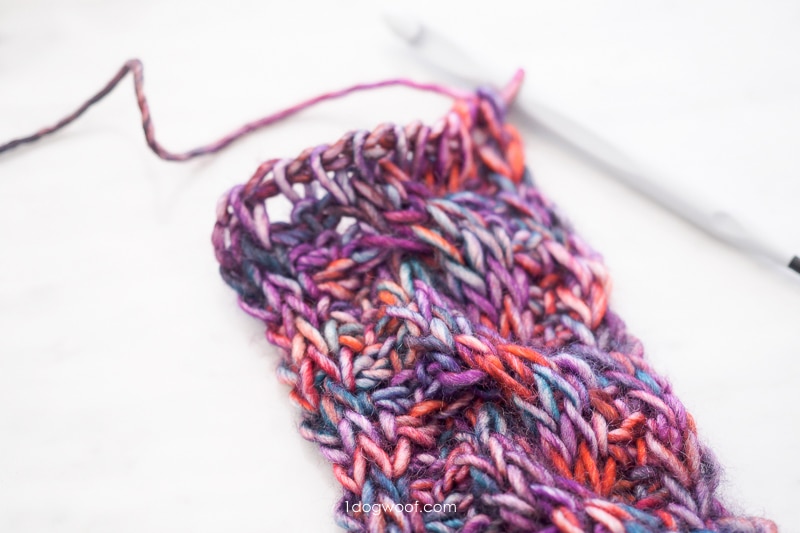
- First, you’ll skip the stitches of the first leg of the cable, and work your forward row into the stitches of the 2nd leg of the cable, then put those worked stitches onto a cable needle.
- Then, go back and work the forward row into the stitches of the 1st leg of the cable, and put those worked stitches onto the other cable needle. Now you have the two legs of the cable on two separate cable needles.
- Twist the cable legs in the direction you want, and put those stitches back onto your tunisian crochet hook.
- Then continue with the rest of the forward row. Your return row is the same as always, although it may be a bit tighter as you work through the twisted stitches.
- On the next forward row, make sure you work into the stitches as determined by the cable twist, and that’s it! You’ve completed a Tunisian Crochet cable!
For the Tunisian Crochet cables video tutorial below, I used WeCrochet Muse Handpainted, a gorgeous hand-dyed, single ply yarn in an array of colors. This particular colorway is called Thrill. In addition, I use a set of Denise Interchangeable Tunisian Crochet hooks, available from Amazon.
I find the cable construction is so much easier to understand when both legs of the cable are on separate cable needles, and you can see how the legs twist to form the cable. Understanding the construction of this cable also helps in understanding more complex cables and braids – it’s all a matter of twisting the cable legs to get the pattern you want!
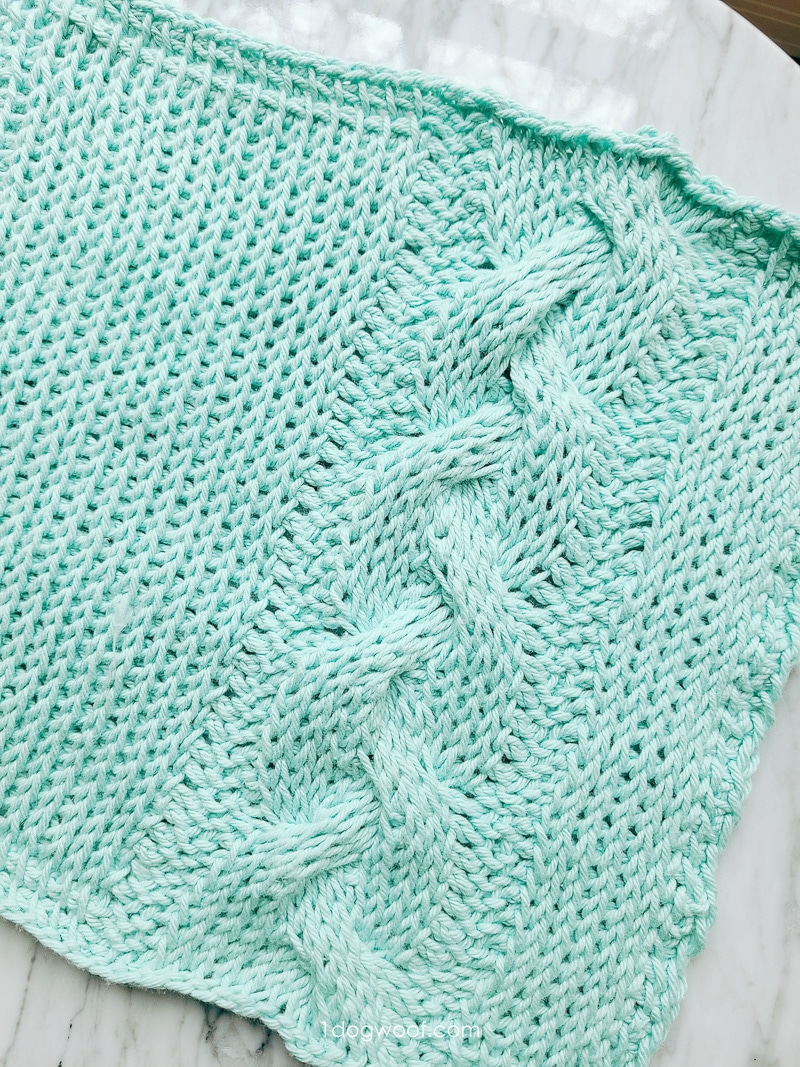
For some practice, and to see how to how a simple twist can turn a cable into a braid, try this easy Tunisian Crochet Braided Cable Square. This design is part of KnitterKnotter’s Tunisian Blanket CAL, and you can head over to her site to see all the other squares to make your own blanket!
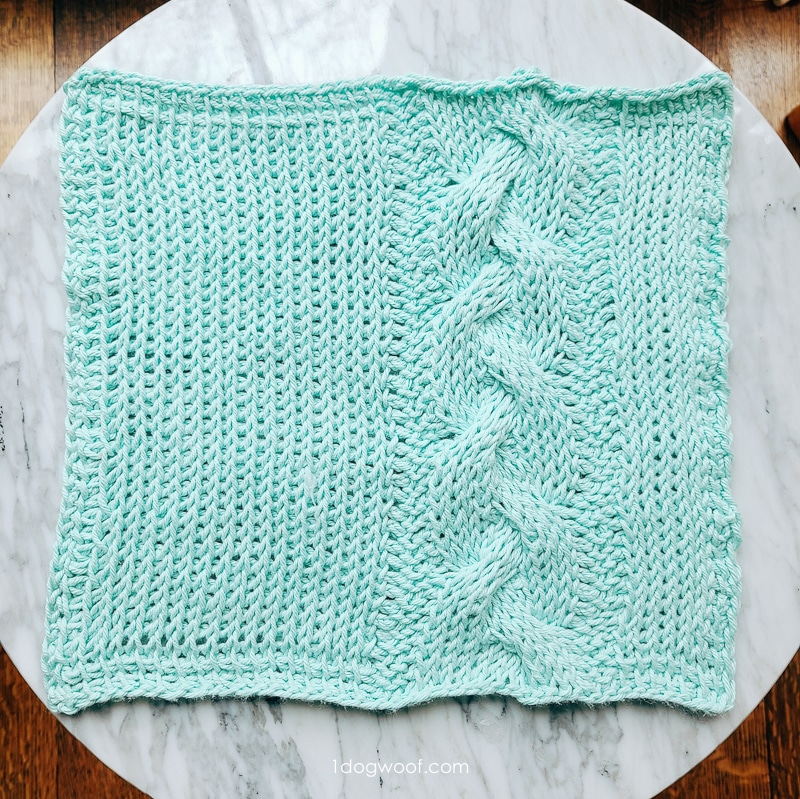
Tunisian Crochet Braided Cable Square
Finished Size: 12” x 12” square, blocked
Yarn: 130 yds of WeCrochet Dishie, worsted weight
Gauge:14 sts x 14 rows of TKS
Needles and Notions
- 8.00mm tunisian crochet hook
- 2 small cable stitch holders
Abbreviations (US terminology)
- lp – loop
- sk – skip
- sl st(s) – slip st(es)
- st(s) – stitch(es)
- TkC8F – sk the next 4 sts, work 4 Tks in the next 4 sts, and put them on the 1st cable holder. Work 4 Tks in the 4 skipped sts, and put them on the 2nd cable holder, to the front of the piece. Sl the 4 sts off the 1st cable holder onto your hook, then sl the 4 sts off the 2nd cable holder onto your hook.
- TkC8B – sk the next 4 sts, work 4 Tks in the next 4 sts, and put them on the 1st cable holder. Work 4 Tks in the 4 skipped sts, and put them on the 2nd cable holder, to the back of the piece. Sl the 4 sts off the 1st cable holder onto your hook, then sl the 4 sts off the 2nd cable holder onto your hook.
- Tks – Tunisian knit stitch
- Tps – Tunisian purl stitch
- Tss – Tunisian simple stitch
Pattern Notes
Instructions below are for forward pass only. All return passes are worked as usual.
Instructions
Cast on 42 sts.
Row 1-2: Work 7 Tss, 2 Tps, 12 Tks, 2 Tps, 17 Tss, drawing up a lp in the last bar.
Row 3: Work 1 Tss, 6 Tks, 2 Tps, 12 Tks, 2 Tps, 17 Tks, drawing up a lp in the last bar.
Row 4: Work 1 Tss, 6 Tks, 2 Tps, TkC8F, 4 Tks, 2 Tps, then work Tss to end of row, drawing up a lp in the last bar.
Rows 5-7: Repeat Row 3.
Row 8: Work 1 Tss, 6 Tks, 2 Tps, 4 Tks, TkC8B, 2 Tps, then work Tss to end of row, drawing up a lp in the last bar.
Rows 9-11: Repeat Row 3.
Repeat Rows 4-11 three more times.
Repeat Rows 4-5.
Repeat Row 1.
Bind-off Row: Repeat Row 1, binding off each st with a sl st.


Is row 8 suppose to be Tks to end of row? Instead of the Tss listed?
Is row 8 suppose to be Tks to end of row? Instead of the Tss listed?
Yes, you should tks to the end of the row. Thank you!