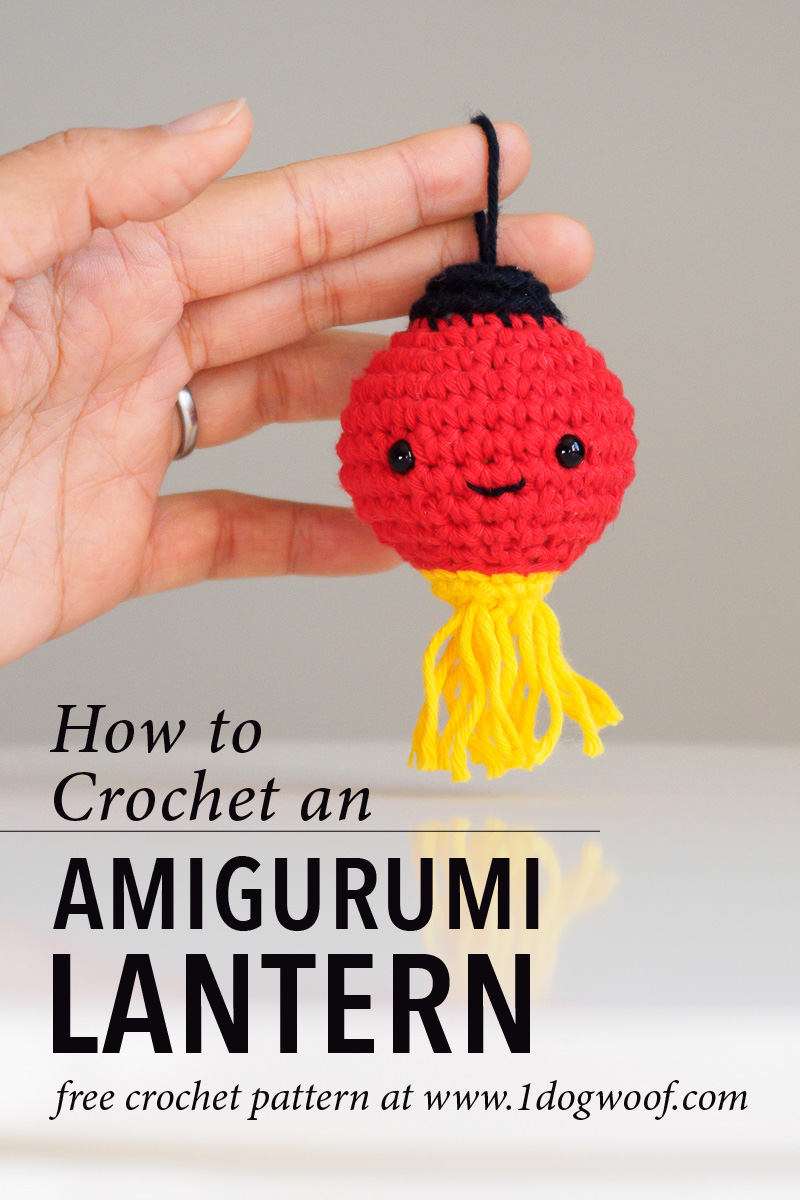
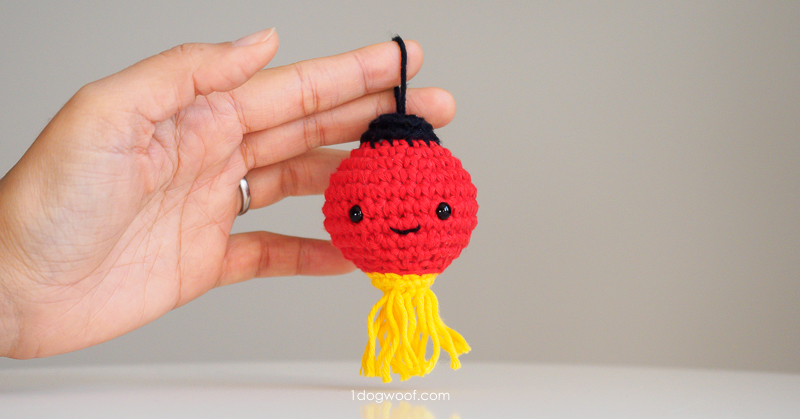
As I thought about what winter objects I wanted to turn into amigurumi, I also thought about all the holidays that different cultures celebrate this time of year. I know Chinese New Year isn’t until February or so, but I wanted to capture that part of my heritage in this advent calendar too, which is why I’m sharing an amigurumi lantern today. It’s my version of a Chinese paper lantern, not the big balls of color I used to string up in the nursery.
——————————————
Purchase the PDF from Ravelry or Add to your queue
——————————————
The construction of the lantern is straight forward. All three colors are worked as one single piece, joined and seamed at each round. You work it top down actually, from the black down to the yellow, but I guess it could’ve been done just as easily the other way around. When you’re done with the body, cut several strands of the yellow and secure them to the bottom of the lantern using a lark’s head knot. Once all the strands are secure, cut them evenly as long or as short as you’d like. And that’s it.
Oh, for the loop at the top. Start with a long beginning tail. Secure your magic circle, and then thread the tail back out through the top of the lantern, hook it over a finger to create the loop and bring it back into the lantern body. Tie a knot to secure the tail again and weave it in. You’re now left with a perfect loop on the outside of the lantern!
If you need any help with any of the techniques used in this amigurumi, my Flan video tutorial is a great place to start.
Supplies
- Paintbox Cotton Aran Buttercup Yellow
- Paintbox Cotton Aran Pure Black
- Paintbox Cotton Aran Rose Red
- F/3.75mm crochet hook
- Cluster fiberfill
- 6mm safety eyes
- scissors
- embroidery thread or lightweight yarn in Black
Abbreviations
- st(s) – stitch(es)
- sl st – slip stitch
- ch – chain stitch
- sc – single crochet
- inc – increase: work 2 sc in same st
- dec – decrease: work 2 sc together
- BLO – back loop only
Pattern Notes
- Rounds in lantern are worked with a seam and joined with a seamless join.
- Eyes are placed approximately 1.0-1.25 inches apart.
- Amigurumi can be closed using this technique.
Amigurumi Lantern Instructions
- Worked in seamed rounds.
- Start with BLACK
Round 1: Start with a 6-8 inch tail. Work 6 sc into a magic circle. Join to first sc with sl st. (6)
Round 2: Ch 1. Work 2 sc into each st around. Join to first sc with sl st. (12)
Round 3: Ch 1. Work 1 sc in BLO of each st around. Join to first sc with sl st. (12)
- Fasten off BLACK and switch to RED.
Round 4: Ch 1. Work 1 sc in BLO of each st around. Join to first sc with sl st. (12)
Round 5: Ch 1. Work [1 sc, inc] 6x around. Join to first sc with sl st. (18)
Round 6: Ch 1. Work [2 sc, inc] 6x around. Join to first sc with sl st. (24)
Round 7: Ch 1. Work [3 sc, inc] 6x around. Join to first sc with sl st. (30)
Round 8-10: Ch 1. Work 1 sc in each st around. Join to first sc with sl st. (30)
Round 11: Ch 1. Work [3 sc, dec] 6x around. Join to first sc with sl st. (24)
Round 12: Ch 1. Work [2 sc, dec] 6x around. Join to first sc with sl st. (18)
- Add eyes between Rounds 9 and 10.
- Sew mouth between Rounds 10 and 11, centered between the eyes.
Round 13: Ch 1. Work [1 sc, dec] 6x around. Join to first sc with sl st. (12)
- Fasten off RED and switch to YELLOW.
- Stuff the amigurumi.
Round 14: Ch 1. Work 1 sc in BLO of each st around. Join to first sc with sl st. (12)
Round 15: Ch 1. Work 1 sc in each st around. Join to first sc with sl st. (12)
- Fasten off, close, and weave in ends. There may be a small hole left as it’s difficult to get a complete amigurumi close with 12 sts, but it should be small enough that no stuffing will leak.
Cut several 4″-5″ pieces of the YELLOW yarn. Tie to the bottom of the lantern using lark’s head knots.
If you enjoyed this pattern and are showing it off to the world, make sure to tag me @1dogwoof with the hashtag #AmigurumiAdventCAL. I can’t wait to see all your creations!
Check out my pattern shops on Ravelry and Etsy where you can purchase printable PDFs of my latest crochet patterns. These PDFs are formatted without comments or ads, and have instructional photos at the bottom for optional printing.
I sometimes include affiliate links in my supply lists. Purchasing from these merchants earns me a small commission with no extra cost to you, and goes towards supporting One Dog Woof.
Please be respectful and do not sell or distribute this pattern in any way, especially as your own. Instead, share the original blog post link! You can sell finished products made from this pattern by giving credit to One Dog Woof as the pattern designer and linking to the blog post. If you have any questions regarding distribution or translation of this pattern, please see my Terms of Use. Thank you for your consideration!



Has Day 12 been released