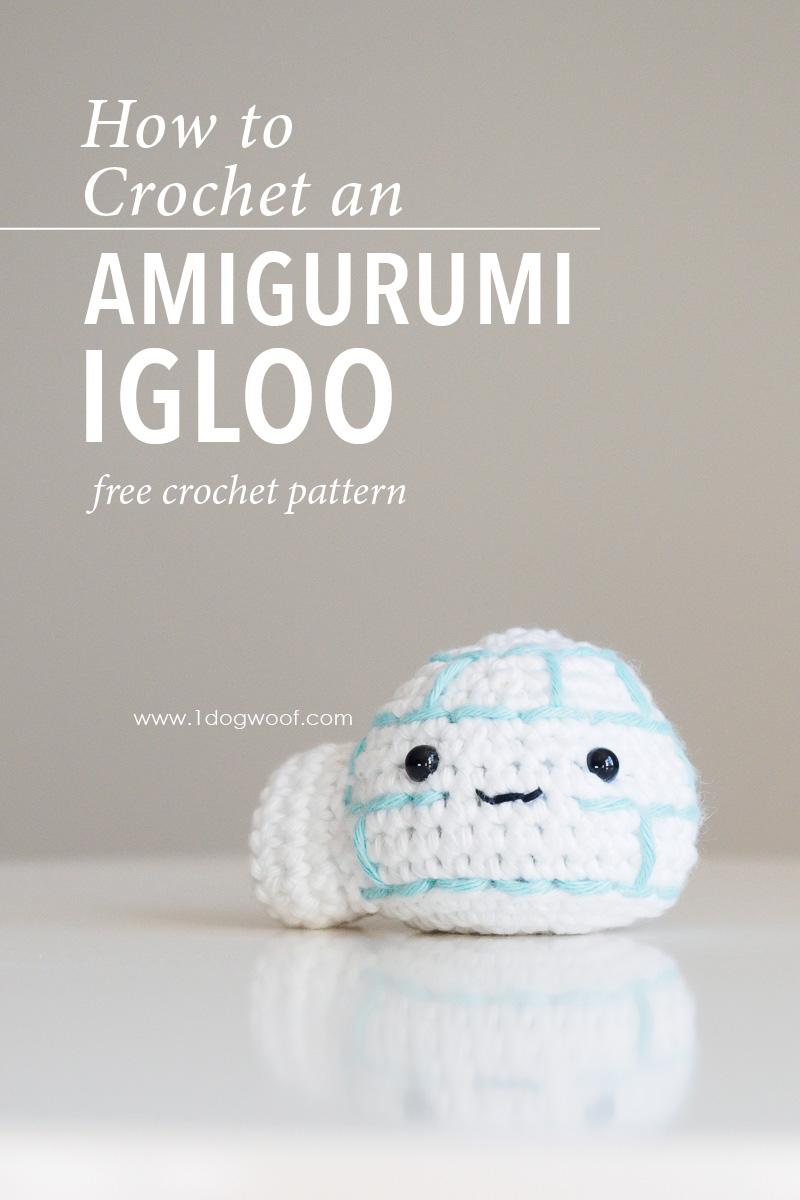
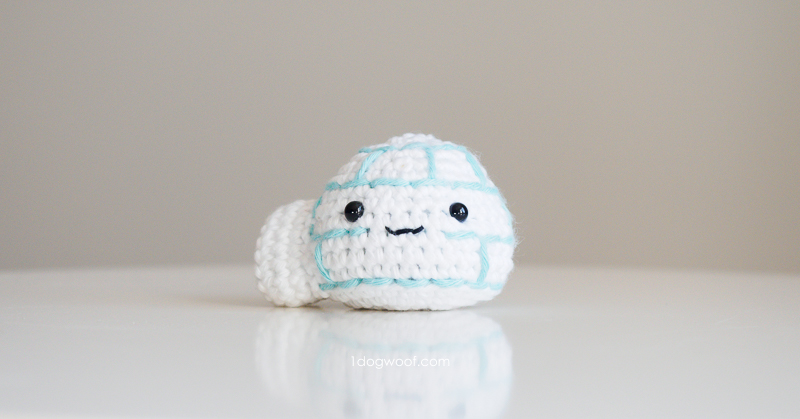
After the last seashell amigurumi pattern, let’s take it back to full winter with this little amigurumi igloo!
——————————————
Purchase the PDF from Ravelry or Add to your queue
——————————————
I know the seashell pattern was a bit more difficult than the other amigurumi designs in the Amigurumi Advent Calendar challenge, but this igloo takes it back to basics with an amigurumi worked in the round. The rounds are joined with a seamless join, which if you’re unfamiliar with this technique, can check out the Amigurumi Flan tutorial to see what a game-changer it is.
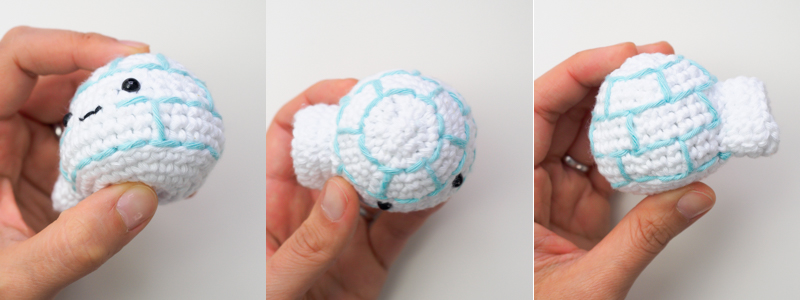
Once you have your little ice ball, face and all, you’ll need to embroider on the ice cube outlines. This is done freehand, and there are no specific rules on how big or small your back stitches should be. I kept the stitches to about 2 single crochet stitches wide and about 3 rows high, and tried to avoid stitching right through the face. But the stitching is where you add your own touch!
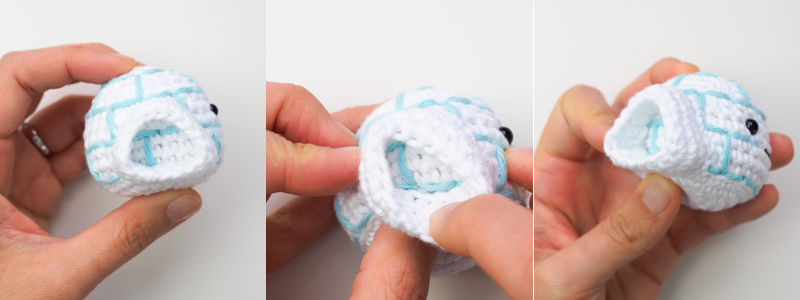
For this design, the door is an open tube that is sewn to the igloo. The other option would have been to make it an enclosed and stuffed doorway, but I chose to keep the door really simple. It is a simple tube that you add onto the igloo AFTER the ice cube embroidery is added, so you don’t have to worry about embroidering the door itself. I chose to sew it to the igloo in a bit of a triangle shape instead of an arch, but you can make it any shape you’d like.
And that’s it! If you have any trouble with this amigurumi, my Amigurumi Flan tutorial will be the most help.
Supplies
- Paintbox Cotton Aran in Paper White
- Paintbox Cotton Aran in Washed Teal
- F/3.75mm crochet hook
- Cluster fiberfill
- 6mm safety eyes
- scissors
- embroidery thread or lightweight yarn in Black
- tapestry needle
Abbreviations
- st(s) – stitch(es)
- sl st – slip stitch
- ch – chain stitch
- sc – single crochet
- inc – increase: work 2 sc in same st
- dec – decrease: work 2 sc together
- BLO – back loop only
Pattern Notes
- Rounds in igloo are worked with a seam and joined with a seamless join.
- Eyes are placed approximately 1.0-1.25 inches apart.
- Amigurumi can be closed using this technique.
Amigurumi Igloo Instructions
- Worked in seamed rounds.
- Worked in WHITE.
Round 1: Work 6 sc into a magic circle. Join to first sc with sl st. (6)
Round 2: Ch 1. Work 2 sc into each st around. Join to first sc with sl st. (12)
Round 3: Ch 1. Work [1 sc, inc] 6x around. Join to first sc with sl st. (18)
Round 4: Ch 1. Work [2 sc, inc] 6x around. Join to first sc with sl st. (24)
Round 5: Ch 1. Work [3 sc, inc] 6x around. Join to first sc with sl st. (30)
Round 6: Ch 1. Work 1 sc in BLO of each st around. Join to first sc with sl st. (30)
Round 7-10: Ch 1. Work 1 sc in each st around. Join to first sc with sl st. (30)
Round 11: Ch 1. Work [3 sc, dec] 6x around. Join to first sc with sl st. (24)
Round 12: Ch 1. Work 1 sc in each st around. Join to first sc with sl st. (24)
- Add eyes between Rounds 9 and 10.
- Sew mouth between Rounds 8 and 9, centered between the eyes.
Round 13: Ch 1. Work [2 sc, dec] 6x around. Join to first sc with sl st. (18)
Round 14: Ch 1. Work 1 sc in each st around. Join to first sc with sl st. (18)
Round 15: Ch 1. Work [1 sc, dec] 6x around. Join to first sc with sl st. (12)
- Stuff the amigurumi.
Round 16: Ch 1. Work 6 dec. Join to first sc with sl st. (6)
- Fasten off, close, and weave in ends.
- Cut a 4 ft length of TEAL.
- Use the TEAL to back-stitch the cube outlines around the outside of the igloo. You can tie a knot when you’re done and tuck the ends into the body of the igloo.
DOOR
- Worked in seamed rounds.
- Worked in WHITE.
Round 1: Ch 18. Being careful not to twist the chains, join to first ch with a sl st. (18)
Round 2-4: Ch 1. Work 1 sc in each st around. Join to first st with sl st. (18)
- Cut a long tail and fasten off.
- Use the long tail to sew the door to the igloo, to the side of the face. You can sew it in a round shape, a triangle shape or a square shape.
- Weave in the beginning tail.
If you enjoyed this pattern and are showing it off to the world, make sure to tag me @1dogwoof with the hashtag #AmigurumiAdventCAL. I can’t wait to see all your creations! You can also head over to the Amigurumi Advent Calendar intro post to see the entire collection!
Check out my pattern shops on Ravelry and Etsy where you can purchase printable PDFs of my latest crochet patterns. These PDFs are formatted without comments or ads, and have instructional photos at the bottom for optional printing.
I sometimes include affiliate links in my supply lists. Purchasing from these merchants earns me a small commission with no extra cost to you, and goes towards supporting One Dog Woof.
Please be respectful and do not sell or distribute this pattern in any way, especially as your own. Instead, share the original blog post link! You can sell finished products made from this pattern by giving credit to One Dog Woof as the pattern designer and linking to the blog post. If you have any questions regarding distribution or translation of this pattern, please see my Terms of Use. Thank you for your consideration!



0 Comments