
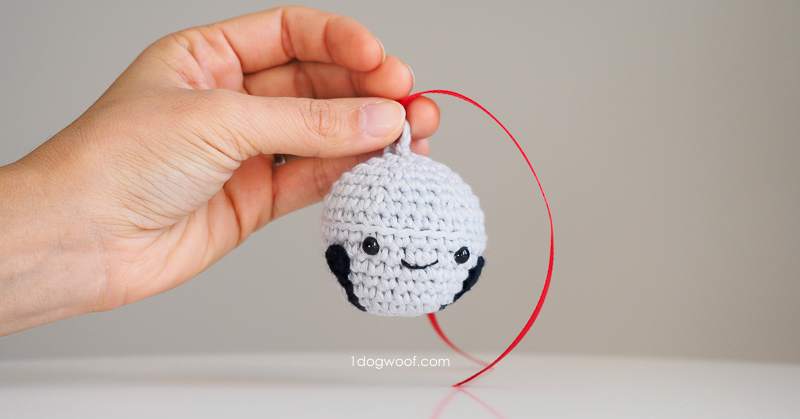
For today’s amigurumi sleigh bell design, I was inspired by the movie The Polar Express and how a simple silver bell can capture all the magic of Christmas. And like the movie, this bell is silent except to those who believe.

——————————————
Purchase the PDF from Ravelry or Add to your queue
——————————————
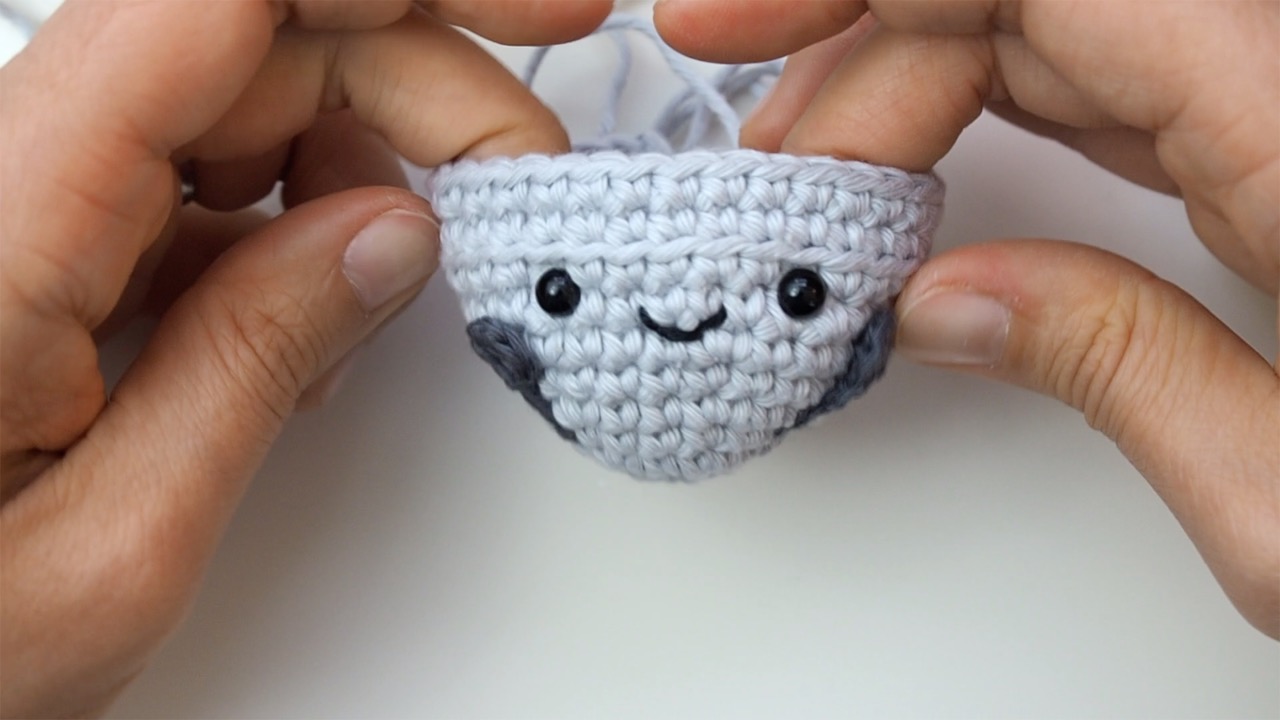
The construction of this bell is super simple, since it’s really just a ball with a single round of stitches worked in the back loop. For the basic techniques, you can take a look at my Amigurumi Flan tutorial where I go over the magic circle, the seamless join and the amigurumi close.
But what makes this ball a bell are slits or holes in the bell, which I denote by crocheting, and calling, them ‘spikes’. I didn’t want to actually crochet holes in the bell, so instead, they are details that are surface crocheted onto the body of the bell. The instructions below may get a little confusing, so here’s a quick video tutorial to show you how I made and attached the ‘spikes’ around the bell.
These spikes need to be added right when you add the face so that you can get into the bell to secure all the ends. Once they and the face are done, then it’s smooth sailing all the way until the end of the amigurumi.
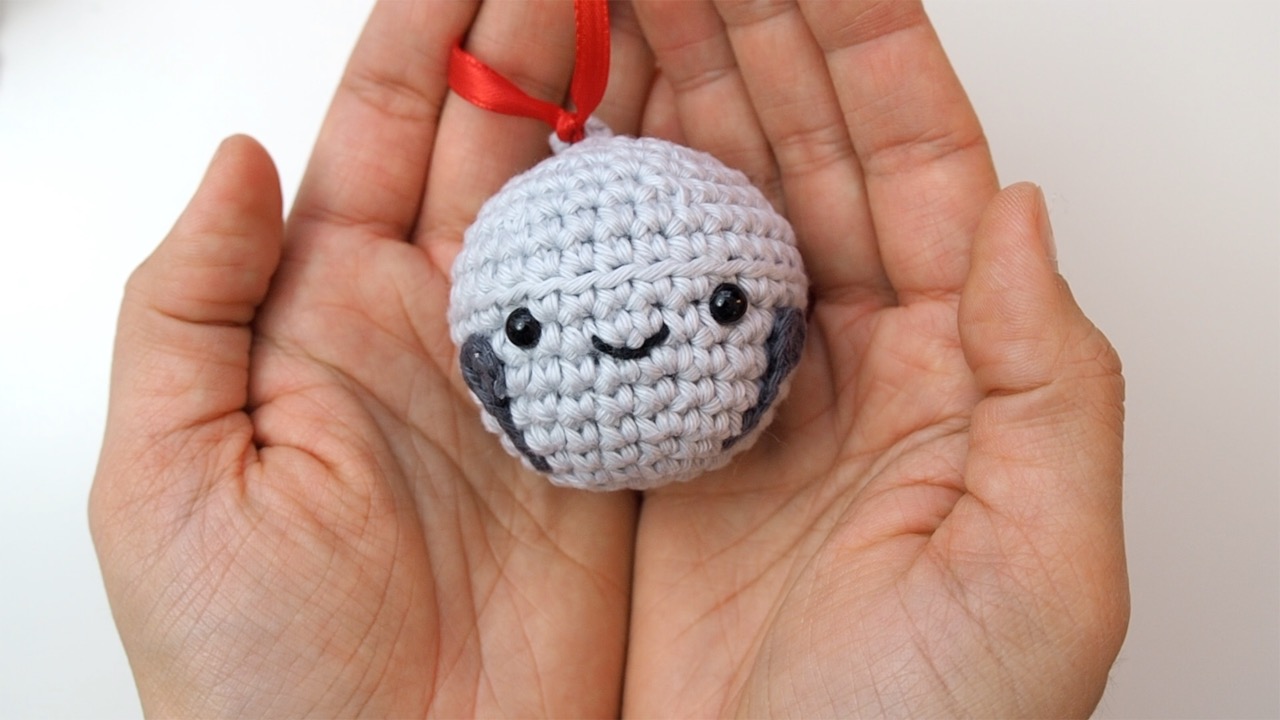
At the very end, you’ll want to crochet a few extra chains at the top to create a loop for your ribbon, and glue the spike heads securely to the bell so they don’t flop around.
I used black yarn for the spikes, but I find a dark gray works really well too. And of course, if you’re a fan of The Polar Express, you’ll know the ribbon has to be red!
Supplies
- MC: Paintbox Cotton Aran in Misty Gray
- C1: Paintbox Cotton Aran in Granite Gray
- F/3.75mm crochet hook
- C/2.75mm crochet hook
- Cluster fiberfill
- 6mm safety eyes
- scissors
- embroidery thread or lightweight yarn in Black
- tapestry needle
- red ribbon
Abbreviations
- st(s) – stitch(es)
- sl st – slip stitch
- ch – chain stitch
- sc – single crochet
- inc – increase: work 2 sc in same st
- dec – decrease: work 2 sc together
- BLO – back loop only
Pattern Notes
- Rounds in bell are worked with a seam and joined with a seamless join.
- Eyes are placed approximately 1.0-1.25 inches apart.
- Amigurumi can be closed using this technique.
Amigurumi Sleigh Bell Instructions
- Worked in seamed rounds.
- Worked in MC.
Round 1: Work 6 sc into a magic circle. Join to first sc with sl st. (6)
Round 2: Ch 1. Work 2 sc into each st around. Join to first sc with sl st. (12)
Round 3: Ch 1. Work [1 sc, inc] 6x around. Join to first sc with sl st. (18)
Round 4: Ch 1. Work 1 sc in each st around. Join to first sc with sl st. (18)
Round 5: Ch 1. Work [2 sc, inc] 6x around. Join to first sc with sl st. (24)
Round 6: Ch 1. Work 1 sc in each st around. Join to first sc with sl st. (24)
Round 7: Ch 1. Work [3 sc, inc] 6x around. Join to first sc with sl st. (30)
Round 8-9: Ch 1. Work 1 sc in each st around. Join to first sc with sl st. (30)
Round 10: Ch 1. Work 1 sc in BLO of each st around. Join to first sc with sl st. (30)
Round 11: Ch 1. Work 1 sc in each st around. Join to first sc with sl st. (30)
- Add eyes between Rounds 8 and 9.
- Sew mouth between Rounds 7 and 8, centered between the eyes.
- Break here for ‘SPIKES’
SPIKES (worked with C hook and C1 color)
- Split a 18″ length of yarn into 2. This will depend on how many strands on in the yarn, but you want it thinner than your main yarn. You can also use embroidery thread if that is thinner than the main yarn.
- Round 1: Work 6 sc into a magic circle. Join to first sc with sl st. (6)
- Work 1 chain.
- Thread the beginning tail through to the inside of the bell, between Rounds 7 and 8.
- Work 3 surface crochet slip stitches towards the magic circle at the bottom of the bell.
- Fasten off, tuck the end of the yarn to the inside of the yarn, tie a knot and weave in ends.
- Go back to the beginning tail, tie a knot and weave in ends.
- Repeat for all 4 spikes on the bell, being careful to avoid the face.
Round 12: Ch 1. Work [3 sc, dec] 6x around. Join to first sc with sl st. (24)
Round 13: Ch 1. Work 1 sc in each st around. Join to first sc with sl st. (24)
Round 14: Ch 1. Work [2 sc, dec] 6x around. Join to first sc with sl st. (18)
Round 15: Ch 1. Work [1 sc, dec] 6x around. Join to first sc with sl st. (12)
- Stuff the amigurumi.
Round 16: Ch 1. Work 6 dec. Join to first sc with sl st. (6)
- Fasten off with a long tail (~18 inches)
- Close with an amigurumi close and secure with a knot.
- Insert hook into the top of the bell and pull up a loop from the tail.
- Work 6-8 chains (~1 inch).
- Insert hook into the top of the bell, work a slip stitch and fasten off to create a loop at the top of the bell.
FINISHING
- Tie a ribbon through the loop created at the top of the bell.
- Glue the head of the spikes to secure them to the body of the bell.
If you enjoyed this pattern and are showing it off to the world, make sure to tag me @1dogwoof with the hashtag #AmigurumiAdventCAL.
You can also head over to the Amigurumi Advent Calendar intro post to see the entire collection!
Check out my pattern shops on Ravelry and Etsy where you can purchase printable PDFs of my latest crochet patterns. These PDFs are formatted without comments or ads, and have instructional photos at the bottom for optional printing.
I sometimes include affiliate links in my supply lists. Purchasing from these merchants earns me a small commission with no extra cost to you, and goes towards supporting One Dog Woof.
Please be respectful and do not sell or distribute this pattern in any way, especially as your own. Instead, share the original blog post link! You can sell finished products made from this pattern by giving credit to One Dog Woof as the pattern designer and linking to the blog post. If you have any questions regarding distribution or translation of this pattern, please see my Terms of Use. Thank you for your consideration!


Am I correct to assume that the spikes are worked with the smaller hook? Thanks!
Yes, fixed!