
Just sharing a quick project today! I’ve had this idea floating around in this head of mine for a while, but it always takes some experimenting to get it from my head down to an actual workable result. And yes, a washi tape paper chain garland, as easy as it sounds, took several tries to get right, would ya believe it? But I’ve done the work, and you can go straight to a romping success instead of having bits of washi tape and paper all over your house.
… ok, so you might still have bits of washi tape and paper all over your house before this is said and done …
Here I was, thinking wouldn’t it be cool to make an old school paper garland out of this mound of washi tape I have collected? Such fun patterns and pretty colors! Wouldn’t it look great on my future Christmas tree? So, this is going to sound like a strange crafty version of Goldilocks…
Attempt #1: Taping washi tape to white cardstock.
Result #1: too stiff
Attempt #2: Using the Silhouette to cut the strips in a fun wavy pattern
Result #2: Just ugh. Lining up the strips with the cuts in the software was a serious PITA.
Attempt #3: Cutting the strips with a paper cutter
Result #3: Yes…but, still have to be so exact!
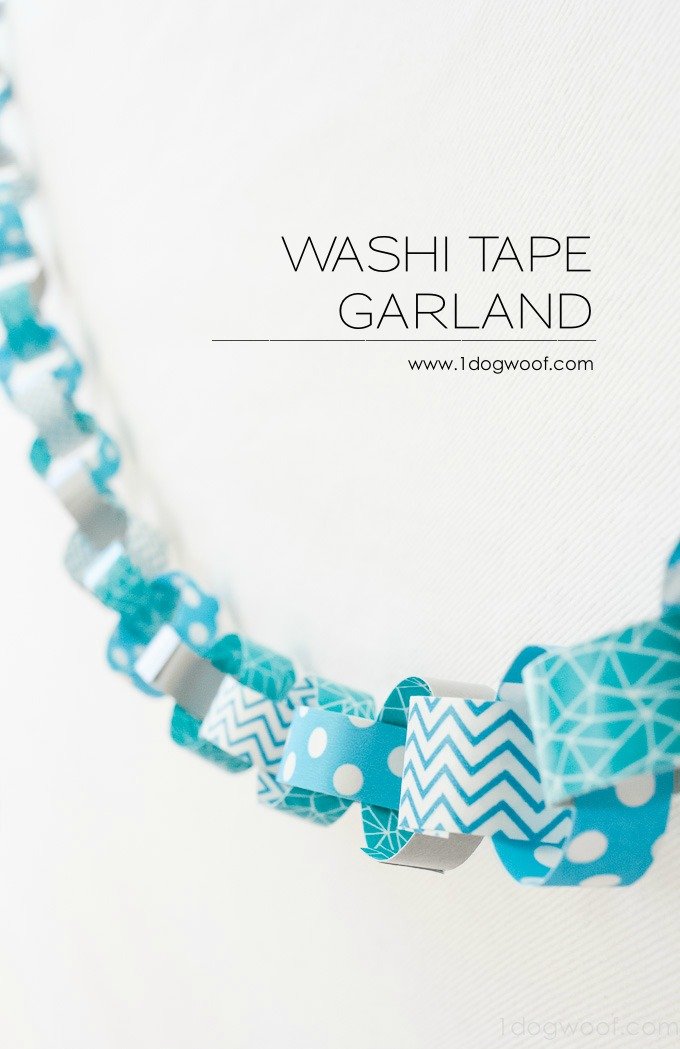
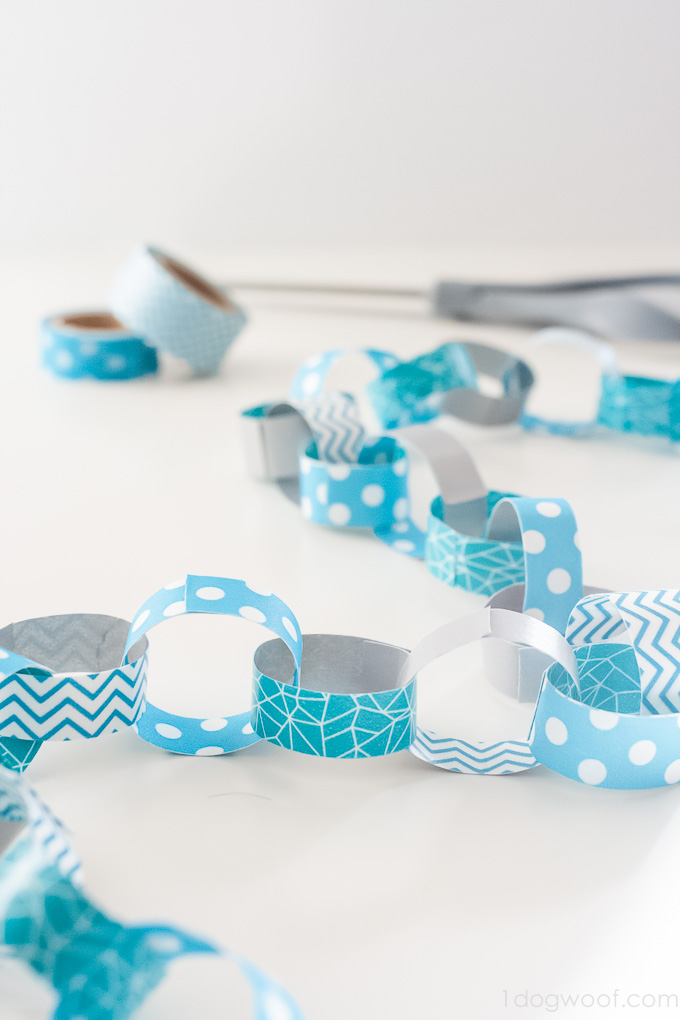
Here is the culmination of all that I’ve learned.
Supplies
washi tape
thin white printer paper
paper cutter or scissors: Carl 12200 Bidex Professional 10-Sheet Rotary Trimmer, Metal Base, 12 x 11![]()
glue
Instructions
1. Apply strips of washi tape to one side of a plain white piece of paper. The thinner the better. I thought about using thin graph paper, but since some washi tape is translucent, I didn’t want graph-y lines to show through. The first strip is applied at the very edge of the paper. Subsequent strips are applied edge to edge, with as little overlap or gaps as possible.
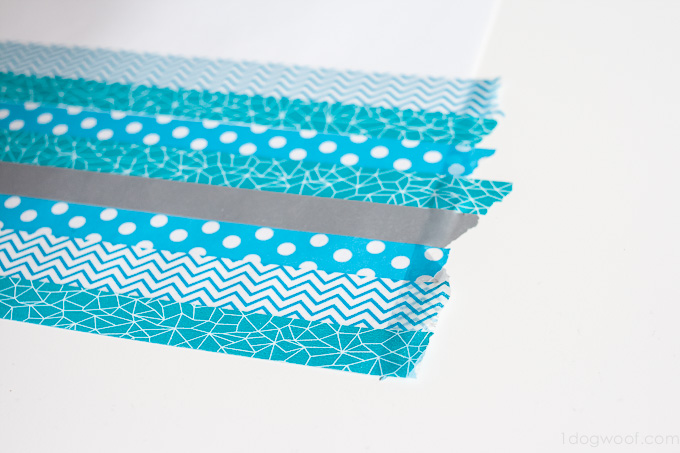
2. Once you fill up about 3/4 of the paper, peel it off your working surface, flip it over and apply washi tape to the other side as well. A few tricks here though.
If you’re using the same width washi tape, then just make sure each strip matches the strip on the other side. If you’re using different widths, then you have to account for the width difference on both sides of the paper.
3. Cut the strips out with a paper cutter. Scissors work too, but is more trouble. Cut strips that are thinner than your washi tape so you can ensure clean edges. For example, I used 5/8″ wide washi tape, so I cut my strips at 1/2″ or thinner. One of my tapes was 3/4″, so I always lined up the opposite side’s tape in the middle of its width, and cut a 1/2″ strip from the center of that particular piece.
Don’t worry about being too exact. Variation is fun!
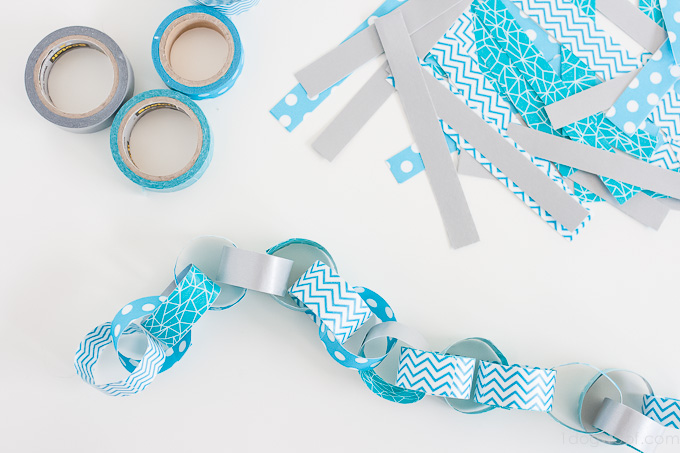
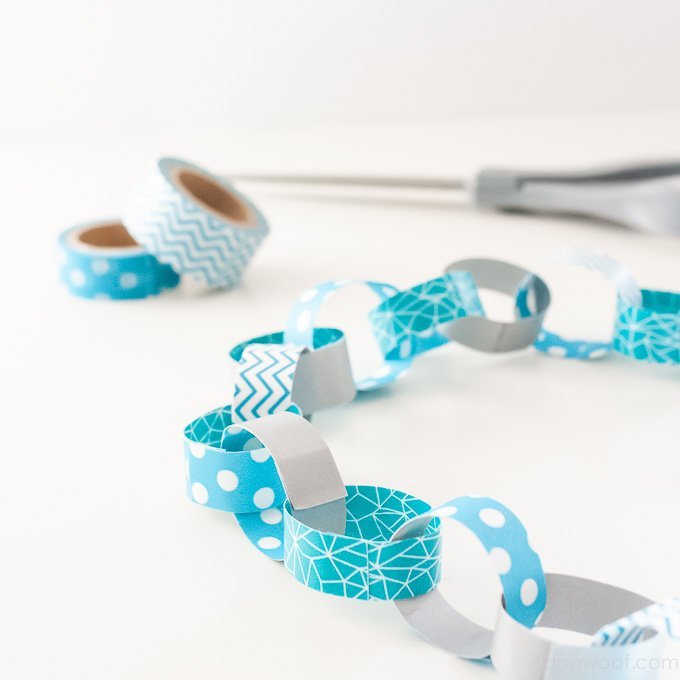
4. Once you have a mess of strips, cut them in half. Then start gluing the strips together in rings, just like the old construction paper chains. Keep on keepin’ on until you have the desired length.
Ok, admittedly, this can get tedious and maybe a bit boring, but it’s easy. I say it goes well with a gossiping with friends!
*affliate links included.


So super cute! I love it.
This garland is so fun and colorful! 🙂
THIS IS Beauuutiful! Unique too cuz i havent seen ANY like this before. Thank you for sharing such a fun project! I will be trying it & including the kids; I believe theyd LOVE it too ;D Happy Holidays to you
Thanks so much!
Thanks Marilyn!
Thanks Laura!