
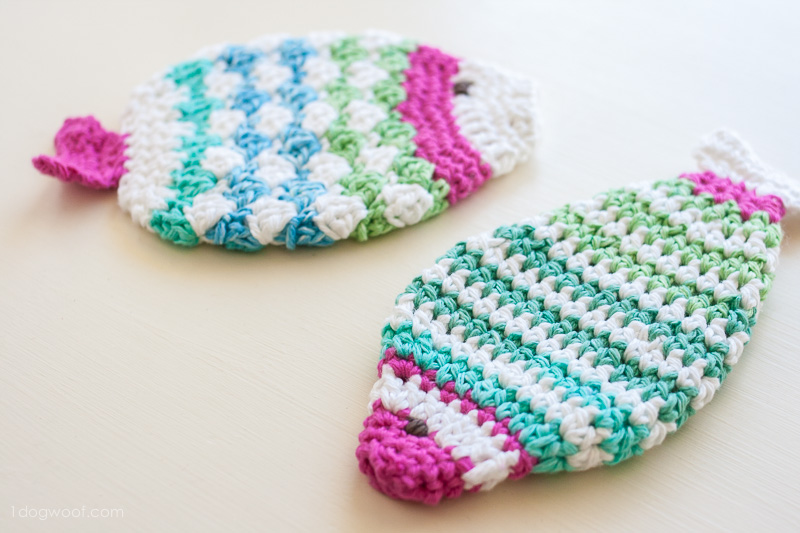
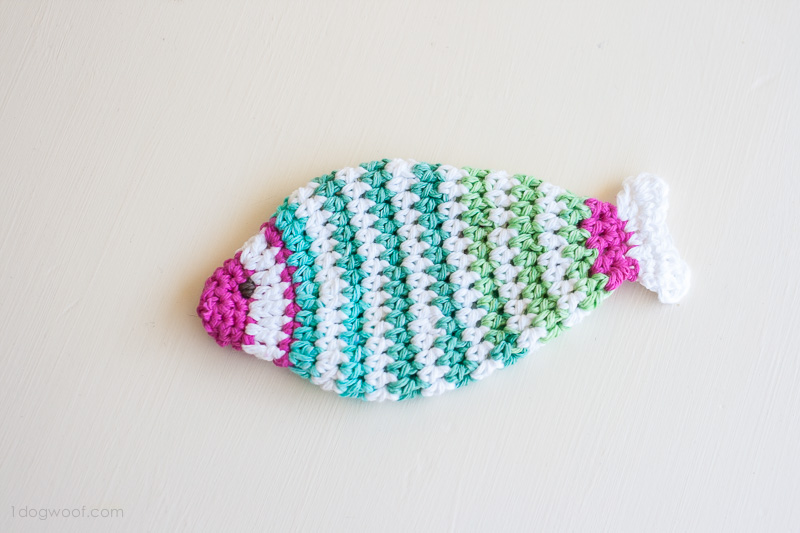
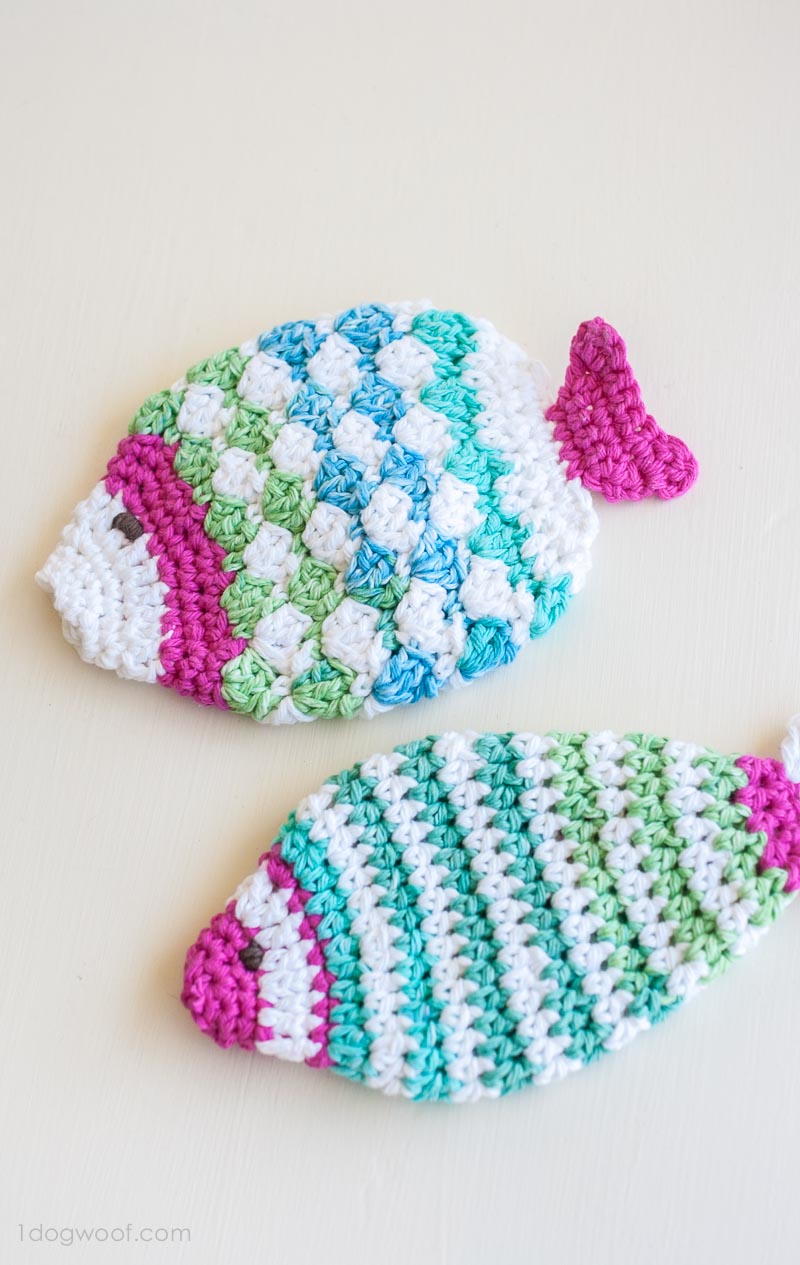
Sorry this has taken so long! Here’s the striped fish that many of you saw when I shared the shell fish scrubbie pattern. I don’t have a lot of in-progress photos in this post, but there’s step by step photos in the Invisible Stripes post and photos for creating the tail in the original fish scrubbie post.
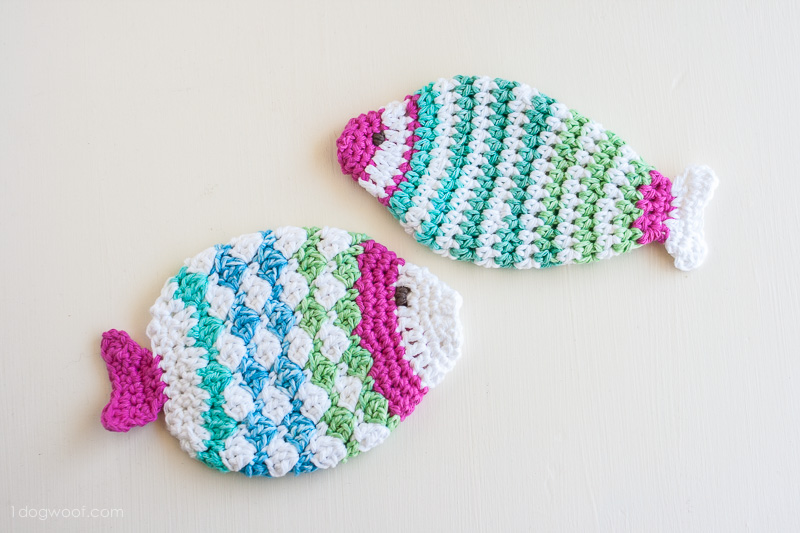
I’ve written this pattern without specific instructions for a certain stripe pattern. You can create the stripes at your own discretion – it’s more fun that way! If you’re only using 1 color, you can join using the traditional join method, or with my invisible stripes method. If you’re changing colors, then I recommend you using the invisible stripes method. The tail is worked after the main body is closed off, and it can be any color you want.
Supplies
H (5 mm) hook
Yarnspirations Sugar ‘n Cream cotton yarn (extra scrap for eyes)
scissors
embroidery needle
Abbreviations
sc – single crochet
hdc – half double crochet
dc – double crochet
ch – chain stitch
hdc2tog – half double crochet 2 stitches together (decreasing stitch)
sc2tog – single crochet 2 stitches together (decreasing stitch)
You can find help for basic stitches in my crochet tutorials section or on my YouTube Channel!
Ch 8. Slip stitch into 1st chain.
Round 1: Ch 1. Work 1 sc in each st across. Join with invisible stripes method. (8)
Round 2: Ch 1. [Work 1 sc in next 3 st, then 2 sc in next st] 2x. Join. (10)
Round 3: Ch 1. [Work 1 sc in next 4 st, then 2 sc in next st] 2x. Join. (12)
Round 4: Ch 2. [Work 1 dc in next 2 st, then 2 dc in next st] 4x. Join. (16)
Round 5: Ch 1. [Work 1 sc in next 7 st, then 2 sc in next st] 2x. Join. (18)
Round 6: Ch 2. [Work 1 hdc in next 2 st, then 2 hdc in next st] 6x. Join. (24)
Round 7: Ch 2. [Work 1 hdc in next 3 st, then 2 hdc in next st] 6x. Join. (30)
Round 8-11: Ch 2. Work 1 hdc in each stitch around. Join. (30)
Round 12: Ch 2. [Work 1 hdc in next 8 st, then work 1 decrease (hdc2tog)] 3x. Join. (27)
Round 13: Ch 2. [Work 1 hdc in next 7 st, then work 1 decrease (hdc2tog)] 3x. Join. (24)
Round 14: Ch 2. Work 1 hdc in each stitch around. Join. (24)
Round 15: Ch 2. [Work 1 hdc in next 6 st, then work 1 decrease (hdc2tog)] 3x. Join. (21)
Round 16: Ch 2. Work 1 hdc in each stitch around. Join. (21)
Round 17: Ch 2. [Work 1 hdc in next 5 st, then work 1 decrease (hdc2tog)] 3x. Join. (18)
Round 18: Ch 2. [Work 1 hdc in next 4 st, then work 1 decrease (hdc2tog)] 3x. Join. (15)
Round 19: Ch 2. [Work 1 hdc in next st, then work 1 decrease (hdc2tog)] 5x. Join. (10)
Before the next step, make sure to flip the fish inside out and fasten off any loose ends
Round 20. Flatten the round into 2 sides. Ch 1. Work 1 sc in each stitch across, inserting your hook through 4 loops for each stitch.
Fasten off and weave in ends.
Full disclosure, now that I’m looking at the fish photos again, it seems the striped fish tail is slightly different. Unfortunately, I didn’t write down that pattern as I made it up, and only wrote the pattern for the the larger version of the tail. So, if you don’t like my tail, feel free to experiment!
Row 21. With the tail color, work 1 standing sc in 3rd stitch from the edge, work 1 sc in each of next 3 stitches. Ch 1. (4)
Row 22. Turn. Work 2 sc in next stitch, 1 sc in each of next 2 stitches, 2 sc in last stitch. Ch 2. (6)
Row 23. Turn. Work 1 dc in first stitch, 1 sc in each of next 4 stitches, 2 dc in last stitch. Ch 2. (8)
Row 23. Turn. Work 2 dc in first stitch, 1 sc in each of next 5 stitches, 2 dc in last stitch. Ch 2. Fasten the ch 2 at the base of the row.


Thanks for the striped fish pattern. Love them. They are so cute. I wish you well. Linda
I just lost my father also. Even at 50 something the pain and grief can be paralyzing. Sending prayers your way. Thank you for the pattern.
I know your father cherished the blanket
Awee they are so cute, my sister would love to make some of these!
I jut want to thank you for the fish patterns . I have a nice little friend and her birthday is coming and I would like to make her something cheerie. As she is a very sick young lady. I think these will be just the ticket. Thank you
Hi. Do you sell these already made by any chance?
Would like a copy of the fish scrubbies and how to make them.
Can you explain your standing stitch? I’ve never came across that term. Is it simply the stitch you describe or is it another stitch to be used there?
So cute! Can you tell me how I can print off this pattern without all the comments and such. Thank you for your help and great patterns
Hi could you explain the standing sc
Do you have a strawberry scrubbie pattern?
I found one on youtube but it was in Korean.
Don’t understand the invisible join. Please help!
so cute i love watch the crochet like i site watch tv every thinks deffirent shape this nice tv
I believe I read somewhere (either on 1 Dog Woof or Planet June, I can’t remember) that a standing start is where you make your first stitch of your work with a slip-stitch/knot already on your hook…and unfortunately, I don’t know what it’s called when you start your first stitch directly into your project without a slip-stitch/knot on your hook.Anyway hope this helps 🙂
Hola!! Donde lo puedo ver en español? O algún video ? Muchas gracias!!
Lo siento, es solo en ingles