
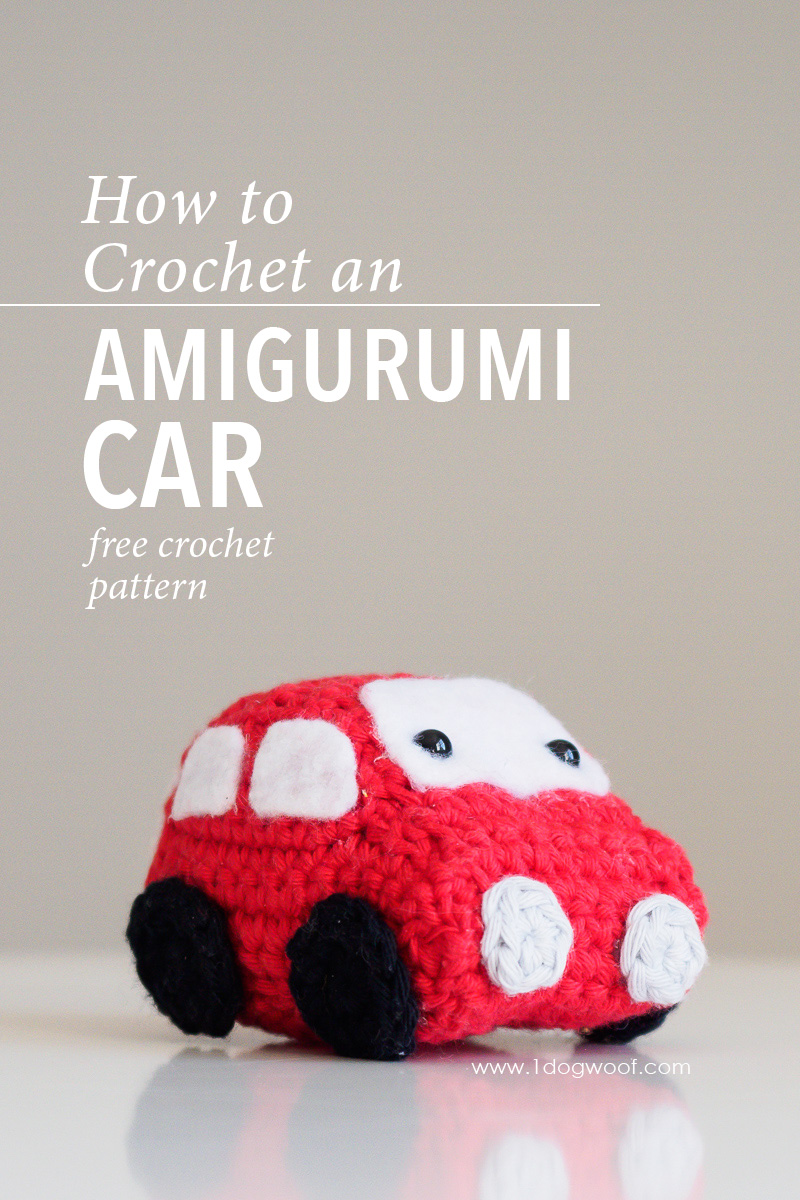
I shared this amigurumi car on Instagram weeks ago, before we started this Amigurumi Advent Calendar crochet-along, and I’m excited to finally share the pattern!
——————————————
Purchase the PDF from Ravelry or Add to your queue
——————————————
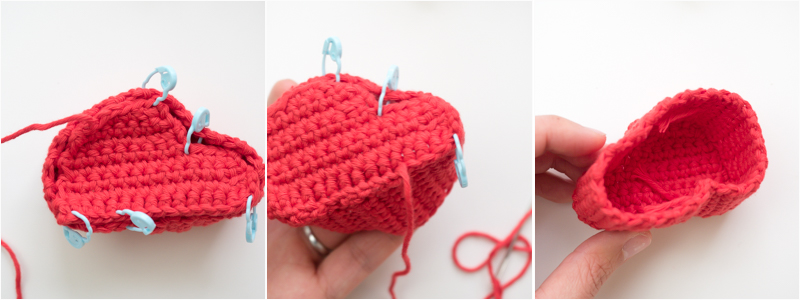
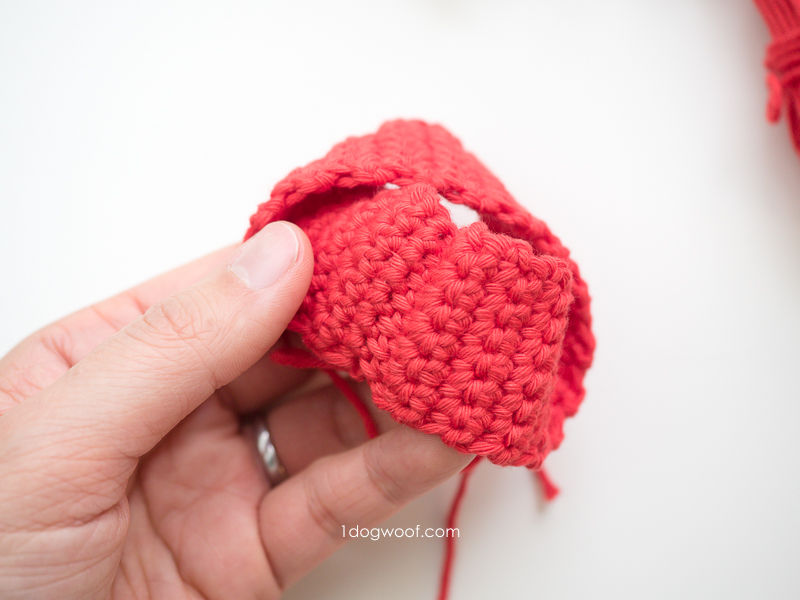
Like the amigurumi book in the previous post, this amigurumi car is constructed using rows instead of rounds. This allows you to shape the sides of the car, and then use a long crochet strip to hold the whole thing together. All the extra details like wheels, headlights and windows are then added on.

You can think of this project as making a car-shaped box. The car shape itself is the top and bottom and the strip is the walls for the box. Like the Amigurumi Book, it’s best to mark different points of the join with stitch markers so you can make sure that the strip goes around the shape of the car evenly. Instead of working single crochet stitches for the join, however, you’ll work a mattress stitch to join the two pieces together. I find this gives a seamless look.
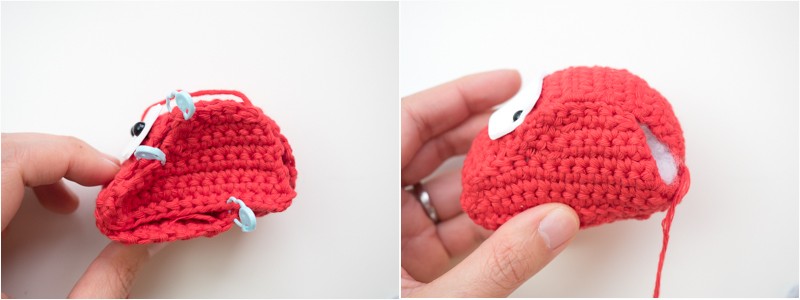
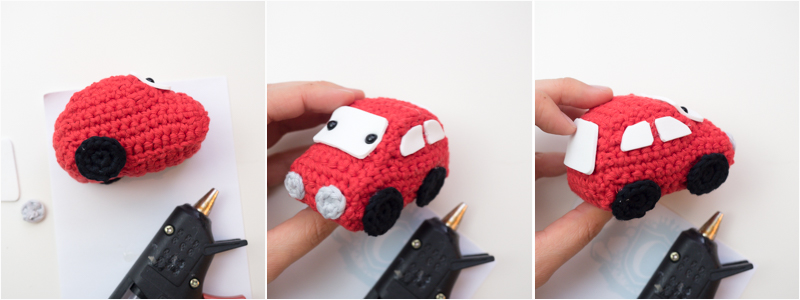
Once you have the bottom of the ‘box’, you’ll add the eyes and front windshield. he safety eyes are worked through the felt/foam and then secured as usual in the back of the piece. You’ll need to guesstimate where to cut small holes in the felt for the eyes to go through. If you decide to use foam, you can insert the eyes where you want it to go, then use the backs of the eyes to create small indentations in the foam to show you where to poke the little holes. This needs to be done before sewing on the second side of the car and stuffing the amigurumi.

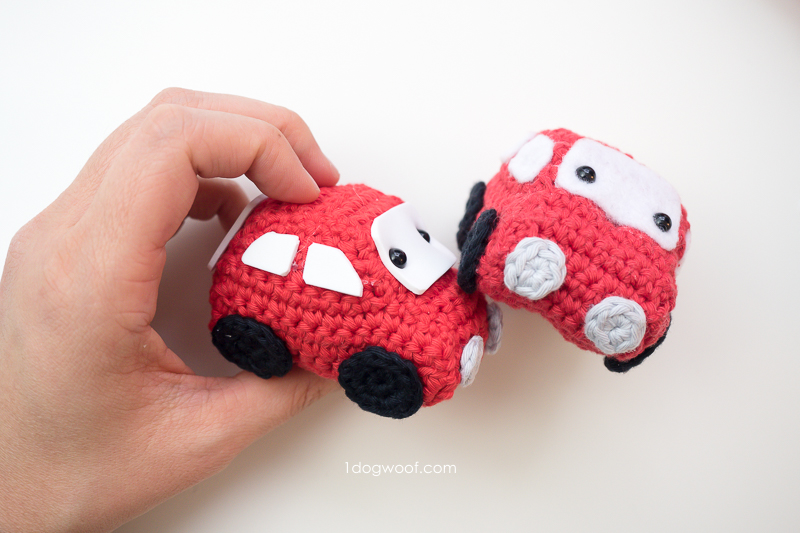
I chose not to crochet the windows for this project because I felt it would be too bulky, so I tried both white felt and white foam. The foam obviously shows a sharper cut, but sticks out a bit from the side of the car. You can decide for yourself which one you’d prefer to use on your car!
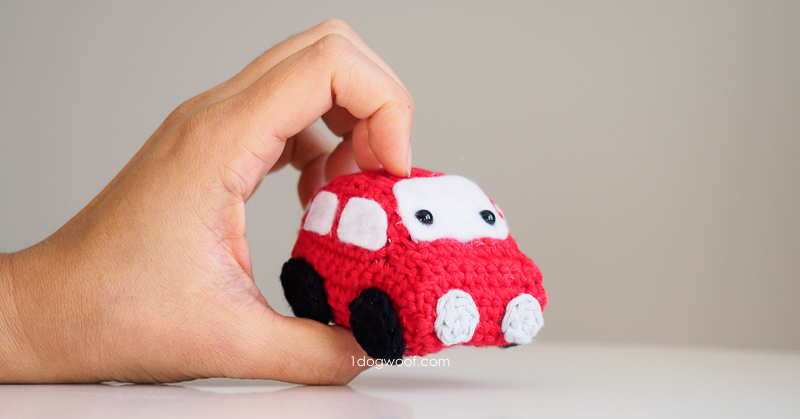
After the eyes and windshield are in place, it’s time to sew on the top of the box, or the other side of the car. This one is trickier to get right, since you’ll want to make sure the strip is sewn to the right point on both the shaped sides. Otherwise, the car will look twisted. Once again, use stitch markers to hold the strip in place and check your work as you go! Don’t forget to stuff the amigurumi before you close it up.
I admit, I cheated a bit on this one and hot glued the remaining details onto the outside of the car. There were just too many fiddly details and ends to weave in, and if you already have to use the hot glue gun for the windows, why not take care of the wheels and headlights?
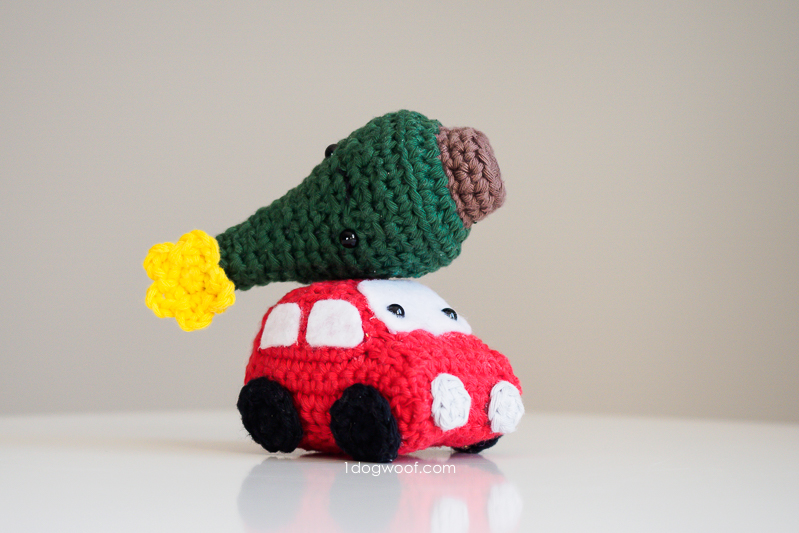
The original inspiration for this amigurumi was the iconic image of a classic red vehicle hauling a Christmas tree home. It kind of spurred on the entire Advent actually, so I’m really pleased to finally share it. Make yourself an Amigurumi Tree and you can recreate your own ‘home for the holidays’ scene!
Supplies
- MC: Paintbox Cotton Aran any color
- C1: Paintbox Cotton Aran Champagne White or Paper White
- C2: Paintbox Cotton Aran any color
- F/3.75mm crochet hook
- Cluster fiberfill
- 6mm safety eyes
- scissors
- embroidery thread or lightweight yarn in Black
Abbreviations
- st(s) – stitch(es)
- sl st – slip stitch
- ch – chain stitch
- sc – single crochet
- inc – increase: work 2 sc in same st
- dec – decrease: work 2 sc together
Pattern Notes
- Eyes are placed approximately 1.0-1.25 inches apart.
- Rows are worked back and forth. Chain 1 at the beginning of every row.
Amigurumi Car Instructions
SIDE of CAR (make 2)
Row 1: Work 15 foundation single crochet sts. Turn. (15)
Row 2: Ch 1. Work 1 sc in each st across. Turn. (15)
Row 3: Ch 1. Sk 1. Work 1 sc in each of next 11 sts, 1 dec, 1 sc. Turn. (13)
Row 3: Ch 1. Sk 1. Work 1 sc in each of next 11 sts, inc in next st. Turn. (14)
Row 4: Ch 1. Sk 1. Work 1 sc in each of next 9 sts. Turn. (9)
Row 5: Ch 1. Work 1 sc, dec, 1 sc in each of next 6 sts. Turn. (8)
Row 6: Ch 1. Sk 1. Work 1 sc in each of next 7 sts. Turn. (7)
Row 7: Ch 1. Work 1 sc, dec, 1 sc in each of next 2 sts, sl st in next st, sl st in last st. (6)
- Fasten off and weave in ends.
TOP STRIP
Row 1: Ch 8.
Row 2: Starting in 2nd ch from hook, work 7 sc across.
Row 3-39: Ch 1. Work 7 sc across. Turn.
Row 40: Ch 1. Join ends of strip together with sl st.
- Fasten off, weave in ends, and flip inside out so the sl st ridge is on the inside.
WHEELS
Round 1: Work 6 sc into a magic circle. Join to first sc with sl st.
Round 2: Ch 1. Work 2 sc in each st around. Join to first sc with sl st.
- Fasten off and weave in both ends.
HEADLIGHT
Round 1: Work 6 sc into a magic circle. Join to first sc with sl st.
- Fasten off and weave in both ends.
ASSEMBLY
- Use mattress stitch to join the TOP STRIP and SIDE perpendicularly.
- Cut out shapes for front and back windshields and windows. Attach safety eyes through the front windshield and secure to front of car.
- Use mattress stitch to join the other SIDE to the TOP STRIP. Stuff the amigurumi before closing.
- Attach wheels, headlights and remaining windows using a hot glue gun.
That’s it! I know I made this for Christmas, but it’s a great toy for any time of year!
Tag your creations with the hashtag #AmigurumiAdventCAL on social media, and check out my other amigurumi patterns on the Amigurumi Advent intro post!
Check out my pattern shops on Ravelry and Etsy where you can purchase printable PDFs of my latest crochet patterns. These PDFs are formatted without comments or ads, and have instructional photos at the bottom for optional printing.
I sometimes include affiliate links in my supply lists. Purchasing from these merchants earns me a small commission with no extra cost to you, and goes towards supporting One Dog Woof.
Please be respectful and do not sell or distribute this pattern in any way, especially as your own. Instead, share the original blog post link! You can sell finished products made from this pattern by giving credit to One Dog Woof as the pattern designer and linking to the blog post. If you have any questions regarding distribution or translation of this pattern, please see my Terms of Use. Thank you for your consideration!


When I start with 15 foundation sc stitches, I end up with a “tail” of two sc stitches at the end of row 3. Does sk 1 mean skip one stitch? It is helpful to have stitch numbers at the end of each row of the pattern. Thank you.
Hey!
I love this little car but I’m slightly confused by the instructions. On the ‘Side of Car’ there are 2 row 3s and I can’t seem to make the second row 3 work. Assuming sk=skip there are 13 stitches but a total count of 14 and then the next row goes down to 9 with no dec. How do I drop down to the 9?
Thanks a lot
Excellent post. I was checking continuously this weblog and I’m
impressed! Very helpful information particularly the remaining phase 🙂 I maintain such info a lot.
I used to be looking for this certain information for a very lengthy time.
Thank you and best of luck.
I love this pattern! My nephew asked me to make him a crochet car. I can’t wait to try this out.
Hi there! What does Sk mean?
It means Skip 🙂
Why are there 2 Row 3 on the side pattern?
This pattern is cute and easy. I made a set of rainbow cars formy daughter’s boys. I was a little confused by the windows. Did you just use fabric? I crocheted the shaoes with a smaller hook and white yarn
Oops! That’s a numbering error, but the instructions are correct!
That works too! I cut shapes out of white felt.
For windows, for the least ‘sticking out’ you could use a white textile marker or textile color