
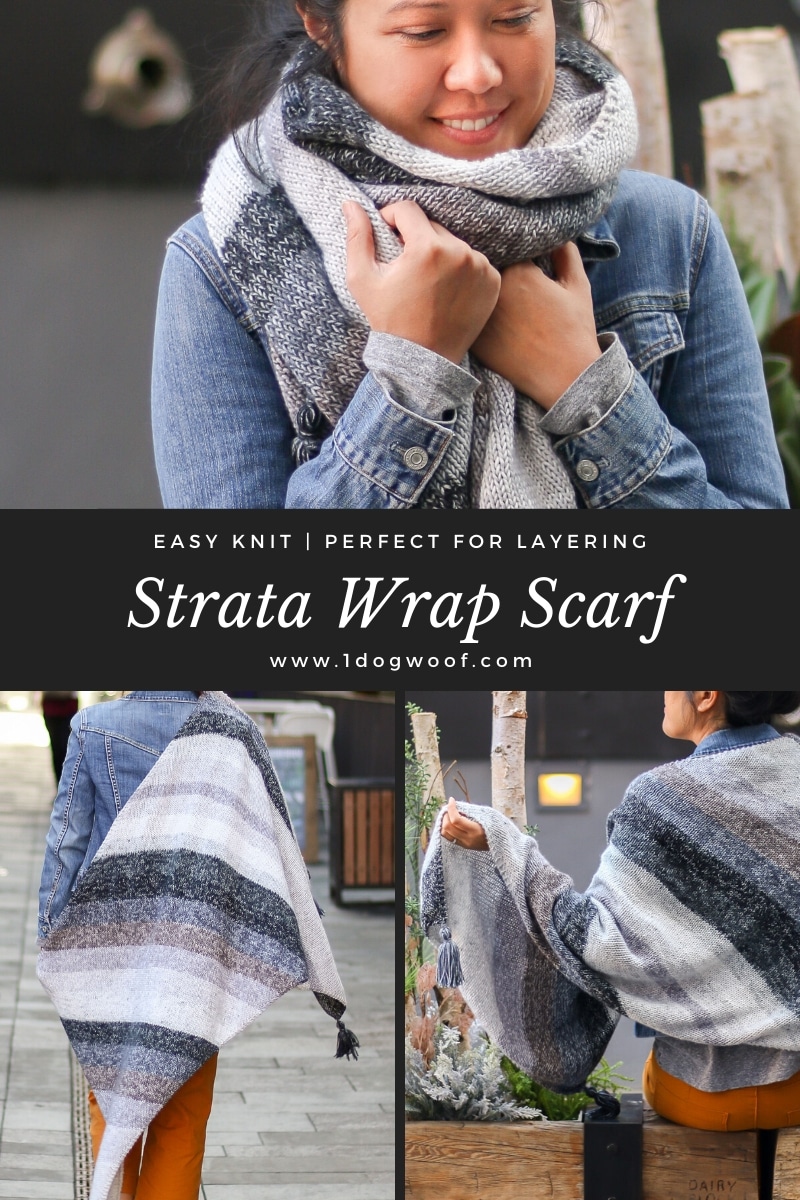
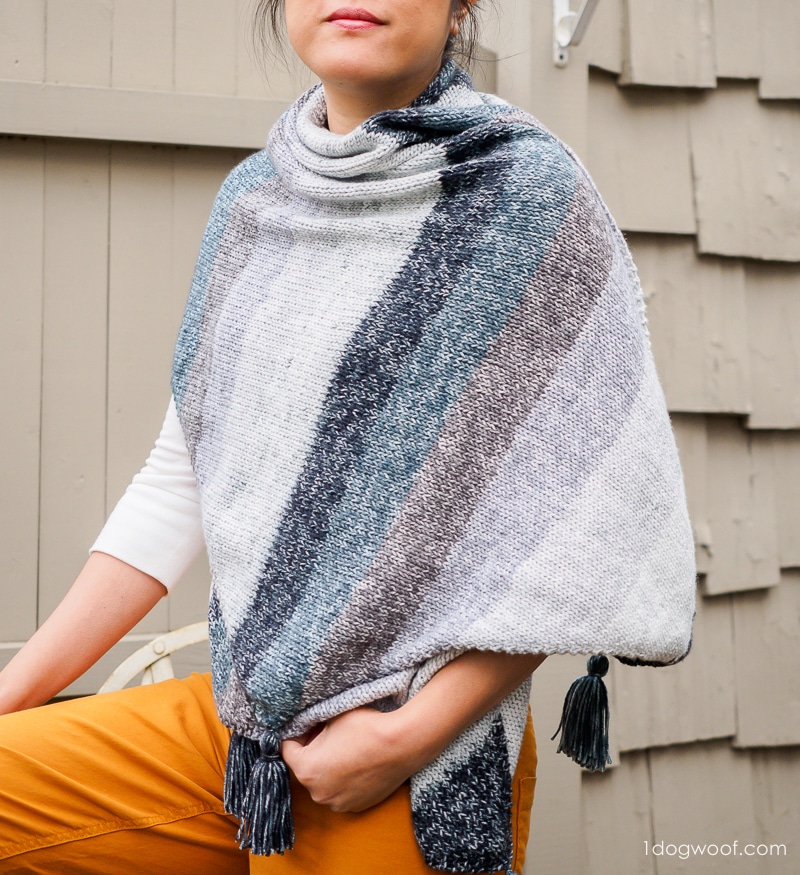
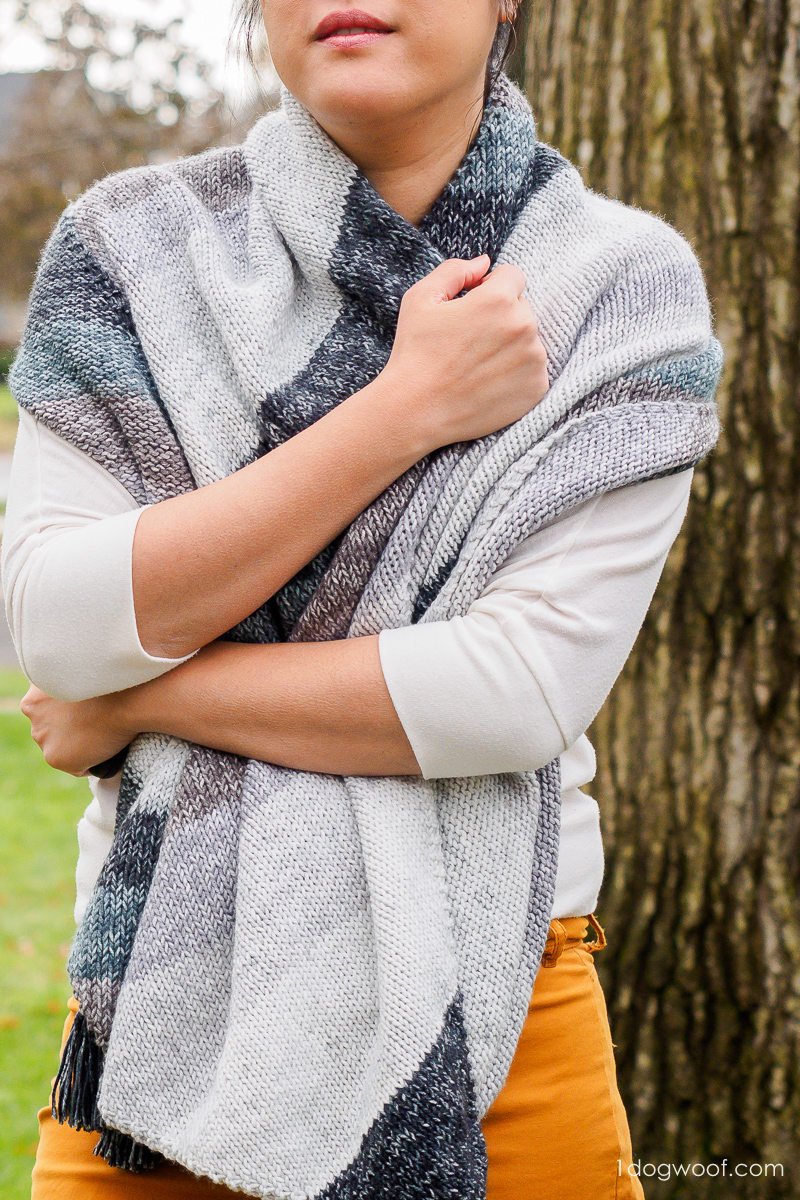
You know that feeling. You want a project that makes a statement, but you don’t want to do a lot of counting, or switching colors, or learning new stitches. You want to watch tv or listen to an audiobook or chat with friends and not wonder if you’ll have to frog half the project afterwards. Is there such a unicorn? The Strata Bias Knit Wrap is what you’re looking for – it uses a stockinette stitch, has a total of 2 ends to weave in, and you end up with a striped stunner that’s perfect for layering in warmer weather, and wraps around as a cozy scarf for winter!
The Yarn
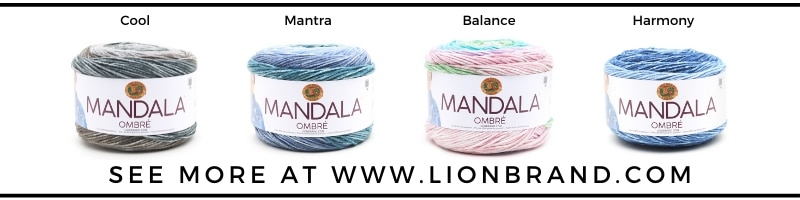
What’s the secret to the mindless beauty of the Strata Bias Knit Wrap? It’s all in the yarn on this one. Unlike the other Mandala yarns from Lion Brand Yarn, which you’ve seen in the Adirondack Wrap, Mandala Ombre is constructed more like their Jeans yarn, with a bit of bounce instead of twisted plys. This 100% acrylic yarn is soft and clean, with fuzz or a halo around it.
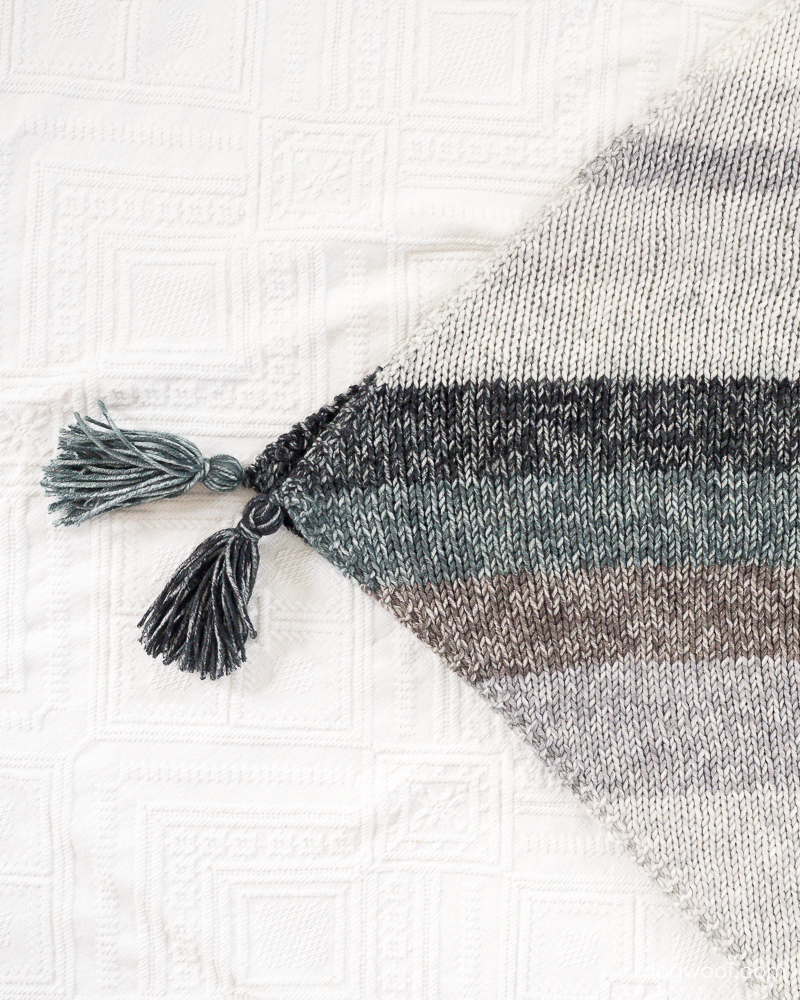
They’re big skeins with stripes built in, and each stripe is a little bit marled, so the stripes are not completely solid colors. The Cool colorway, as shown in the photos, uses a selection of gray tones that mix and match well. There’s also the gorgeous Harmony or Mantra that are reminiscent of tropical seas.
At the end of a skein, you can simply tie the new skein to your working yarn with an invisible knot. If you don’t like the color transition, you can easily find the desired color changes in the new skein, cut and join and keep on knitting. Since all the colors work well together, you won’t ever get a bad transition!
The Construction
The Strata Wrap is worked from corner to corner in a simple bias knit. There’s 3 basic parts to the wrap:
The first part is where you increase on both ends of the row. You start with just 3 stitches, and increase until you get to a desired width.
Then, you’ll continue to increase at the beginning of the row, but decrease at the end. This turns your wrap into a rectangle, and you’ll continue until you get the desired length.
The third and final part is where you decrease on both ends of the row. You’re now in the home stretch, closing off the wrap back down to 3 stitches.
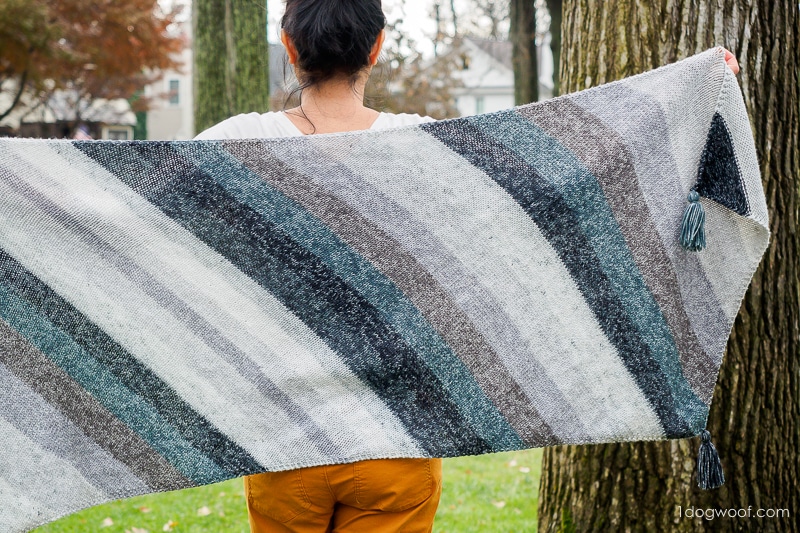
You’ll want to steam block the wrap carefully to ease it into a fully rectangular shape. Because this bias knit wrap uses a 100% acrylic yarn, it won’t lie completely rectangular and may always have a slightly parallelogram look to it, even after steam blocking. If you do this with a natural fiber, you’ll be able to wet block the rectangle completely so the corners are a solid 90 degrees.
Extra Tip
If you’re like me and don’t like having leftover yarn on projects, and do like playing a dangerous game of yarn chicken, here’s a way to make sure you win:
First, make your 4 tassels and set them aside. Now you know that every last bit of yarn that is left will go into the wrap itself, and you don’t have to worry about saving up for finishing touches.

Next, weigh your needles. You’re gonna need to know their weight so you can subtract it from your project weight.
Ok, now start the pattern. Work up to an approximate desired width. This might change, but you can get close, take the next few steps and then see if you need to make adjustments.
Weigh your work, including your needles. Then subtract the weight of the needles to get the weight of the yarn.
Use a simple ratio to calculate the yardage you’ve used so far. (Yardage in full skein/Weight of full skein = x yds used/Weight of yarn used)
At the same time, calculate the area you’ve just knitted. (Take the square of your width, and then divide by 2)
Now that you know the yardage needed to work this specific area, you can extrapolate to find the maximum area you can knit with the amount of yardage you have available. With the width that you’ve already worked up, you can calculate the length of your wrap if you used all your yarn. If that length is too long, you know you can make your wrap wider. If the calculated length is too short, you’ll need to rip back a few rows and shorten the width. You can play around with the numbers until you get the width and length you want in your wrap.
Once you’ve locked down the width of your wrap, work Part 2 of the pattern until the longer side of your wrap reaches your desired length. Then begin Part 3.
Be sure to leave a comfortable margin of error in your calculations. Remember that our gauge is not always exact, and tension can vary from the beginning to the end of a project. It’s better to end up with a bit of yarn than to run out completely!
Purchase Options
You can find the free pattern for the Strata Bias Knit Wrap below, or grab an inexpensive PDF from Ravelry. Adding this pattern as a favorite or into your queue on Ravelry helps others find it too!
If I’ve convinced you why Lion Brand Mandala Ombre is one of my new favorite yarns, you can grab the entire Strata Wrap Knit Kit which comes with 3 balls of Mandala Ombre and a printed copy of the pattern.

The Strata Bias Knit Wrap Pattern
Supplies
- 1000-1050 yds (914-960 m) of worsted weight, weight 4, yarn
As shown: 3 balls of Lion Brand Mandala Ombre (150g/5.3oz, 344yds/315 m) - US 10.5/6.5mm knitting needles
- Tapestry needle
- Scissors
——————————————
Buy the Strata Bias Knit Wrap PDF from Ravelry.
Save this pattern for later on Pinterest!
——————————————
Gauge
Approximately 14 sts and 23 rows in 4” of stockinette stitch. Exact gauge is not necessary.
Finished Size (One size only)
27” wide x 62” long, not including tassels.
Finished size can be adjusted to desired length and width, but yardage needed will vary.
Abbreviations (US terminology)
- st(s) – stitch(es)
- K – knit
- P – purl
- Kfb – knit in front and back of stitch. (increase 1 st)
- m1L – Use left needle to pick up the horizontal bar between the stitch you knit and the stitch still on the needle, from front to back. Knit into the back of the stitch.
- m1R – Use left needle to pick up the horizontal bar between the stitch you knit and the stitch still on the needle, from back to front. Knit into the stitch as normal.
- k2tog – knit 2 sts together
- ssk – slip 1 st knitwise, slip next st purlwise to right needle. Slip sts back to left needle, knit both sts through the back. (The traditional method of SSK is to slip both sts knitwise, then knit through the back loop. This KnittingHelp tutorial shows that an SSK Improved where the second st is slipped purlwise and may lay flatter in your work. You can use either method.)
Pattern and Construction Notes
- The Strata Wrap is knit on the bias, with 3 major components to the construction:
- Part 1: Starting with 3 sts, increasing on both ends until desired width
- Part 2: Increasing on one end, decreasing on the other until desired length.
- Part 3: Decreasing on both ends until 3 sts remain, then binding off.
- The wrap is worked in rows. Turn at the end of each row.
- Your wrap may be slightly crooked while working, but can be flattened and squared out by blocking. A wool yarn will block out more square than an acrylic yarn.
- The Strata Wrap can be adjusted for different widths and lengths. Please note that any adjustments will change the required yardage. Pattern is given specifically for 3 balls of Lion Brand Mandala Ombre.
Instructions for the Strata Wrap
Tassels (make them first!)
Cut 20-30 9-inch strands of yarn. (You can cut a 4.5-inch piece of cardboard and wrap the yarn around it, then cut just one end, to create 9-inch strands).
Bundle the strands together, tie a 15-inch length of yarn tightly around the middle, and fold over.
Wrap another 15-inch length of yarn several times around the bundle, about 1 inch down from the top. This creates the head of the tassel. Secure tightly with a knot, and trim tassel ends evenly.
Use the yarn ends at the top of the tassel to tie the tassel to each corner of the wrap. Weave in yarn ends into the sts along each corner.
Part 1: Increase on both ends.
Using the long tail method, cast on 3 sts.
Row 1 (WS): K3. (3)
Row 2 (RS): kfb, k1, kfb. (5)
Row 3 (WS): K2, p1, k2. (5)
Row 4 (RS): K2, m1L, k1, m1R, K2. (7)
Row 5 (WS): K2, p3, k2. (7)
Row 6 (RS): K2, m1L, k until 2 sts remain, m1R, k2.
Row 7 (WS): K2, p until 2 sts remain, k2.
Repeat Rows 6 and 7 until you have 117 sts on your needle, ending with a WR row. The width along a garter st edge should be ~27 inches.
Part 2: Decrease on one side
Row 1 (RS): K2, m1L, k until 3 sts remain, k2tog, k1.
Row 2 (WS): K2, p until 2 sts remain, k2.
Repeat until long side of wrap is ~60 inches.
Part 3: Decrease on both sides.
Row 1 (RS): K1, ssk, k until 3 sts remain, k2tog, k1.
Row 2 (WS): K2, p until 2 sts remain, k2.
Repeat until you have 5 sts left on the needle, ending with a WS row.
Next row (RS): Ssk, k1, k2tog. (3)
Next row (WS): Bind-off, and cut yarn.
Weave in ends at both ends.
Remember to show off your Strata Wraps on Instagram and tag me with @1dogwoof and #StrataWrap. I’d love to see what colorway you chose for your gorgeous new wrap!


This wrap is beautiful! Unfortunately, I do not knit. Any foreseeable conversion to crochet in the near future?
Thank you for all your generosity with your patterns. You are truly an artist.
I don’t see how much yarn wrap takes
Hi Doreen, the sample used 3 skeins of Lion Brand Mandala Ombre, but you can use any amount of yarn just knowing that your size will vary based on the kind and amount of yarn used.
I bought this beautiful pattern in the well done PDF, but now I can’t access it. I would very much like to print it. Can you help?
Where did you purchase the pattern from? If it was on Etsy you can send a message there. If from Ravelry or the website you can send an email to [email protected] and we can try to help sort everything out!