
Don’t you love when you sit around with your friends brainstorming ideas and you hijack each other’s ideas and see how far you can run with it? Kinda like rugby but without the tackling and breaking of bones. Well, my craft for this month’s #MyFavoriteBloggers theme of “Thanks” was sort of a double hijacking. I’m sure there’s proper rugby or football lingo for it, but basically, I had an vague idea that got passed up and down the field a bit and evolved into these Origami Ninja Star Thankful Ornaments. And that, my friends, is the end of my sports metaphors, as weak as they were. Be very glad.

Here’s the idea
1. Grab some origami paper and make some ninja stars pieces. Make a lot of pieces.
2. Before you assemble them, write on the back of each piece something for which you’re thankful. You can do this daily or weekly or whenever you have a little time.
3. Assemble the pieces into the ninja stars. When the holidays hit you like a mack truck, pull these out and hang them as ornaments, or pop them on a wreath, or make them into a banner. Talk about planning in advance, right?
4. Before you pack them away (or throw them out, whatever floats your boat), disassemble them again and look back at all the things you have been thankful for!
Let’s see, so that covered Thanksgiving, Christmas, and possibly set you up with New Year’s as well. How’s that for a functional craft?!
Tutorial
 1. Start with a square sheet of origami paper. Mine happened to be double sided. Single sided is fine too, just keep the white side on the inside. Fold into fourths.
2. Tear/cut the sheet on the halfway line. Now you have 2 strips of paper. If you want different colors, you’ll need to start with 2 sheets of origami paper, and use one strip from each sheet. Fold the strip in half, end to end.
3. This part is a little confusing. For the 1st strip, place the crease at the bottom, and fold the right end of the strip UP against the center crease. Fold the left end DOWN against the center crease. For the 2nd strip, place the crease at the bottom, and fold the right end of the strip DOWN against the center crease, then fold the left end UP against the center crease.
4. When you’re done with Step 3, your two strips should look like Step 4.
5. Turn each strip over, and fold the corners perpendicularly to create a vague Z shape.
6. You should have a nice blank spot on the back of each piece to write your thankful. Now, for assembly.

7. Place both strips back to back perpendicular to each other.
8. Take the corners of the bottom strip and insert them into the fold/slot of the top strip.
9. Flip the whole thing upside down, and do the same as Step 9. Take the corners of the bottom strip and insert them into the fold/slot of the top strip.
10. You should have a completed ninja star!

I’ve made a few stars and written down some of the things I’m thankful for, like the princess sleeping on my lap, and the pacifier sleeping on her lap. I hope to keep making these and using them for Christmas, and then reviewing what my addled brain is most thankful for!

Here’s a look at the lovely faces of #MyFavoriteBloggers, for whom I give thanks each and every day for their support, their humor, and their creativity. Also their ability to take random bits of ideas and flesh them out into something wonderful.

Now go and visit these awesome ladies, who also took some time to reflect on thankfulness:
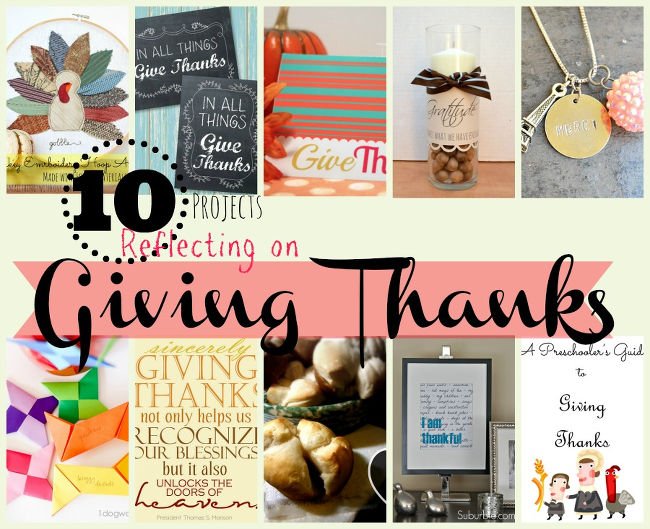
Nancy’s Turkey Embroidery Hoop Art
Kara’s In All Things Give Thanks Printable
Bethany’s Give Thanks Printable
Amy’s Gratitude Centerpiece
Kristen’s French Inspired Stamped Necklace
Sky’s Giving Thanks Printable
Marilyn’s Thanks Dinner Rolls
Tara’s An Art Piece to Give Thanks
Melanie’s A Preschooler’s Guide to Giving Thanks.
As we come to the holiday season, what are YOU thankful for?


I LOVE LOVE LOVE these!! I love your thankful notes too (I was always so grateful for pacifiers too). This is such a great idea and fun way to remember to be thankful.:)
Such a great idea! I’ve done a Thankful Tree with my boys in the past, where we added a leaf with something they were thankful for each day. They would surely enjoy this even more- these cool stars are perfect for little boys! 🙂
I love this project! It’s a great spin on the theme, and it is a great way to think about things you are thankful for 🙂 ~Stephanie
Haha, pacifiers and bloggy friends! I LOVE IT! Great idea, and so multi-functional! Nice one!
I’m thankful for you!!
What a pretty project and neat idea!
Wonderful way to extend Thankfulness through the holidays!
Such a creative way to celebrate the things for which you are thankful; and your colorful choice of paper is so eye-catching! I also love the idea that the text is hidden until you open up the ninja star…would make for a fun love note or surprise gift with clues along the way. Hmm…..
LOVE LOVE LOVE! What a fabulous and creative idea!! Thanks for sharing.
Thanks Kara! It wouldn’t have happened without all of you wonderful ladies and all those great ideas bouncing around!
Thanks Lauren! Yeah, I finally found a use for double-sided origami paper – hooray! You should totally hijack this idea for Valentine’s or something and do hidden love notes. Like, leave a trail of them from the front door to the bed covered with roses – you know, totally out of the movies. I’m conjuring Sweet Home Alabama right now…
It’s so true Melanie! Sometimes, with life being nutty, it’s hard to remember to take that moment to be thankful, so I’m glad these can be hung up as a constant reminder, at least for a few months!
Thanks Bethany!
Awww, Nancy, you’re awesome! Where would we be without you doing all the hard work of putting it together? I’m so thankful for you and all the other crazy girls we play with!
Well, you know, sometimes the little things are the life savers! 🙂
Thanks Steph! I figure each star takes a few minutes to make, and I can reflect on thankfulness even in those few quiet moments. Then those few moments add up and make you really count your blessings!
You can hang these up on your Christmas tree and the whole tree can be your Thankful Tree! Little boys would love throwing these around, but just be careful – the corners are a bit sharp, even if it is paper. My sister and I used to cause trouble with them 🙂
I use Soothie pacifiers and I think they are the greatest things in the world! Thanks for stopping by Kadie!
These are super cute !
So fun! My 10 year old twins are constantly making origami! They’ll love this!
Wow, these origami stars are amazing and I love how you “filled” them with things you are thankful for! What a great project for Thanksgiving
Thanks Marilyn! I love your thankful “filling” too! 🙂
I am putting together a last minute Thanksgiving craft round-up. Can I include this with a link back?
ChiWei, I love this origami project….you are a genius! I gave it a shout out so hopefully more people will stop by and see it!
http://goo.gl/MvHJqo
Marilyn
Wow, thanks bunches Marilyn! I’m a sucker for origami, especially the simple ones. Although I did see an origami unicorn somewhere – that’s a bit out of my league 🙂