
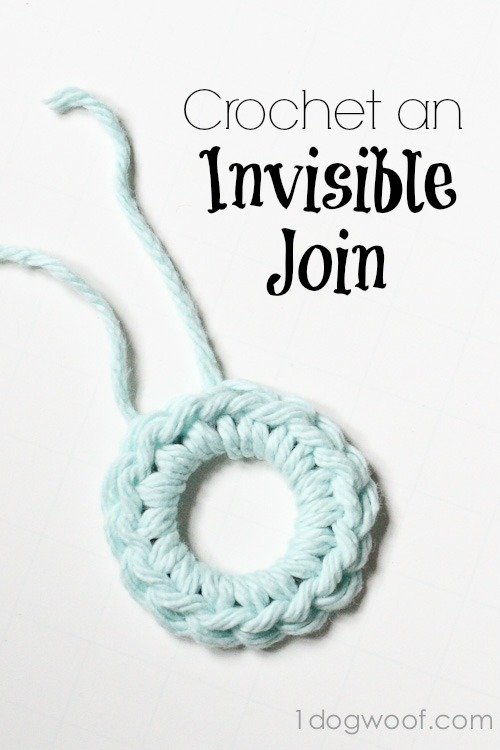
I have a little crochet tutorial today, and it is ohhh so useful. Basically, once you know this, you won’t go back to the old ways. You know how when you end a round of crochet, you get that bumpy seam that looks like a bad scar? It pretty much screams “hey! This is where my round ends, look at me!” Maybe on large projects it wouldn’t be so noticeable, but if you’re working on a teeny tiny project like I am right now, it’s the difference between success and failure. What to do? Hence today’s tutorial on how to crochet invisible joins!
Instructions:
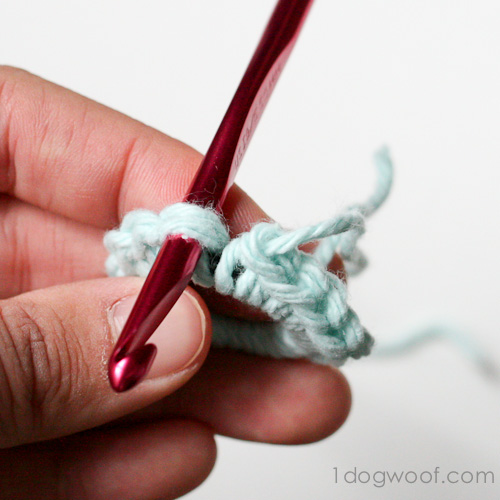
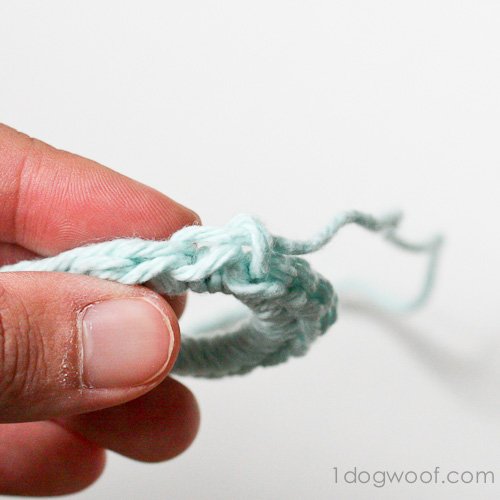
This is what the end of a round looks like.
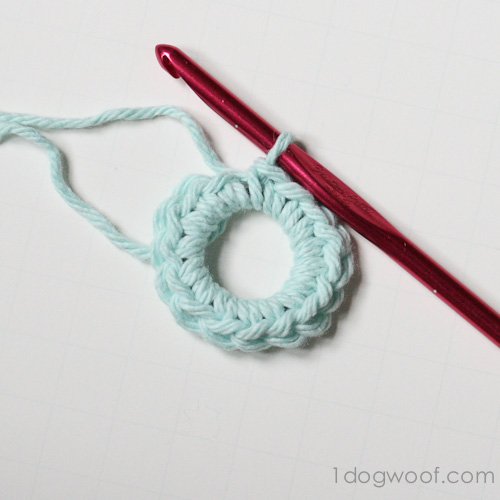
If you end the round in the usual fashion, by connecting with the first SC with a slip stitch and fastening off, you get this little knot. Which might disappear in large projects, but it’s kinda noticeable here, wouldn’t you say?
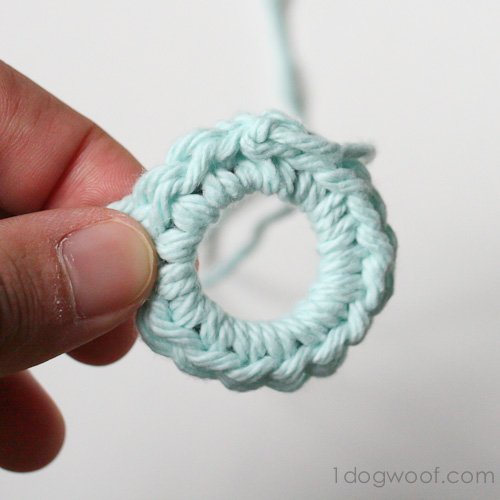
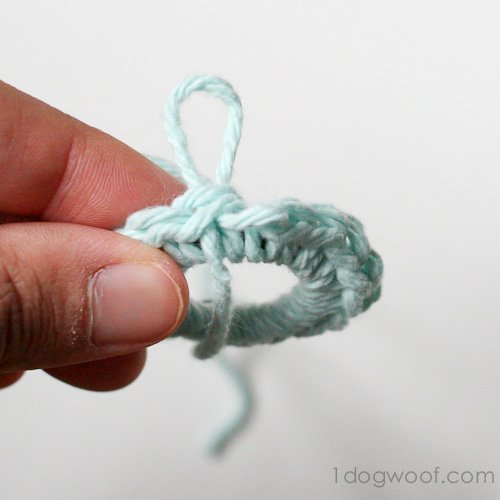
So, let’s start again at the beginning. Now, instead of connecting to the first SC, cut the yarn and pull all the way through that last stitch.
You’ve got no yarn on your hook at this point. Insert your hook through both loops of the first SC, from the back of the piece. NOTE: In this example I am using the first SC because the number of stitches don’t matter for this project. If you are counting stitches, you need to insert your hook through both loops of the 2nd SC. Otherwise, you will end up with an extra stitch in your round.
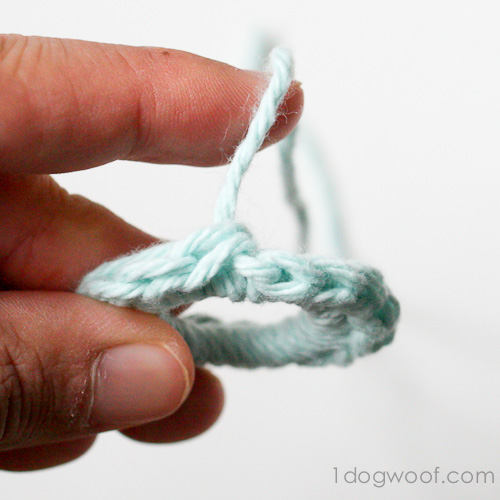
Grab that cut yarn from the last stitch and pull through both loops.
This pic is showing the yarn end from the last stitch, pulled all the way through the first stitch, through both loops from the front to the back.
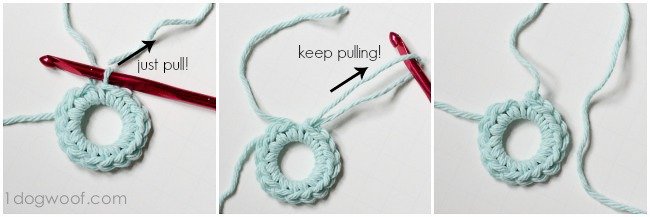
Can you see where we’re going with this yet? Ok, next. Now, insert your hook through the BACK loop only of the last stitch, from the back to the front. That’s the loop I’m showing in this image.
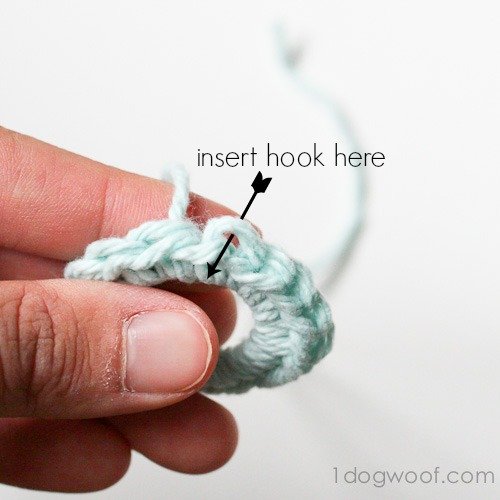
Now grab the cut yarn with your hook and pull through. That means the yarn end now goes through the back loop of the last stitch, from the front to the back. You’ve basically recreated a crochet stitch manually to finish off the round.
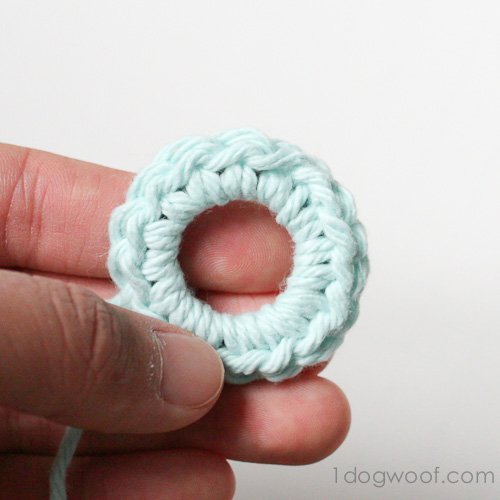
Adjust the stitches that you pulled loose, and you’ll end up with a clean round. Can you tell where the end is? Hopefully not! At this point, you can tie a knot with the two yarn ends in the back of the work.
If you’re stuffing the piece, you probably won’t even need to weave in the ends, but if not, then yes, definitely weave in your ends. This method can get annoying if you need to crochet multiple rounds, since you have to cut each round and begin the next round with a standing start. However, the beauty of the seamless join may just be worth it!
More Inspiration
Check out my Crochet page for other tutorials and projects, like this magic ring tutorial!


Oh my goodness, you clever clever lady. This is brilliant (although I’m not surprised, all your stuff is brilliant) My nan taught me to crochet and although she was really good at it she tended towards “good enough” rather than this level of attention to detail. Thank you.
Thanks so much for your lovely comment Julie! I admit this technique is a bit fussy, but it does clean the seams up really well.
good idea but how do i print without all the ads ?
Hi Dianna, you can print directly from the browser, but it’ll have the ads unless you have an ad blocker active on your computer. You can also copy the pattern to a text file and print the text file.
very cute ,i use this pattern very . Thank u for your great pattern .
Looks good!! But, someone in another group said that this method adds a stitch … or does this item end so nothing further need be done?
Or would this cause problems if someone is continuing the rounds?
Yup, if you end in the first stitch, I think it adds an extra stitch to the round. I just count the stitches at the end of the round to make sure I’m still on track. If the seam will add a stitch, I work the seam into the 2nd stitch of the round. Since you have to cut the yarn for this method, continuing rounds gets overly complicated. I really only use this technique when I’m changing colors and need to cut the yarn anyways.
Thanks for the tutorial. I have 1 question though. How do you do an invisible join when a row starts with chains? For example “ch4 (counts as hdc and 2 ch). Hdc the nect 22 sts ….Thank you some much and enjoy your day.
I’m not sure I understand the question Christine. This method is only for crocheting in a round, not while working in rows.
My problem with ugly rounds is the chain you have to do to get to the necessary height. That is always what screams out at me like a sore thumb. Any remedies?
I don’t, I’m sorry 🙂
You would put the yarn through the second chain up (the one that counts as the first half double crochet).
Do one LESS stitch than it calls for (Ex. for a double crochet, use a chain 2 instead of the 3 they always say to use – because really when you do a double crochet, you’re only doing 2 stitches)
I am always looking for ways to tuck in my ends. Thank you for the comprehensive tutorial.
That is very fascinating, You’re an exccessively professional blogger.
I have joined your rss feed and look forward to in quest of extra of your
magnificent post. Also, I’ve shared your sitre in my social networks
http://market-dcd.com
Offers, Make Money With Surveys, Win Free Money, The Easy Way To Earn Money Make money online,
Earn money by complet offer, survey, offers, multi media, ads, get paid ,
make money at home, Paid Offers, How to get money
fast, Get Paid To Complete
Every time you will got money for complete an offers.
This money you can earn per every offer.
I use this same invisible join when knitting in the round and I LOVE it. It neatens the end of the project so well.
This is my first visit in your blog & I am impressed – you’re really good at all the things you do and your attention to details is amazing! I look forward to practicing this neat technique. Just don’t have a crochet project that involves rounds yet. I enjoy looking at all your projects. 😀
Thank you!
This method is just fantastic! I am actually working on a round pattern right now when this post popped up in my Pinterest feed. I tried it out immediately and I am so impressed with the results. I’ve done this on four of my rounds and I’m surprised each time I do it. Thank you!
Yay, I’m so glad it works for you and yay for Pinterest! 🙂
I have come up with some tricks like these to make my work look better also. It is so nice to know there are others out there that are like me! This is one I did not think of and even after teaching crocheting for years I am thankful to still learn new tricks. Thank you so much! Your project directions are all well written.
I love the color and the way the yarn looks what brand and color is it?
I used Yarnspirations (Spinrite) Lily Sugar ‘n Cream. I’m not sure about the colors themselves, but the collection is full of bright fun colors!
Hi there, all is going fine here and ofcourse every one is sharing facts, that’s truly fine, keep up writing.