
Back in the day, I made my basketweave cup cozy using front post double crochet stitches, which created a fun weave pattern. Then, I made a heart cup cozy using a variation, the front post half double crochet stitch, in a graph, which pretty much opened a whole new world of possibilities. But the stitches weren’t quite square, so I thought, why not take it further and see if a front post single crochet will give me a nice square stitch that will work well with any graph? And yes! It works!
Here, I’m going to try to show you how to create the front post single crochet stitch.
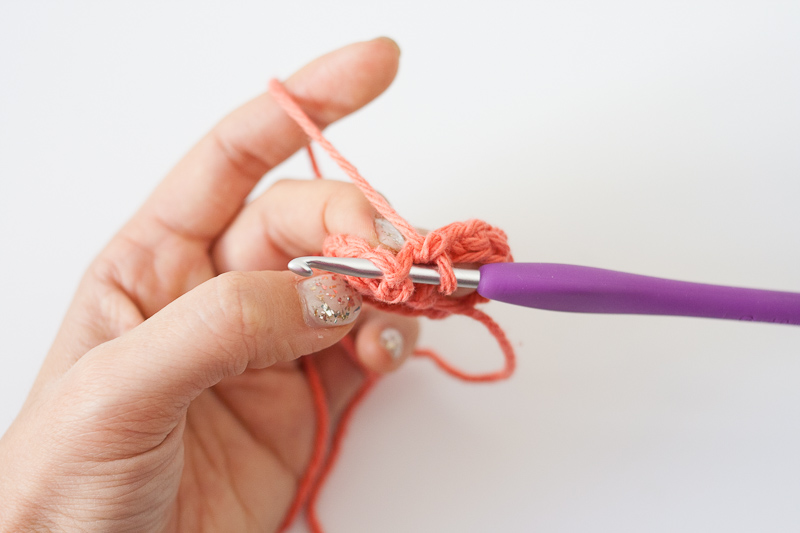
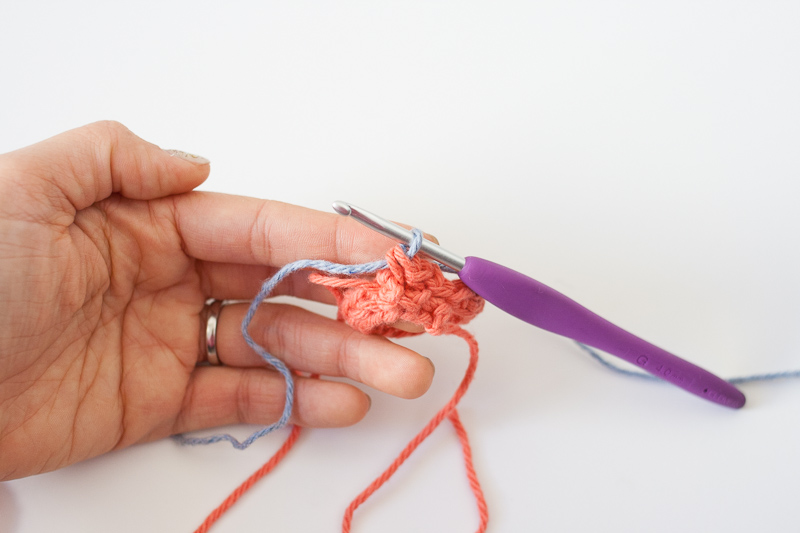
Since a single crochet stitch doesn’t really have a post to work around, you’re going to insert the hook into your normal single crochet stitch, under the 2 loops. But instead of yarning over and pulling up a look, insert the hook from back to front under the 2 loops of the next stitch. That becomes the ‘post’.
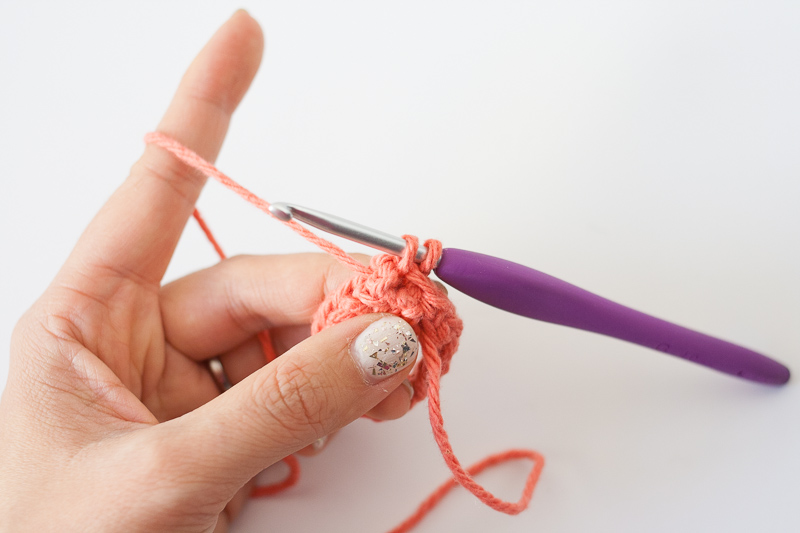
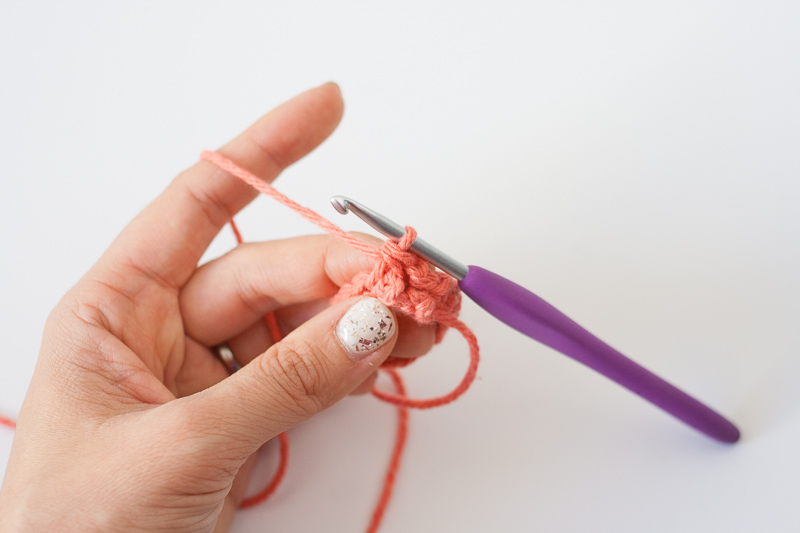
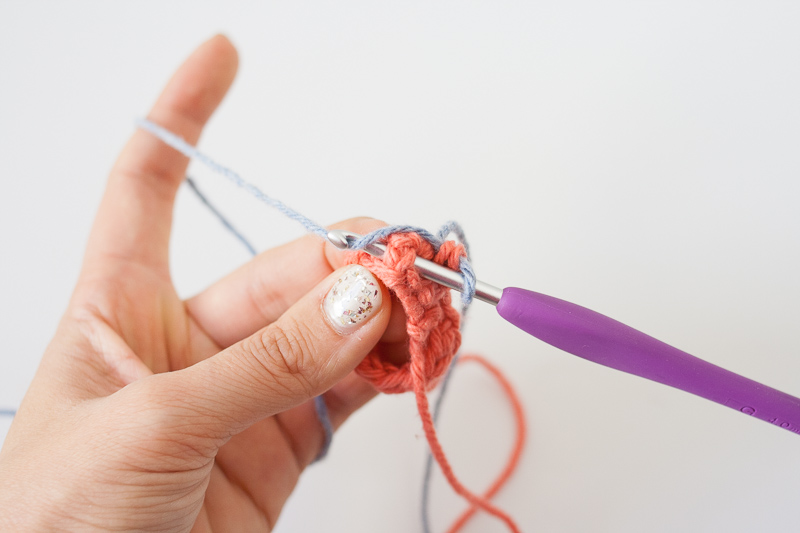
Now you can yarn over, and pull up a loop. Yarn over again and finish the single crochet. Super easy, right?
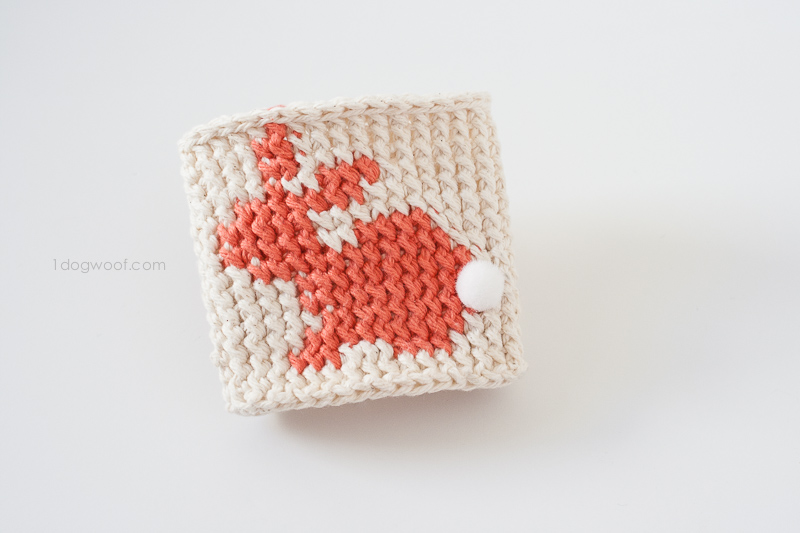
It creates a really unique look to your piece, see how it turned out on my bunny cup cozy.
Changing color is the same as usual. Finish your last stitch by pulling up a loop of the new color.
Then, using the new color, insert your hook into the next stitch front to back, and insert your hook into the next stitch back to front. Yarn over, pull up a loop, yarn over and complete the single crochet using the new color.
If you’re working graphs, there will probably be lots of color changes, which means you’ll need to carry some yarns along. What I’ve found is that I can carry a yarn pretty securely this way: Insert your hook front to back into the single crochet. Now put the hook around the carried yarn, so that the carried yarn is between the hook and the back of the piece. When you insert your hook into the next stitch from back to front, that carried yarn will be locked into place! A slight tug on the carried yarn will help it stay invisible on the back of the piece.
I’ve carried up to 3 yarns at a time while using this method and it works great. Just note that it does thicken the piece slightly because there’s all these yarns coming along for the ride!
Alright, now onto the possibilities of using this neat technique!


Such a cute bunner. Do you have the pattern up somewhere? I’m new to your site so haven’ had a chance to check around.
this 10 tips are indeed helpful, but I have some questions that is why the picture quality is not changed even after changing the picture size? And the tips 4 about the PPI and PDI, I was not aware of it. That was informative.
I’m making the autumn crochet hat. I’m in row 9 where it says dc in each stitch around. Which previous row do I use, row 8 or row 7? Thanks so much!