
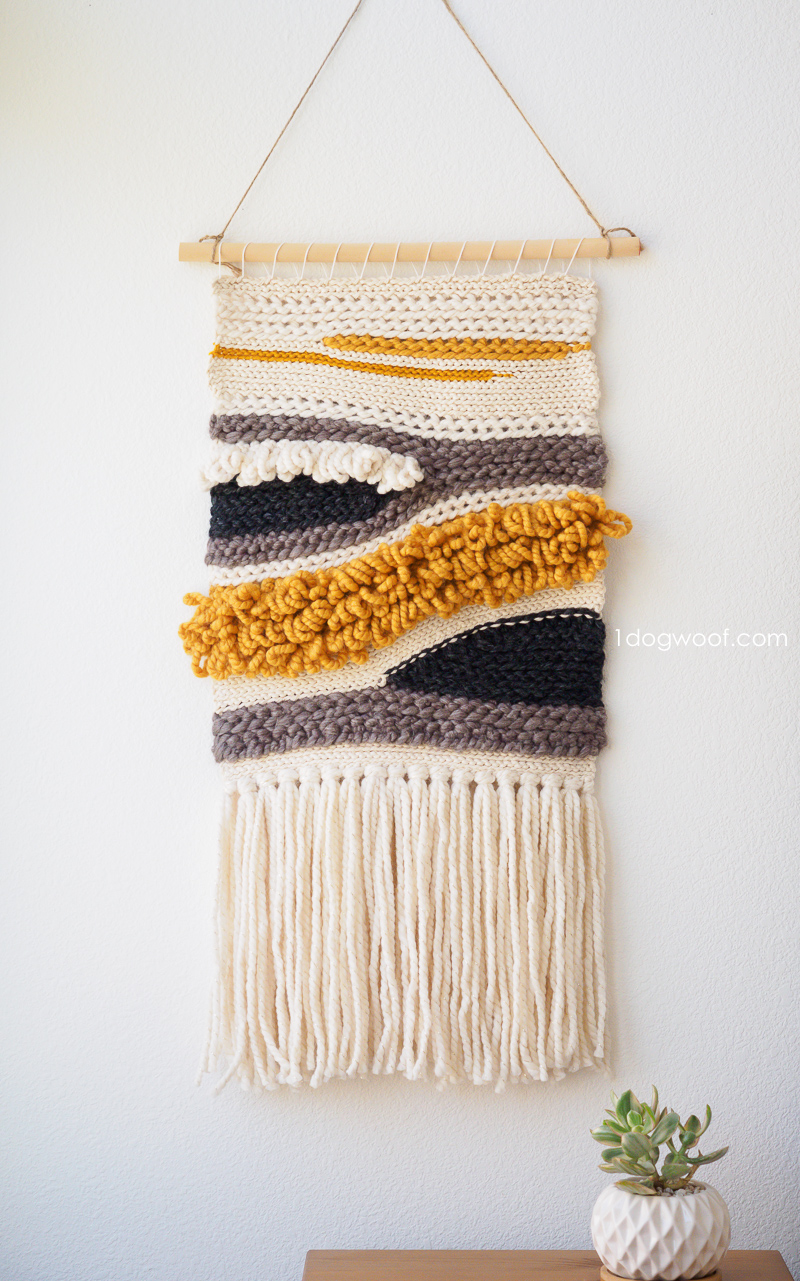
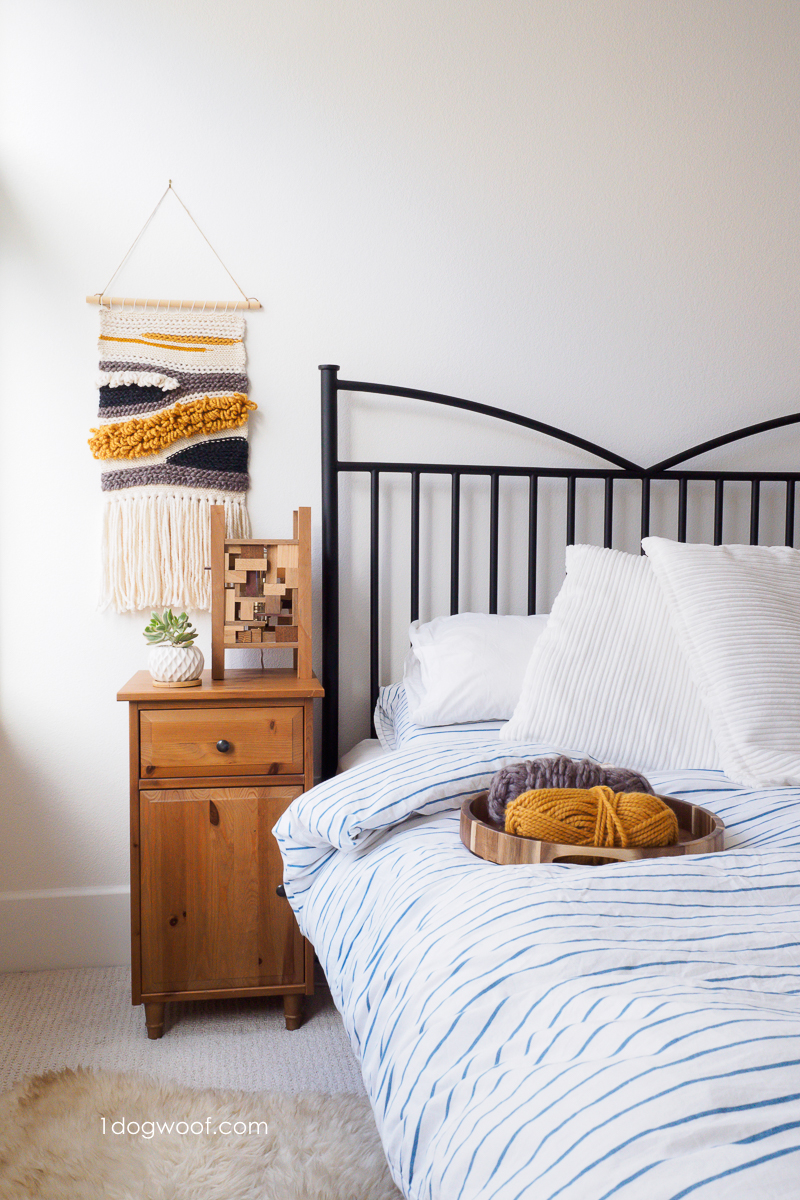
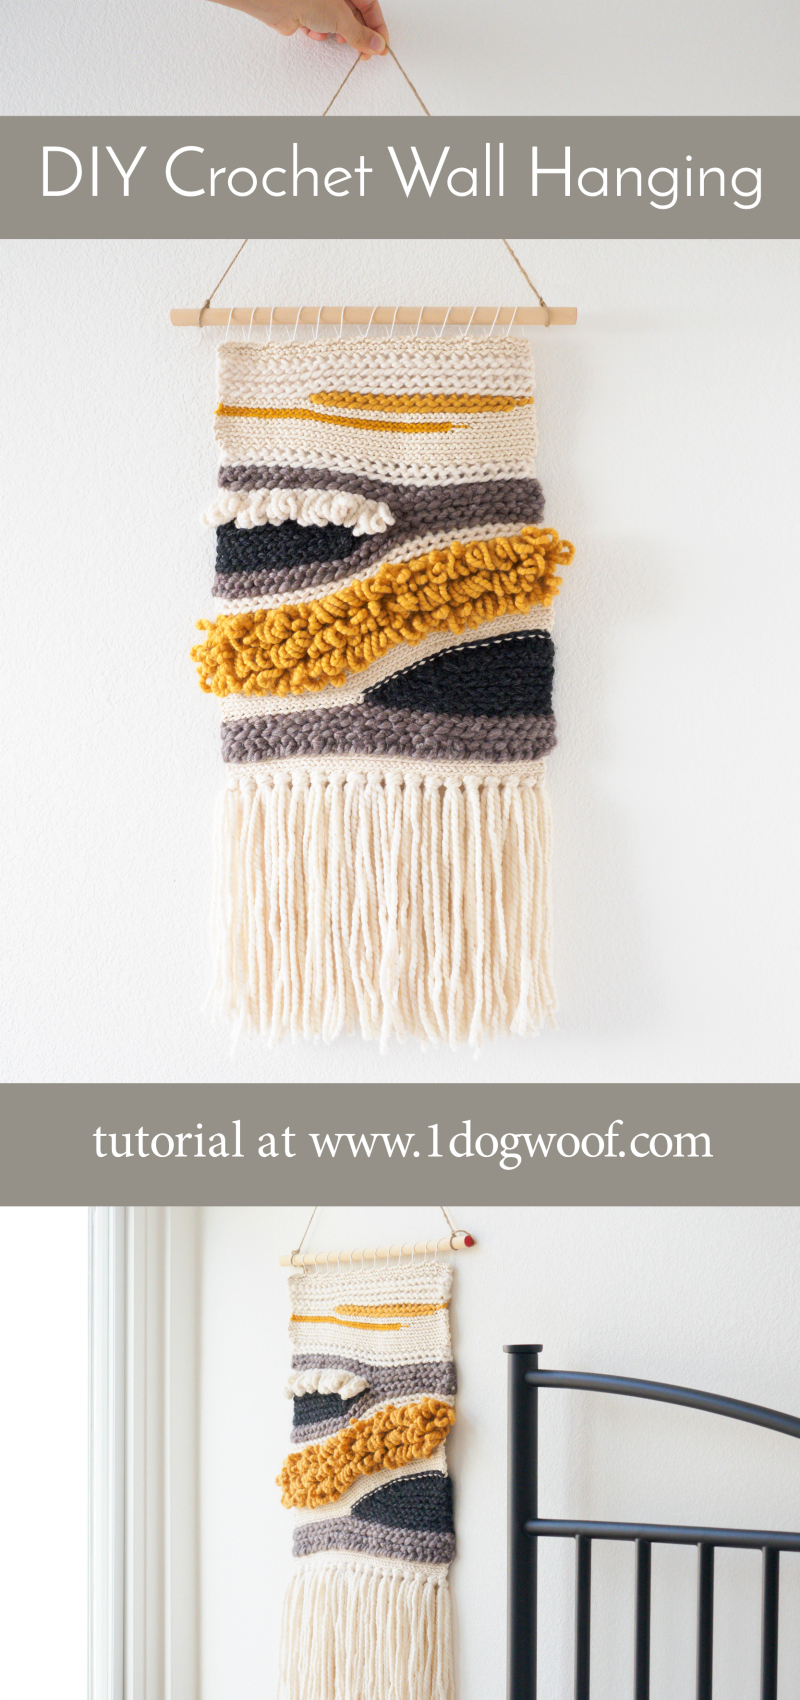
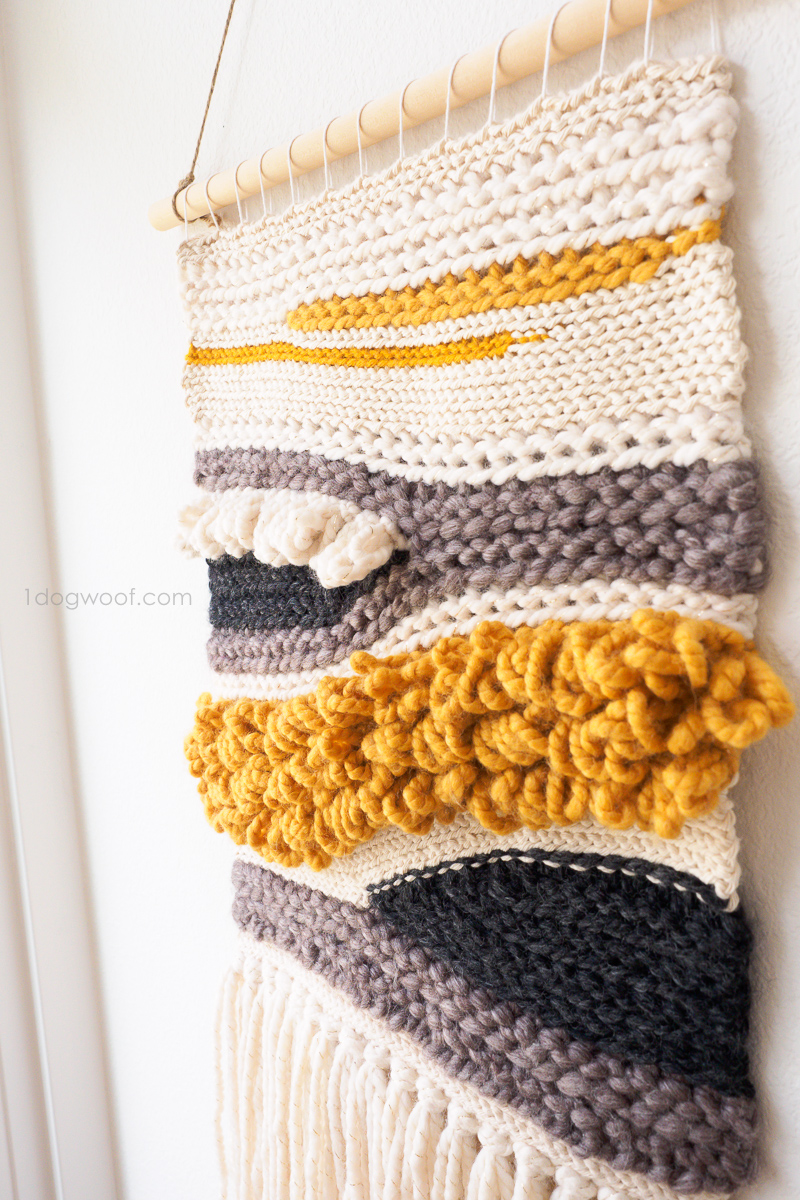
I’m excited to show you how a simple stitch can be used to create a woven-looking crochet wall hanging, so you can have a funky or geometric piece of decor to add to your room! And hey, use the same techniques to create rugs, pillows, or even make a fashion statement!
I’ve been looking at and dreaming about wall hangings for a while now, but figured it’s a weaving thing, and I don’t do the weaving thing. But then, I saw a woven tote bag from Sun Woven Studio, and thought it looks awfully similar to tapestry crochet using slip stitches. I had played with slip stitches once for my friendship bracelets, and knew that it can be used to create a dense fabric. It just never occurred to me to use slip stitches to replicate a woven look.
This idea seriously kept me up for a night, and I had to get started on it the next day. Good thing it was Thanksgiving, and I didn’t have to cook, so I could work on it all day long!
I made up this pattern as I went along, and everyone’s design will be different, so I’m not sharing a specific pattern. Instead, I share tips and tricks and different techniques I used as I went along, so you can make up your own design. It’s a bit of freeform crochet, I guess, and it’s really fun. The freedom of not following a pattern or writing a pattern is a relief and definitely not something I experience all that often.
I’ve made a video to show a few of the steps that I describe below.
Step 1: Choose Your Colors
Just like with any project, you’ll want to choose your yarn and your colors first. This is a great project to use up yarn scraps, since there’s no set amount of yarn needed, and the design is free-flowing. Use different weights of yarn to create texture and interest, and pick your favorite colors!
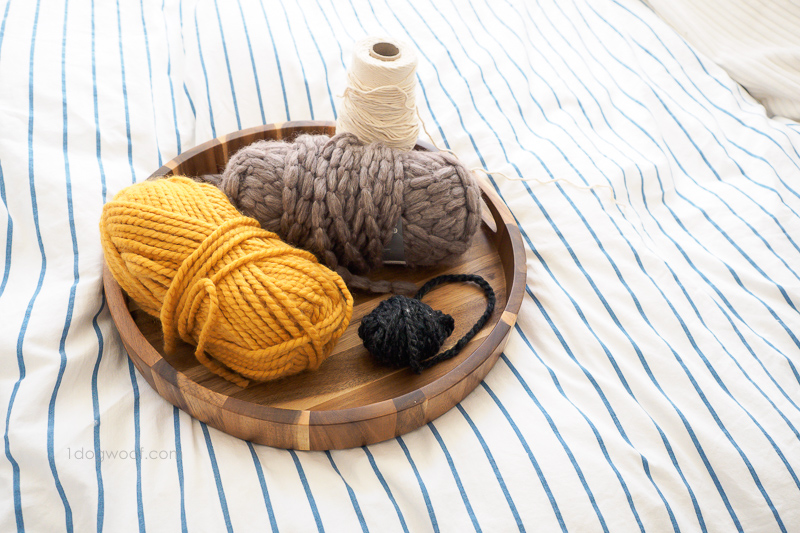
I started with baker’s twine* actually, to give it that tight woven look, but then branched out to Patons Cobbles, Lion Brand Wool Ease Thick and Quick, and a bit of Lion Brand Wool Ease at the end. I used white crochet thread for hanging.
Step 2: Plan, just a little bit
I say this is somewhat freeform, but it’s still a good idea to have a rough idea of what you want to make. A simple sketch with large sections filled in might come in handy. Once you introduce curves into the piece, you’ll need to plan an exit strategy so you can get back to a straight row to finish.
Step 3: Front Loop Slip Stitch
Start with any desired number of chain stitches in your first yarn. This is the bottom of your piece, and you’ll be working bottoms up.
Starting from the 2nd chain from the hook, work slip stitches in each chain across. Turn. Do not work a chain 1.
Continue working slip stitches in the front loop of each stitch across for as many rows as you want.
Tip 1: Note which side is the right side and which side is the wrong side.
Tip 2: Changing Yarns and Hooks
If you’re changing yarns of the same weight, then just continue as usual.
If you’re changing to a different weight yarn, you’ll need to be careful with which hook you use. You might need to find one that works with both the new and old yarn, or keep switching as you go.
Work the new yarn into each stitch across – but note that if you’re changing to a bulkier yarn, your piece will get wavy as the yarn wants to take up more space. On the next row, you may want to skip every other stitch to bring the stitches back to the correct width.
Yarn changes should always be on the right side of your work.
Tip 3: Increasing and Decreasing
Working bulky yarn into less bulky yarn may require you to work into every other stitch.
Working thinner yarn into bulky yarn may require you to work 2 slip stitches into each big stitch. I found that it’s easiest to work a slip stitch as usual, and then just work a chain stitch to cover the remaining distance. Another option is to work a slip stitch into the front loop, then work the 2nd slip stitch into both loops. Again, remember to make these changes on the right side.
Tip 4: Create New Sections
You don’t have to stick with rows! Play with geometric designs like tapestry crochet, or freeform different sections by using short row crochet.
Tip 5: Always use slip stitches.
Work them in every stitch across, or in some cases, every other stitch across. On slants or curves, work them evenly wherever you can.
It may help to keep a running count of how many stitches you started with – this is how many you need to end up with. In between, the count is less important, but don’t wander too far off the track!
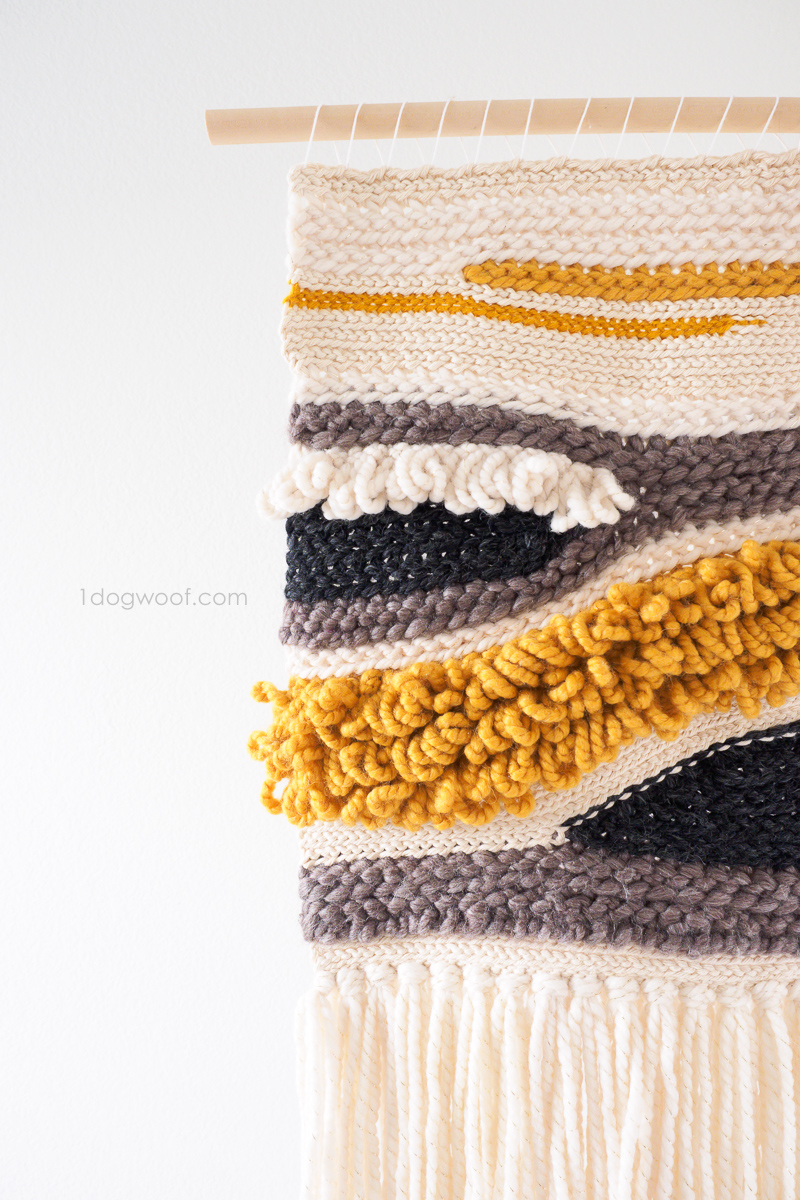
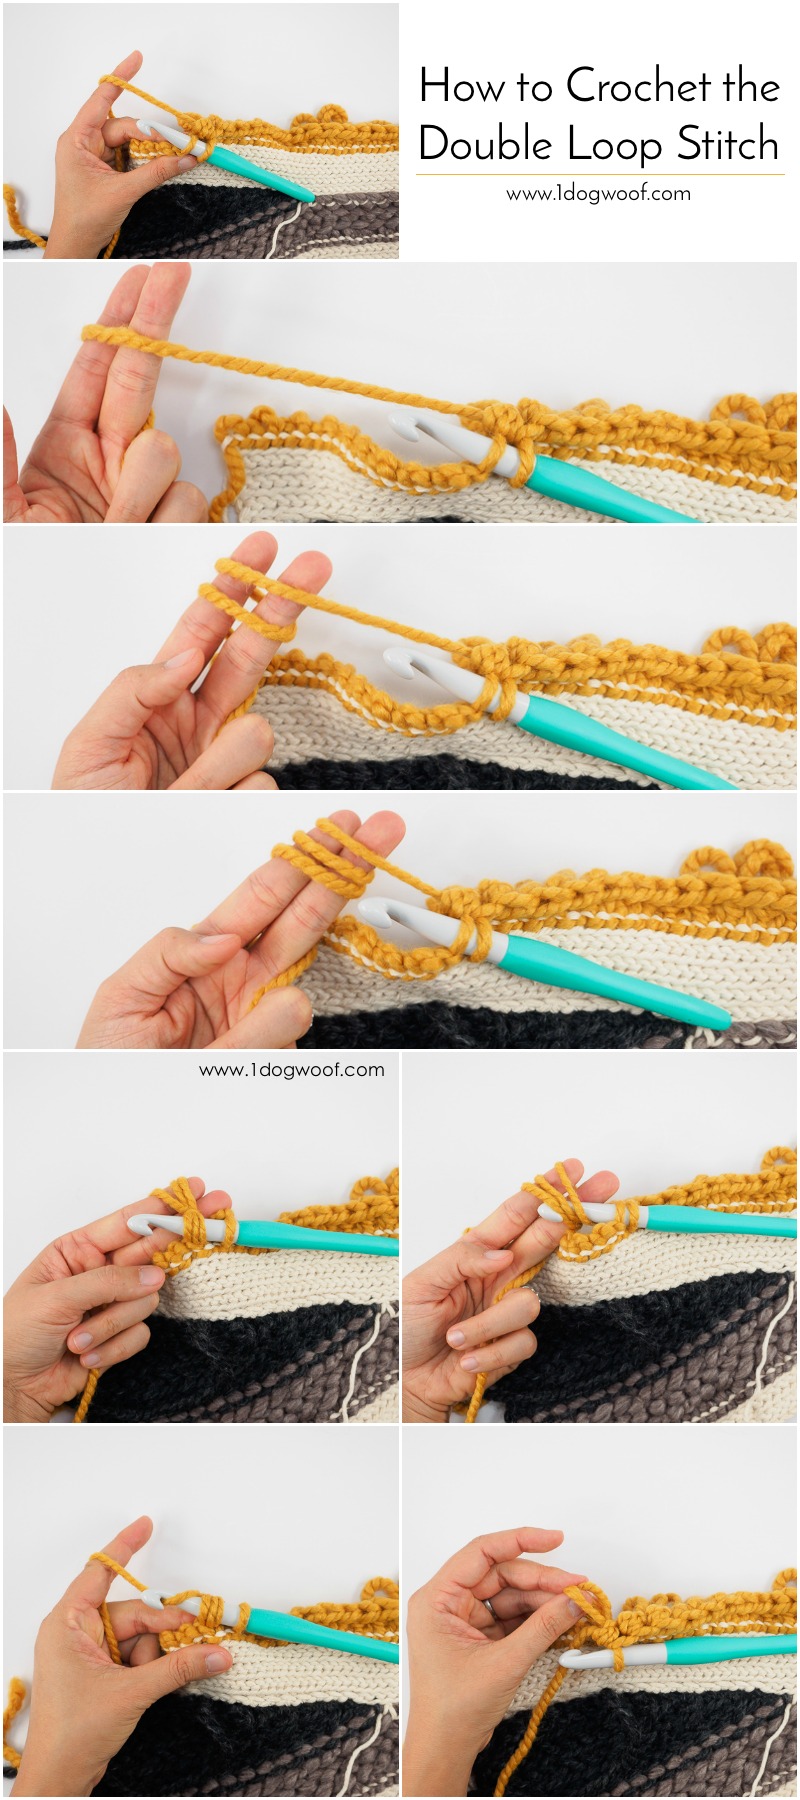
Tip 6: Double Loop Stitch
Add loops using the Double Loop Stitch. This is super fun to use! I kinda want to make a whole blanket or rug with nothing but loops now.
Step 4: Finishing
As you near the top of your piece, you’ll want to start flattening out your rows. This may mean adding a few sections to make up for some dips and curves. Or you can use a bulkier yarn at different tensions to even out minor curves. It may take several rows to flatten out any curves, so make sure you have enough yarn, and ideas, to get you to the end!
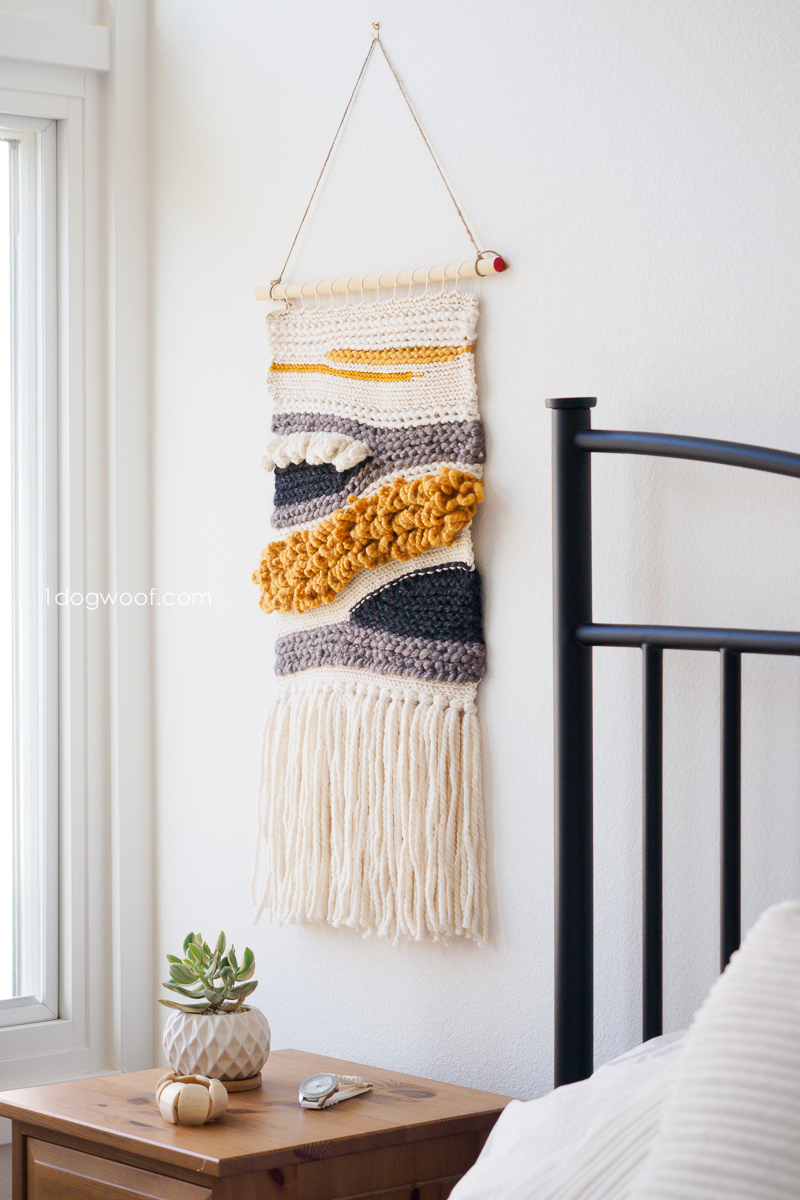
When you’re done with the piece, you can finish it as a pillow, or leave it as is for a rug, whatever it is that you are making. For a wall hanging, sew on loops to hang the piece from a wooden dowel (or driftwood, you know, if you’re super trendy), and add fringe.
Last tip: Fringe
Create even fringe by wrapping yarn around a hardback book at whatever size you choose. Then cut along one edge, and you immediately have a ton of yarn pieces of even length, perfect for fringe!
Will you be making a crochet wall hanging? Or will you turn your creativity into something else, like a pillow, or an accent rug, or even a sweater?
Check out my pattern shops on Etsy and Ravelry where you can purchase printable PDFs of my latest crochet patterns. These PDFs are formatted without comments or ads, and have instructional photos at the bottom for optional printing.
I sometimes include affiliate links in my supply lists. Purchasing from these merchants earns me a small commission with no extra cost to you, and goes towards supporting One Dog Woof.
Please be respectful and do not sell or distribute this pattern in any way, especially as your own. Instead, share the original blog post link! You can sell finished products made from this pattern by giving credit to One Dog Woof as the pattern designer and linking to the blog post. If you have any questions regarding distribution or translation of this pattern, please see my Terms of Use. Thank you for your consideration!


I thought this was a woven wall hanging until I read the description, how clever! Looks great, and I love the colors you put together.
We are SO lucky to have someone like you who is willing to lose sleep to come up with such a wonderful idea! I’m amazed at such a beautiful wallhanging. I also thought it was woven. Brilliant!!!
Do you go through the first loops of every row?
So cool. Thank you for sharing this. I am definitely going to give it a try. I think I’ve made another of your patterns, a child’s vintage dress. I got confused, but it worked out and is cute as can be. Thank you so much!
Wow, this is so cool!!! I can’t wait to try it! Thank you for all your time to put into patterns and video’s and tutorials. It is truly awesome!
Thank you so much for this wonderful idea and your many tips ! I like wall hanging but I’m not into woven things either, so your crochet one is perfect for me ! I keep this article for later. 😀
Hi ChiWei. Your crocheted wall hanging is amazing! Thanks so much for sharing your video tutorial. I am sure our readers will be inspired! We’ve shared your post in our latest Top 10 In Craft guide this week. https://craftylikegranny.com/creativity-is-contagious/ Cheers Jodie 🙂
Thank you for sharing this! The work is beautiful. Will you share which size crochet hooks you used?
This looks amazing. It looks woven and the loop stitch is new to me. I will have to try the loop stitch in a pattern of my own. The colors are beautiful! Thank you for the wonderful project.
Hello. I love this! Please tell me if it matters if I start from the top. For some reason it seems easier for me to visualize how my pattern and colors will go.
Thank you!
Ione Bruce
I’ve been wanting to try a wall hanging for months and yours has inspired me to have a go at last. The video is just what I needed to see so thank you for making it.
Can you tell me if the music used in the video is by Tommy Emmanuel? It does sound like his sort of music.
I chose my music from YouTube’s free music library, so I am unsure of attribution.
Wow this looks awesome. Can’t wait to try it out myself. Thank you so much for sharing this ,it’s exactly what I have wanted to put on the wall but am not creative enough to have imagined it,.