
This is a sponsored post for Tulip For Your Home; I received free product for this project but the tutorial, images and opinions are 100% my own.
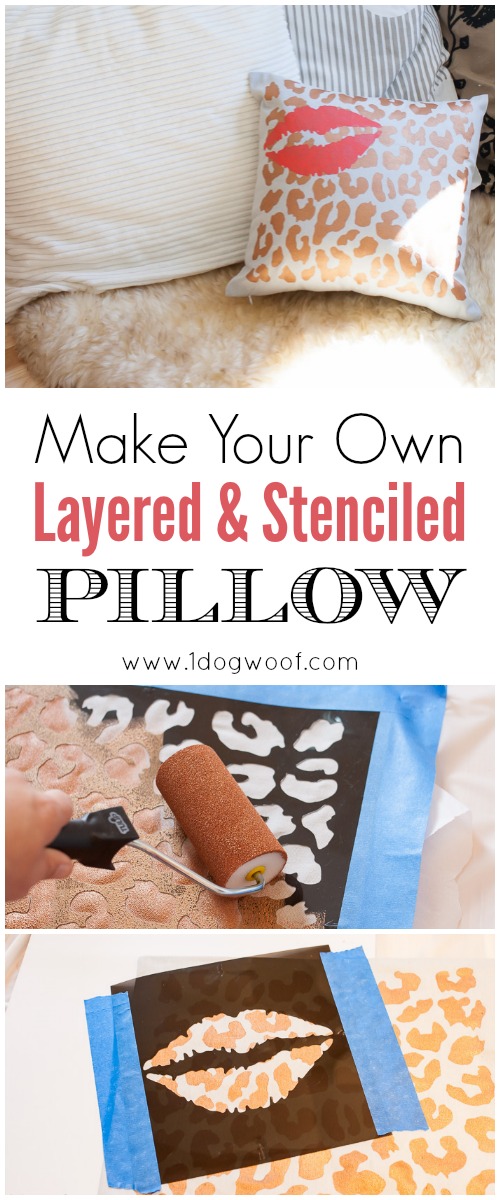
After months and months and MONTHS of work, my craft room is finally starting to come together. The room gets such beautiful light in the afternoons, especially by this one corner right by the window. I decided early on that this was going to be my daydream corner, and with the addition of this layered & stenciled pillow thanks to Tulip For Your Home, my little dream corner is much more luxe than I originally thought it’d be. This project was so simple, it makes me want to stencil and do more fabric painting projects!
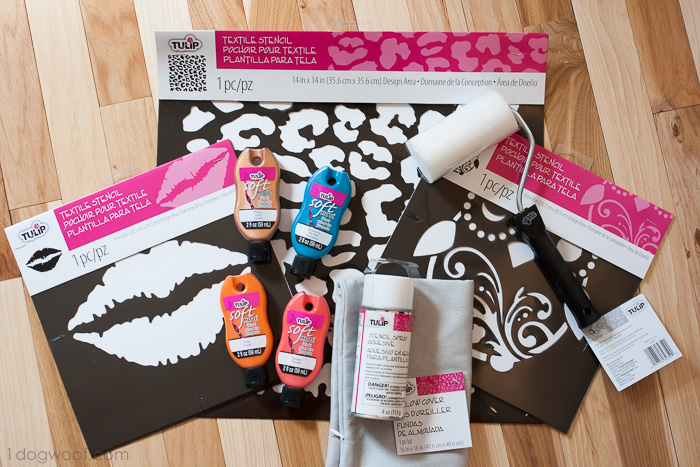
I love getting fun things in the mail, so I was super excited when a HUGE box showed up at my door with all the goodies shown below:
1 large stencil
2 smaller stencils (still not small, let me tell you)
4 beautiful fabric paints
spray adhesive
a roller
a pillow cover
The other thing I appreciate so much is having all my supplies in one spot. I usually have to scrounge all over the house for materials, but Tulip was kind enough to include everything I needed to complete this project.
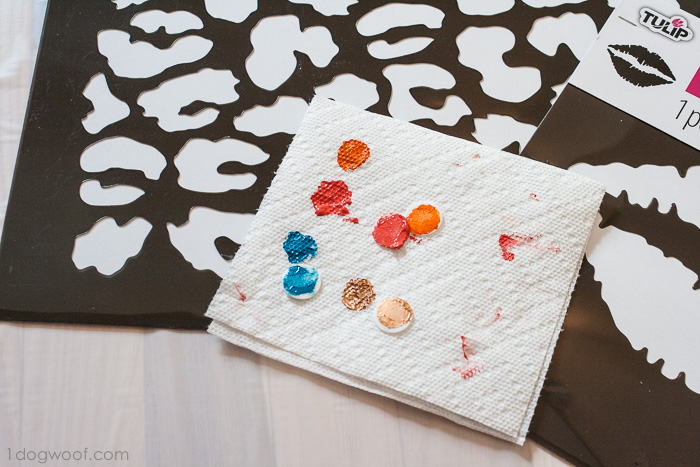
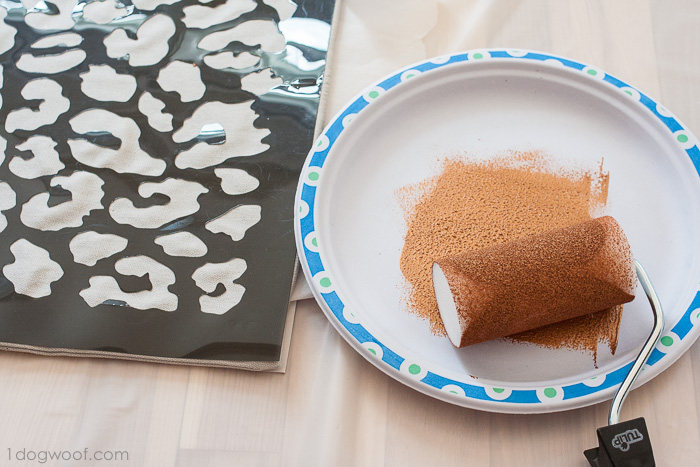
First things first. I had to check out the colors. And they were GORGEOUS. So bright, so vibrant, so rich. I’ve been planning to use a combination of aqua and coral in my craft room, but have been thinking about how to incorporate gold since I’ve been on such a gold kick lately. And lo and behold – gold and coral was part of the package! Score!
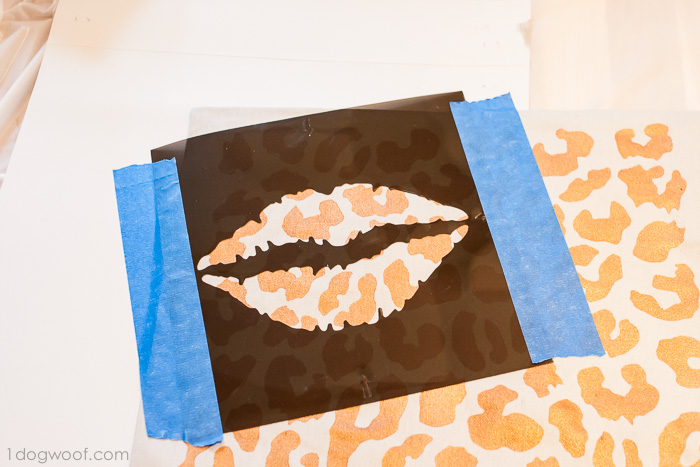
After a bit of internal debate, I decided to layer the lips in coral over a base of gold, just in case the gold didn’t cover as well. And I didn’t want to screw up because I’m a bit inexperienced when it comes to stenciling.
Step 1: Iron the pillow cover to smooth out any creases.
Step 2: Insert a sheet of wax paper or parchment paper inside the pillow cover to prevent the paint from bleeding through to the other side.

Step 3: Spray the stencil with the spray adhesive, (try not to get it all over the new hardwood floors, ahem) and press the stencil onto the pillow cover.
Step 4: Squeeze out your paint color onto a paper plate – it’s a perfect size to use with this roller.
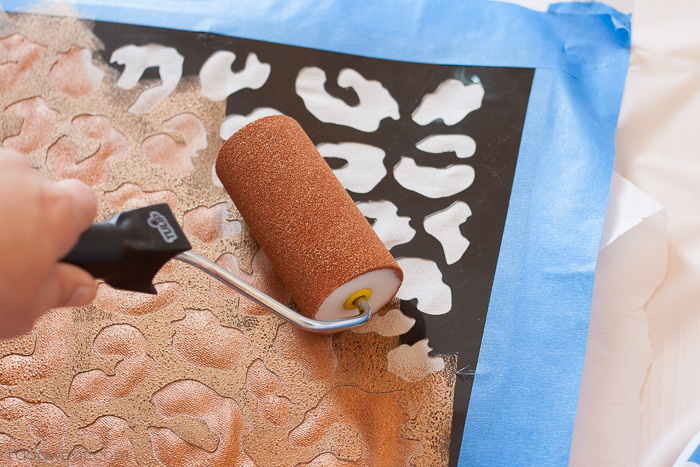
Step 5: Tape down the sides of your stencil to the pillow cover. This isn’t to prevent the stencil from moving; the adhesive did that. This is to prevent you from accidentally painting outside the stencil onto the pillow .
Step 6: I guess with stencils, you’re not supposed to “load up” on paint, but I found I needed to use more than I thought in order for the color to really cover properly. Roll roll roll, add more paint and roll some more.
Step 7: Slowly peel the stencil off the pillow before the paint has completely dried. Go wash off your stencil and your roller.
Step 8: Once you roller is clean and dried, repeat the steps above with the next stencil to layer a design on top. By the time your roller dries, the pillow will definitely be ready for a new layer of paint.
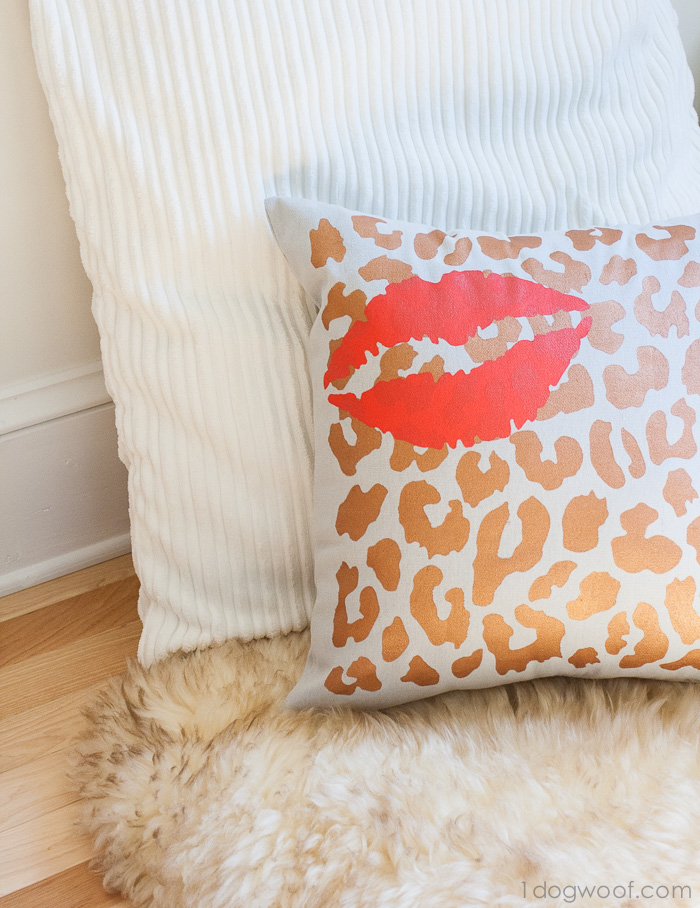
And bam! I’ve got myself a fun new pillow for my “dream station”, and it pairs so well with the super fluffy sheepskin my mom gave me.
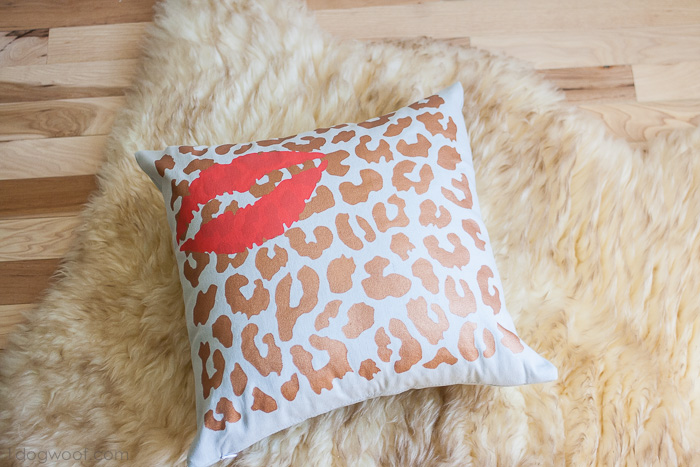
I know lips and leopard print isn’t my normal style, but I love that it’s different and reflects that rarely seen glamour side of me. And my craft workspace should incorporate all my different personalities, right?
Until then, take a moment to connect with I Love To Create (Tulip products) and check out the projects other fabulous bloggers have been creating with their box o’ goodies from Tulip For Your Home!


This is so fun, and looks so easy to do!!
I am just so impressed with the color and the crispness that you got with this stencil! It looks so great! I love the gold. Great job!
It’s really cute! Love the colors you chose too!
This is SOOOOO pretty! And your stenciled lines are amazingly crisp!
This is so pretty! I am loving all the pillows!
Very cute!! These stencils look like so much fun!
I love those big lips!
They say “mwah!” 🙂
They work really well!
I know! All the same project but so many different ways to do it, I love them too!
Thank you!
Thanks Jennifer!
Thanks Meredith! I surprised myself with the crispness, since I’ve always gotten a bit of a bleed when I do stencils. I guess maybe it was the roller? I dunno, I’m pretty pleased 🙂
Beautiful- your colors layered very nicely! I’m (gasp!) not always the biggest fan of gold, but this particular paint I really like 🙂 Great job!
Love the design and colors you chose. I’m excited to check out these Tulip products 🙂
ChiWei, your pillow is simply gorgeous! I too love the gold/coral combo! I want to make one of these pillows too…thanks for inspiring me!
Thanks Meredith! I really like the products!
I wasn’t ever really into it before, but the gold these days is muted and not so “in your face”. Just gives a nice shine 🙂 Thanks!
Where do you get the cushion covers