
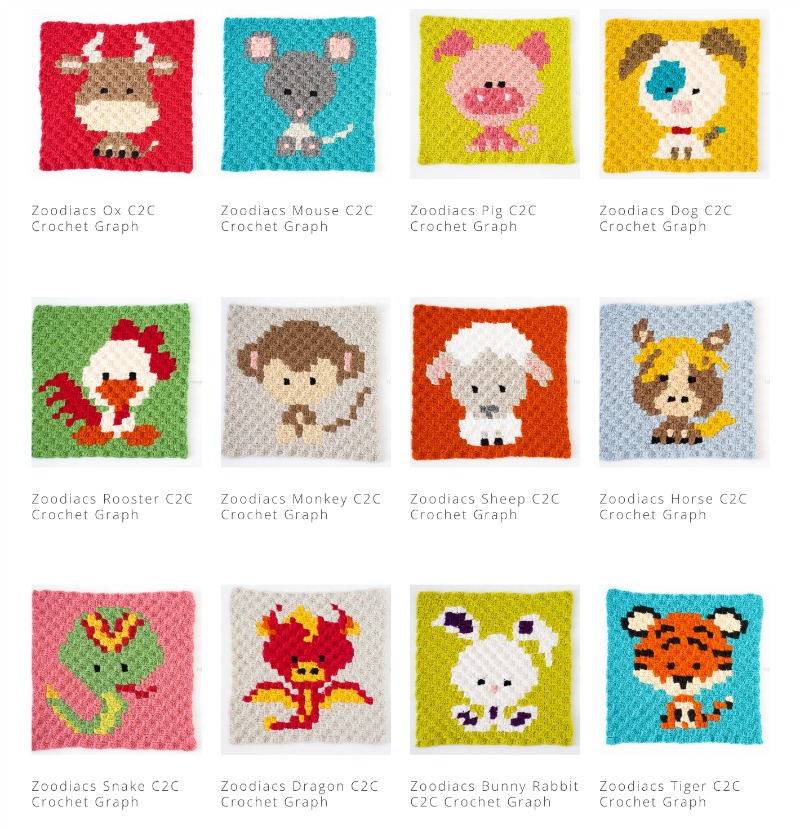
This post has been a long time coming, mostly because I’m hesitant about making videos, but now that I’ve got a few under my belt, I’m starting to see the appeal! After sharing my Zoodiac c2c graphghan squares, many of you have requested help on learning how to crochet c2c (corner to corner), so I’ve collected a whole bunch of information here to use as a resource. I think this is pretty much everything I know about how to c2c crochet, but if there’s something you feel is missing, just let me know! And if you find these videos and instructions helpful, please share with friends!
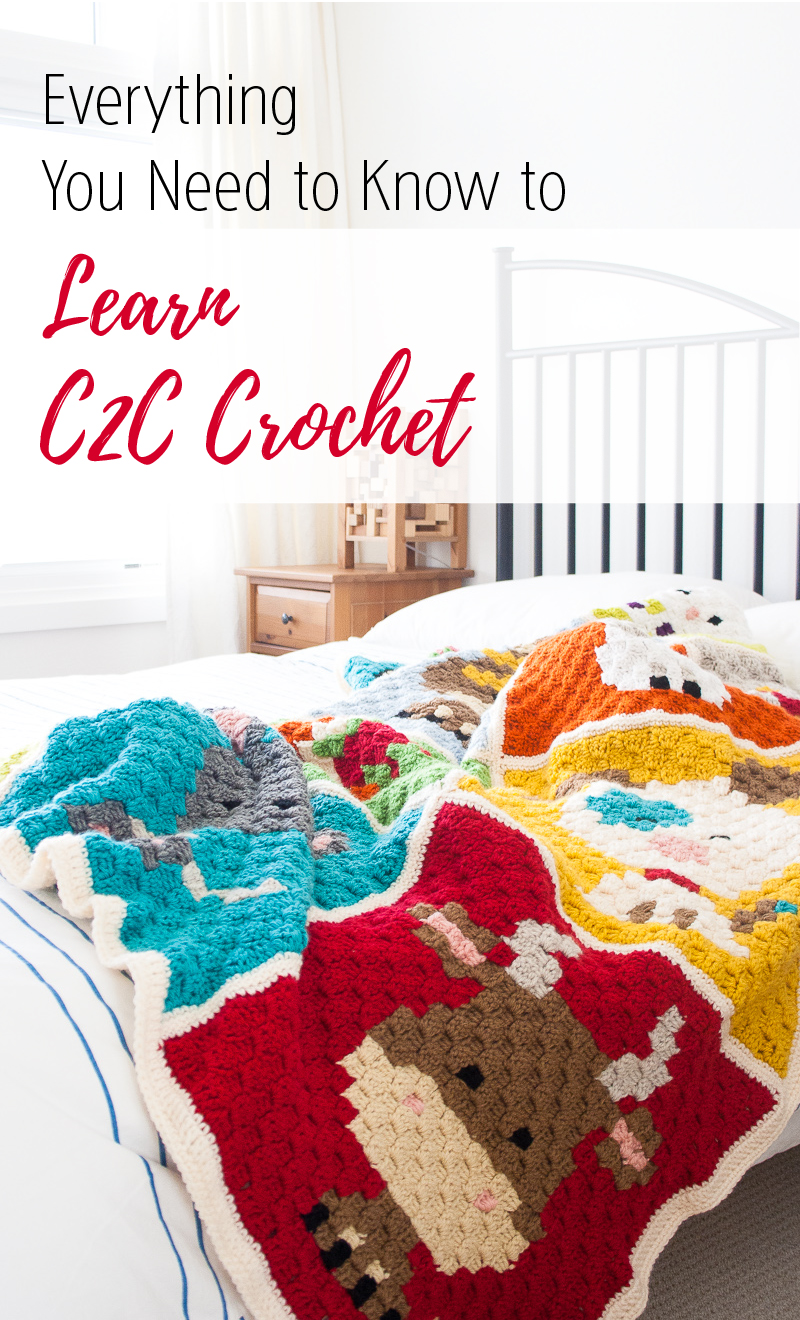
Introduction to C2C Crochet
Ok, where to start? Corner to corner crochet, or c2c crochet, is working “tiles” in a bias instead of in straight rows or rounds. This makes it a great vehicle for following pixel graphs to create images. The world sort of becomes your oyster once you can crochet a graph! Corner to corner crochet can be square or a rectangle. I’m considering working some projects of different shapes actually, as long as they have straight sides (fractals, anyone?!).
- These instructions are how I c2c crochet. There are many other tutorials and methods out there, all with their own slight differences.
- I used an I hook and double crochets for my Zoodiacs squares, and each corner to corner “tile” is about 3/4 of an inch to an inch big, which means my 23 tile Zoodiacs square is large, 18 inches or more, and my blanket is HUGE. Using a smaller hook or a tighter tension can control the size of each tile. You can also adjust to use half double crochets for different sized tiles. Any smaller and I would consider tapestry crochet with single crochet stitches.
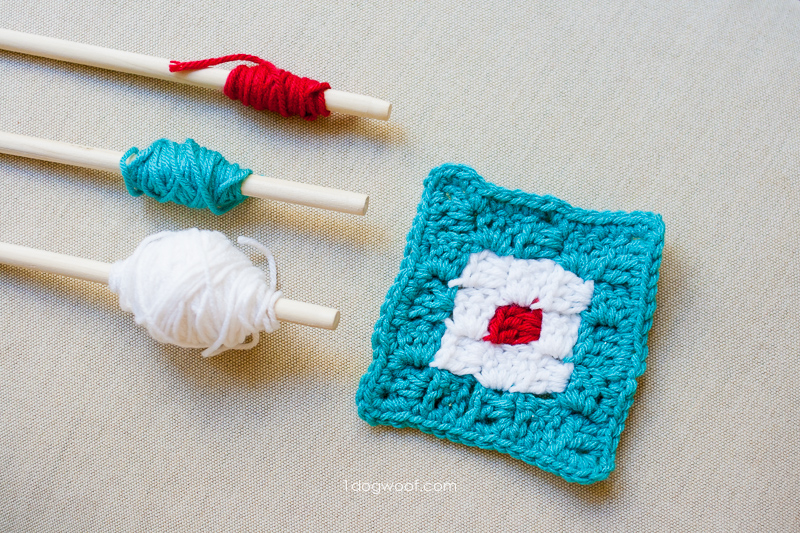
- To finish off a square or rectangle, it’s nice to work single crochets evenly around the border with the background color. This makes it easier to add more elaborate borders or to join squares together. For consistency, I like working 2 single crochets into each square – 2 in the square, and 1 in the space between squares.
- I use graph paper and Adobe Illustrator to create my graphs. You can also find tons of free project ideas by searching for Perler Bead graphs!
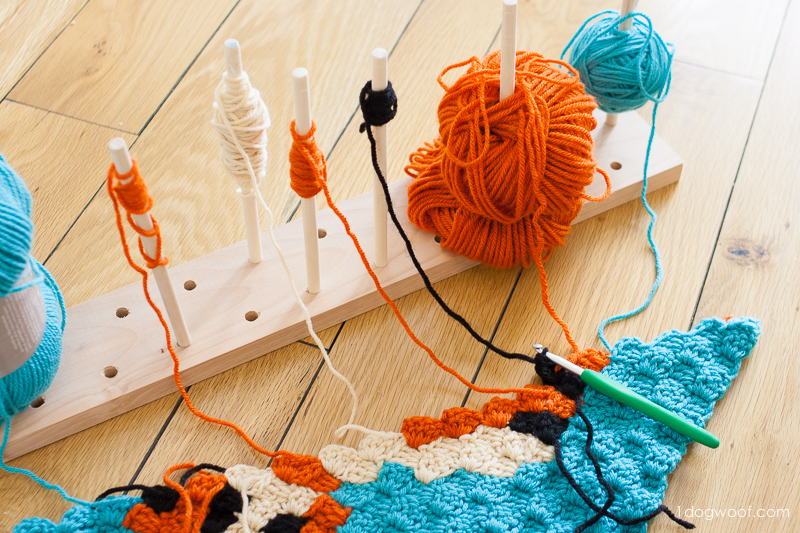
- Fair warning – a graph with many colors means there’s lots of ends to weave in. I’ll show you a few tricks I use to avoid having extra ends, but just know it’s a lot of ends.
- To help keep my yarn somewhat tangle-free, I like using my Modular Bobbin Holder to keep track of all my yarn colors. It consists of removable dowels on a wooden board so different colors can be switched around.
Supplies
- Yarn of your choice. I use worsted weight yarn, usually Lion Brand Vanna’s Choice or Loops and Threads Impeccables Solids.
- A hook, of your choice. I love my Clover USA Amour hooks*.
- The graph you’re making
- Modular Bobbin Holder
- Embroidery needle
- Scissors
* denotes affiliate links
Abbreviations
sl st – slip stitch
ch – chain stitch
sc – single crochet
dc – double crochet
How to Start C2C Crochet
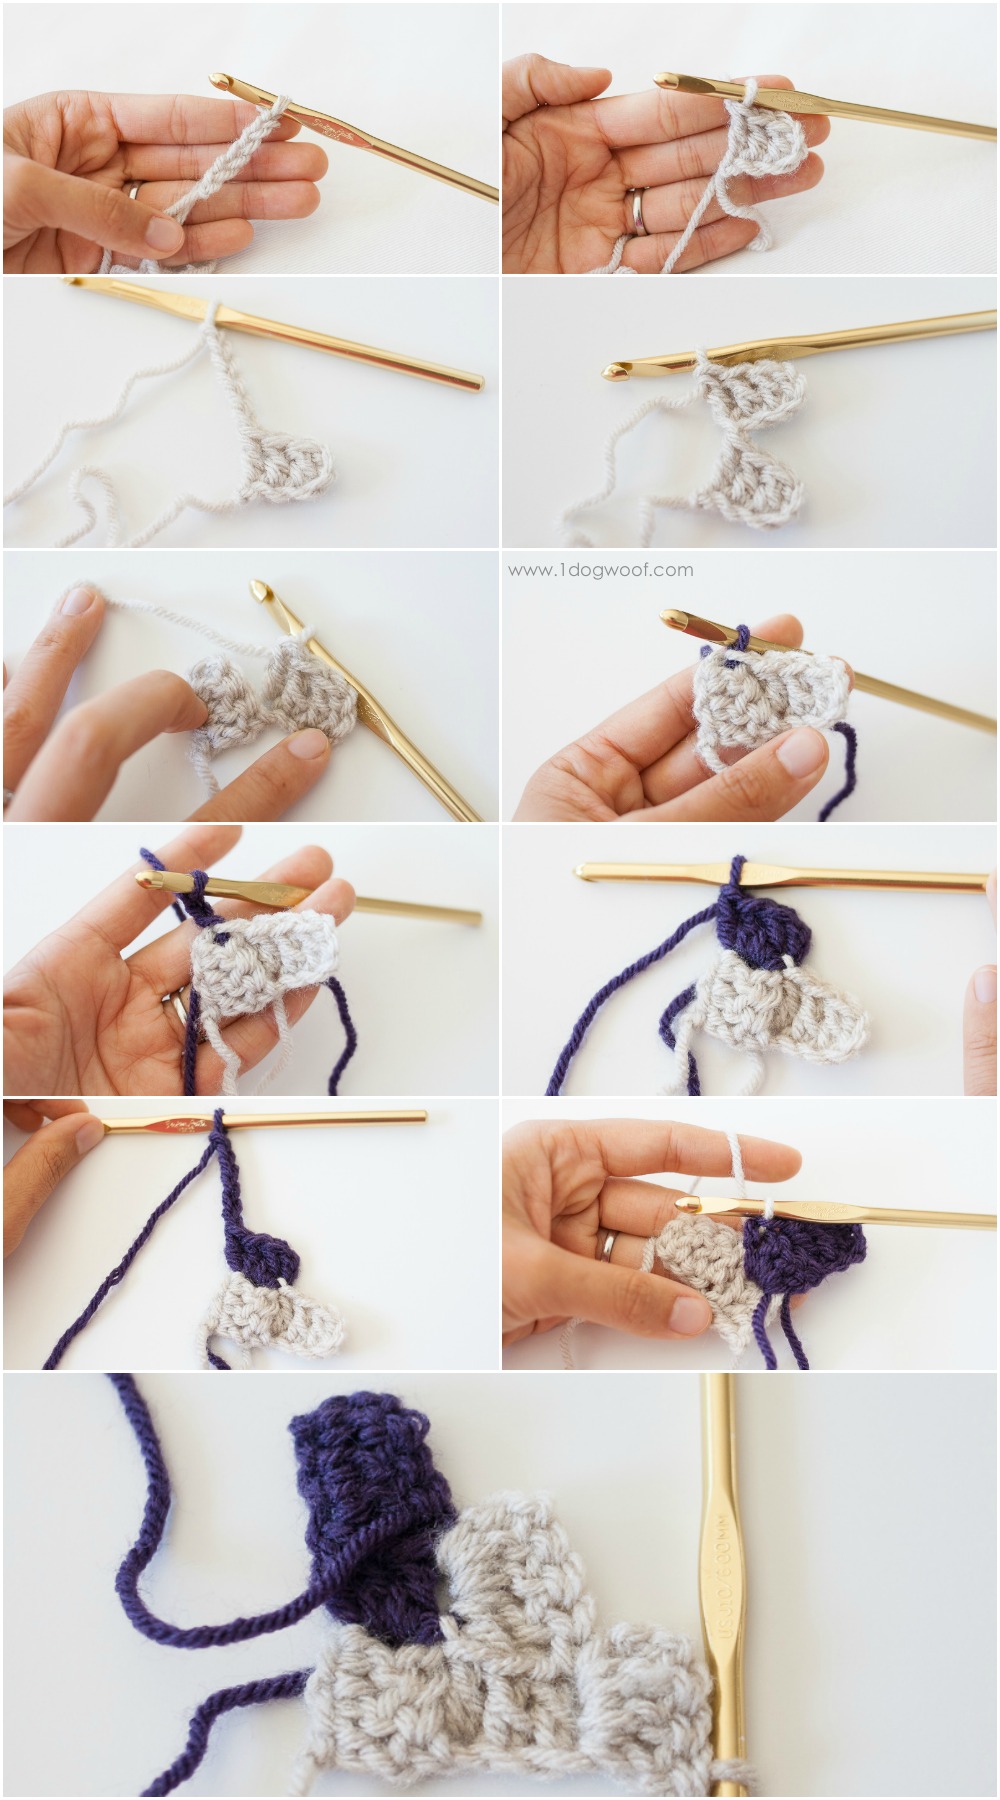
1st tile: Ch 3. Pinch the 3rd chain you made. Ch 3 more. Work 1 dc into the chain you’re pinching, which is the 4th chain from hook. Work 1 dc into each of the next 2 ch.
2nd row, 1st tile: Ch 3. Pinch the 3rd chain you made. Ch 3 more. Work 1 dc into the chain you’re pinching, which is the 4th chain from hook. Work 1 dc into each of the next 2 ch. Twist the two tiles, and then join to the first tile using a sl st into the ch 3 space.
2nd row, 2nd tile: Ch 2. Work 3 dc into chain space.
3rd row, 1st tile: Ch 3. Pinch the 3rd chain you made. Ch 3 more. Work 1 dc into the chain you’re pinching, which is the 4th chain from hook. Work 1 dc into each of the next 2 ch. Twist the previous rows, and then join to the last tile of the previous row using a sl st into the ch 3 space.
3rd row, all subsequent tiles: Ch 2. Work 3 dc into chain space.
This is the c2c increase, since you have more tiles in each subsequent row.
How to Change Colors and Carry Yarn
Now that you can start a c2c square or rectangle, you’re all set, if you want a big mono-colored blanket. But the whole fun of graphs is color!
To change color, work the new color yarn as the slip stitch when joining to the chain space. Then continue with ch 2, 3 dc in the chain space to create the new color tile.
I included a separate video to show how I carry yarn in my work and work over that carried yarn with my c2c tiles. All this so I can keep using the same active yarn and have less ends to weave in at the end.
In the video at the end of this post, where I create an entire project from start to finish, I show another way to hide yarn and work it into the c2c stitches.
How to Decrease C2C Crochet (aka The Light at the End of the Tunnel)
Once you pass the half way point on your square, you’ll start decreasing your c2c project, which means you will not longer be creating new tiles along a particular side. Instead, you’ll be working across the top of your previous tile to get to the next tile space. On a square project, you’ll increase and decrease at the same rate. On a rectangular project, you’ll increase at the same rate until you hit the 1 corner of the rectangle, then increasing on one side, while decreasing on the other. When you hit the next corner, you’ll start decreasing on both sides. In the future, I’d like to play with different combinations of increases and decreases to see what fun shapes I can come up with!
Once you’ve joined to the last tile with a sl st, ch 1. Turn. Work 1 sl st in each of the next 2 st across the top of the previous tile. Join to ch space with sl st. Work tile as normal – ch 2, 3 dc in chain space.
How to Weave in Ends for C2C Crochet
Oh, the worst part of it all. Actually, it’s not bad, because this is when you really start seeing your square come to life instead of it being a mess of loose yarn ends everywhere.
I fasten off all my ends with little slip knots by pulling the yarn through the last loop, and it’s held together pretty well in all of my projects. Then using an embroidery needle, weave the ends through the bottom of the 3 dc cluster, where the yarn is densest. I make about 4 passes back and forth through that cluster before cutting the end. Sometimes, there’s not cluster right where the yarn ends, so I weave in anywhere I can until I get to a cluster. In the end, it all cleans up pretty seamlessly.
You can also use the ends to clean up the actual c2c itself. Sometimes when creating diagonals with different colors, some tiles that are supposed to be “connected” look disconnected. I found that to be the case in my Tiger Zoodiac square – the stripes were a pain! In that case, leave a longer tail, and then sew the tail in a way to cover & hide any mistakes, connect 2 squares that look a bit separated or fix anything else you want fixed.
A Whole C2C Project, Start to Finish
The above tutorials showed different steps in the creation of a c2c project, but there’s nothing quite like just seeing someone work a whole project, start to finish. So I’m sharing a rather long video of me making this patriotic c2c square… coaster.
What you’ll see in the video:
- how I set up my bobbin holder
- read the graph
- start the first few tiles
- change colors
- make decisions on whether to carry the yarn or cut the yarn
- keep my yarns straight
- increase, decrease tiles
- fasten off
- work the single crochet border
I think that’s it! I hope this is helpful to you if you are looking to learn c2c crochet. Here are a few c2c projects to get your creative juices going:
![]()

If you have questions, leave a comment and either I or someone else from our little community can try to help. You can also share your projects with me on Facebook or Instagram!


Thank you! I’ve been wanting to have a go at this and your tutorials make it look so easy. I love that you’ve created a quick project to start on so I can get my head around it all.
Thank you so much for showing how you carry different colors and the logic behind why you do what you do. Just want to let you know that your videos have a lot of annoying adds that interrupt your instruction. You might want to consider using youtube.com videos, they don’t do that. It was almost too annoying to continue watching.
I’ve been scouring the internet for hours and I’m so glad to see that someone else has been carrying their yarn the way I am. I’m currently working on a c2c piece which is 70×70 and has so many cokour changes that I was crying thinking about all the weaving in ends. I figure if it looks a bit rough on one side it can be hidden by sewing some light fabric onto the back!
I’ve definitely had the urge to give up and cry when I think about the ends! I’ve found that if I leave long ends, I can use them to ‘clean up’ some of the edges when I sew the ends in.
Thanks for the feedback! Youtube videos have ads too, but I will look into this.
Súper genial!! Soy hispanohablante y en español no he logrado encontrar mucho de esta técnica! Sé un poco de inglés, pero seguro algo me servirá este post! Gracias por compartirlo.
Great! I’am spanish-speaker and I could not find about C2C in spanish. I just know a little English, but I’m sure this post Will help me a lot. Thanks for sharing.
Great website !
I can not wait to start my first c2c crochet project. I found already a graphan (pixel) project with 11 different colors.
If i want to make an afghan or een childrens bed sized blanket and my pattern is 100 x 100 tiles, how wil i know if i choose worsted weight yarn what the size of my project would be (working with dc)?
Is there some kind of a calculation formula to prospect te outcome so that i can adjust the yarn type?
With kindly regards,
Mrs. M van Nispen
If you use worsted weight yarn and an average gauge, you’ll probably get about 3/4″ or 1 ” per tile. You can always make a swatch and see how big each tile is, and then do the multiplication to get the final blanket size. Hope that helps!
Thank you for this tutorial. You made it easy to understand.
Have you done a skunk tile? I would love one ????
Haha, I haven’t, but maybe in the future! 🙂
Hi, I want to learn this C2C crochet and was impressed with your instructions. Is there a way that I can download the videos and watch them from my own PC? I usually can right click on a video and it shows the link I can use to download it but that doesn’t work with your videos. I have an extremely slow internet connection. I timed it once and to watch an 8 minute video it took me 62 minutes because only 2 or 3 seconds of the video loads at one time. If I can download them, I can run the download overnight and watch them the next morning.
Thanks for any help you can give.
Hello. You are saying ” 3 chains space” but you make only 2 chains. How is the correct way? 2 or 3 chains to make there?. Thank you, Laura.
Hello! Great tutorial. How did you do your neat borders to connect each animal square? I made up a snowman pattern and now I’m stuck on how to connect each square so it looks fluid and not patchy. Any input is greatly appreciated and I apologize if this has already been addressed.
Thanks and Happy Crocheting!
Bobbi
Was wondering what would be the difference in the finished project between c2c or tapestry crochet?
I’m making a c2c blanket for the 1st time. Since it’s my 1st one I want to make it plain no characters into i get used to the pattern. I do plan to use different colors making it more like stripes. How do I know when to finish the blanket and do I still need to follow a graph for a simple c2c blanket?
Any feedback would help. Thanks again for sharing your beautiful work
Do you need to block the 36 x 3 baby blanket
I’m currently working on a c2c that I had a designer in etsy create for me. So every row increases by 1 box so row 20 has 20 boxes. Well now I’m looking at the pattern and row 80-84 has 80 boxes. So that means I don’t increase either side. So when I get to the last box of the row am I just slip stitching and turning? Or do I slip stitch ch 3 and then 3 dc into that last box. It looks like if I just slip stitch and turn I lose a box (decrease) How do I keep the same number of boxes for several rows? The designer is away and has not emailed me back yet. I’m trying to finish in time for my daughter’s bridal shower so I’m freaking out a bit!!
Thank you so much for this tutorial! I am wanting to try my first C2C blanket and it was very helpful. I do have a question, I have a graph for a blanket that a friend wants me to make and it’s 220 squares by 180 squares. It says it can be used for C2C, but by my calculations that will make a giant blanket. Do you have any suggestions? Should I just do normal stitches for this one and try C2C on a different graph?
Thanks again!
This is the best way to join ends. YouTube has some great videos on it too:
https://www.craftsy.com/blog/2015/12/russian-join/
I would use single crocheting for a graph that size.
Thank you for all this great information and the videos! I’m in the middle of a c2c project and feeling unsure about the edging and weaving all the ends in properly…I’m afraid the whole thing is going to unravel!…lol
So this is a big help and great timing 🙂
I am going to attempt my first ever c2c graphghan. the pattern I am going to go is for a twin size bed. I have the pattern and it printed off on several pages which is okay. I was thinking about taping them all together so I know how to do it. Or if I don’t tape the pages together will the stiches match up once I finish each page?
I love the site, I just started a project and want to know how to determine how much yarn needed for my bobbins. Your site is the only one I found with pictures and an explanation. Want to ask you to do a video
Oh my gosh, I’m in LOVE with this blanket! I’m so glad you were kind enough to provide the pattern for free. I can’t wait to get busy making it! My grandson is really into Old MacDonald these days — with your permission, I’d like to adapt these patterns to an afghan of Old MacDonald and his farm animals.
God bless!
Thank you so much, I learned a lot from your YouTube videos and made a corner to corner blanket. However when it was finished I decided I didn’t like the color that I started with so I ripped it out. Big mistake! I should’ve looked more closely and realized I could not just continue to crochet new blocks and finish it. So I crocheted a new corner, 26 blocks and thought I could reattach it someway. I’m lucky I have any hair left trying to figure this thing out. Do you know if there is a way for me to repair this mistake I made? This is my very first project and really don’t want to have to give up on it.
Amazing, i think that this is the best crochet page that i’ve ever see , thank you for your content
Hi. Thank you so much for posting this and giving us a tutorial.
I was just admiring the Zodiac Afghan you made and it inspired me to make one just like it.
I was looking at the various tiles. I could not notice the places where you switched colors. You know if you make a slip stitch and add a new color you can tell where that is. I was just wondering how you were able to mask that in your zodiac tiles?
Thank you once again.
I have done 2 c2c squares now. Each are 25 squares for length and width. When I am done they aren’t a perfect square. It’s like they are pulling towards the corners. Normal? Will it fix when I join them all? I see other squares and they are perfect squares. Help !!!!
I purchased a pattern from Annie’s Catalog, but they have no one that can help me with the pattern. It’s called Baby Cycles and I understand the increase an decrease of the pattern from from row 56 to 70, I need to keep 56 blocks in each row. Is there any way you could help me with this? I can send you a line by email to see the pattern.
Thanks.
This is a really thorough, helpful tutorial, especially the videos. Thanks so much for all the work you’ve put into this! Thanks to you I’m ready to tackle my first c2c project!
I see you don’t monetize your blog, don’t waste your traffic, you can earn additional cash every month.
You can use the best adsense alternative for
any type of website (they approve all websites), for more
info simply search in gooogle: boorfe’s tips monetize your
website
I just watched your videos because I’d ;ove to make something for on the bed aswell. I did get confused because in the first video you end your squares on the top left corner but in the video on how to change colors, your stitch starts in the middle eventhough there are the same amount of squares you ended with/began with.
Hi, she explains it in an other tutorial here https://www.1dogwoof.com/zoodiacs-c2c-crochet-afghan/
it is called the mattress stitch joint
I have a pattern that requires me to add a new color at the edge of the piece when I need to chain 6. How do I go about securing that color? I can’t crochet over it like normal.
Also it’s one single square that doesn’t continue in the next row if that matters.
Love the site! I would like to ask a question! My c2c has a couple of holes, I cut to close when I was weaving, I am wondering if there is an easy way to fix the holes? I searched all over the internet and am having a really hard time trying to find tutorials
this idea is GREAT!!
Hi love your tutorial have finished me c2c but it’s not square I’ve done something wrong on the decrease but can’t figure what help please
When make a baby quilt I did five roll gray then change colors three roll then back to gray is that a okay .
If you end the project with 31 hdc blocks how do you do a 81 sc on one side border?
The hdc blocks take up more length than an sc. I recommend working 2 single crochets into each square and 1 in the space between squares. Hope this helps!