

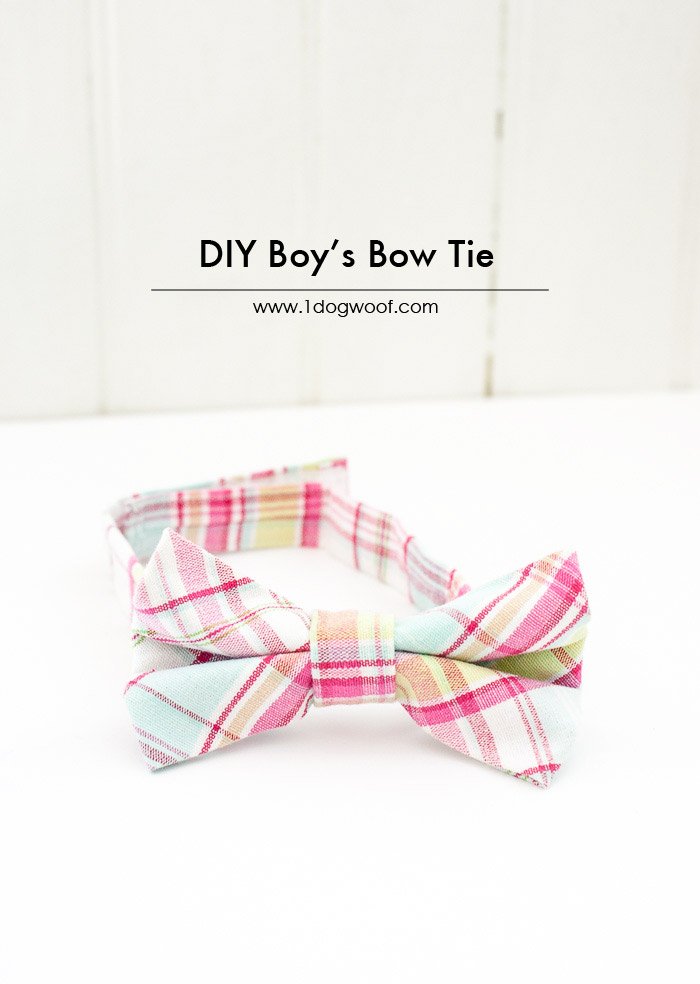
Ahh, boys. So cute, so lovable, so few cute clothes. It’s always a bit disappointing to go to a store and see all the fluffy puffy pink ruffles for girls, and then you go all the way back into the corner to find the ONE rack of toddler boy clothes. Would you like doggies or cars or dump trucks?
It doesn’t get any better when you look for boys’ dress up clothes. At Target, I found I could choose between khaki slacks and khaki cargos, a blue blazer and ..nope, nothing but a blue blazer, and collared shirts in red, blue or green. I know I could have gone to Gap or TCP and spent a lot of money on a white collared shirt, blue slacks and a khaki blazer, but really, he’s gonna wear this once. And really, it’s just blue, khaki and a neutral color – just change the combination a bit. So imagine my giddiness when I found the idea to accessorize the little man in matching suspenders and bowties. Why is it that these cuties look so good when we dress them up like little old men? We don’t dress little girls up like little old women, do we? I wouldn’t know.
Anyways, if you have a boy of your own, you’re probably chomping at the bit and wondering when I’m going to get to the tutorial ALREADY. So here we go.
I used the tutorials at Prudent Baby, Make It-Love It, and Living the Swell Life as my references. I’ll try my best to explain what I did, and feel free to visit the other tutorials to get more details.
Ok, let’s talk basics. Your bowtie is essentially comprised of 3 pieces – the main body, the loopity loop in the middle, and the strap that goes around the neck.
Tutorial – Main Body:
1. We’ll start with the body – it’s just a tube of fabric that you’ll scrunch up in the middle. Figure out the final measurements of your bowtie, then double both the length and width, and add 1/2 inch for your seam allowance. Eg. My bowtie, for a toddler, measures 4 in x 3 in. So I cut my fabric to be 8.5 in x 6.5 in.
TIP: If your pattern has lines on it, cut the fabric at a bias – it looks better! (I’ve never noticed until now, but all of hubby’s ties use a slanted pattern.)
2. Take your main body piece of fabric, fold it the long way, right sides together, and sew down the long side with a 1/4″ seam allowance.
3. Turn it inside out and iron with the seam flattened out, in the middle – this will be the back of the body.
4. Fold your piece the short way, front sides together, and sew down the short side with a 1/4″ seam allowance.
5. Turn it inside out and iron again the with seam flattened. Now you’ve got your tube. Set it aside and make the loop.
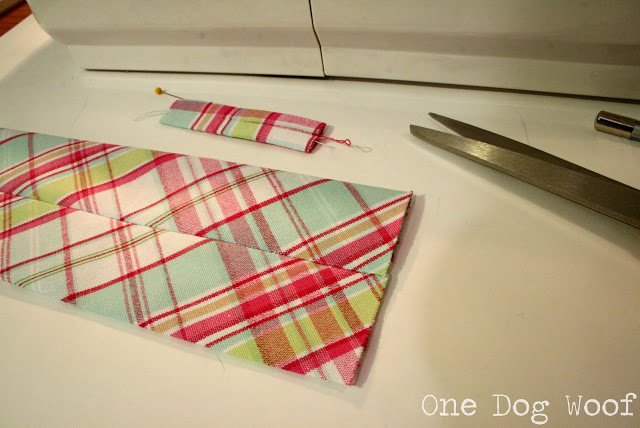
This picture shows the body and the small loop, before they turn into loops. The seam is ironed flat in the middle.
Tutorial – Center Loop:
For the loop, you’re basically going to do the exact same thing as the main body, except with a much smaller piece of fabric.
1. Cut the fabric to 3″ x 2″. With a 1/4″ seam allowance, this should give me a loop that is 3/4″ in width (subtract 1/2″ from 2″, then divide by 2).
2. Sew the loop together with a 1/4″ allowance on the short side as well, but you can make this tighter or looser depending on the fabric you use. Remember, the loop needs to go around the scrunched main body, as well as the strap, so leave enough room, but don’t make it too loose. There’s a bit of “making it up” involved here. Make a teeny tiny tube!
3. Now fold the main body in a zigzag fold (or just scrunch together), and slip the loop over the body. Position the loop at the middle of the main body, and you’ve got yourself a bowtie, without the strap!

Who knew? A bowtie is just a loop around a piece of fabric.
At this point, you can make a strap to go around the neck, or just hot glue on a clip, whatever floats your boat.
Tutorial – Strap:
1. If you’re making a strap, cut a piece of fabric 15″ by 2″. Again, this mean the width of the strap will be 3/4″. 15″ sounds like a lot, but remember there needs to be overlap for the velcro.
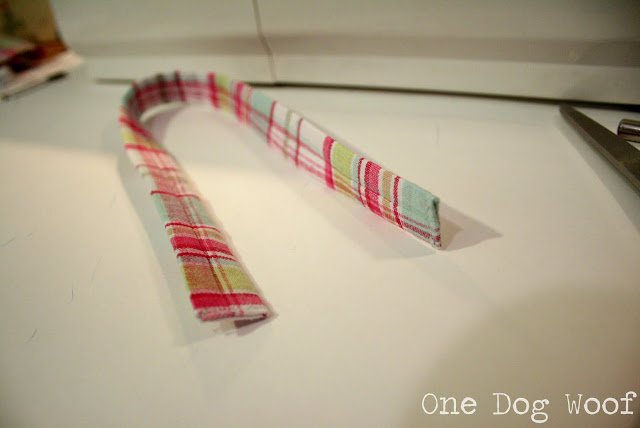
2. Fold the fabric the long way right sides together, making a narrow strip, and sew down the long side with a 1/4″ allowance.
3. Turn inside out, and iron flat.
TIP: Attach a safety pin on one end of the tube to help you scoo(t)ch the fabric along as you turn it inside out.
4. Slide the strap through the bowtie loop before adding the velcro. (I wasn’t sure if the strap would fit through the loop once the velcro was sewed on.)
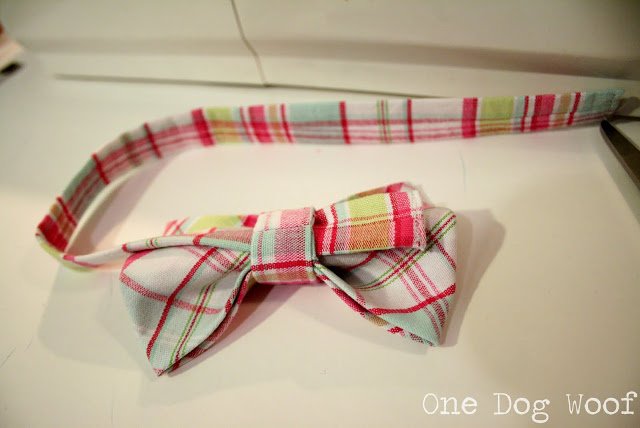
All the seams are in the back of the bowtie.
5. Cut about 2 inches of 3/4″ velcro.
6. Sew the scratchy end on the outside of one end of the strap, and the soft side on the inside of the other end.
7. Fold the rough edge in on itself, sew it shut, fold it over and sew the velcro on top of the fold to hide it. You can also just fold the corners in, then fold the whole thing and sew the velcro on top. Either way, you’re using the velcro to hide the rough edge.
You can see a bit of the velcro here.
That’s pretty much it. I messed around with the look of the bow tie for a while, but then just gave up and went to bed!
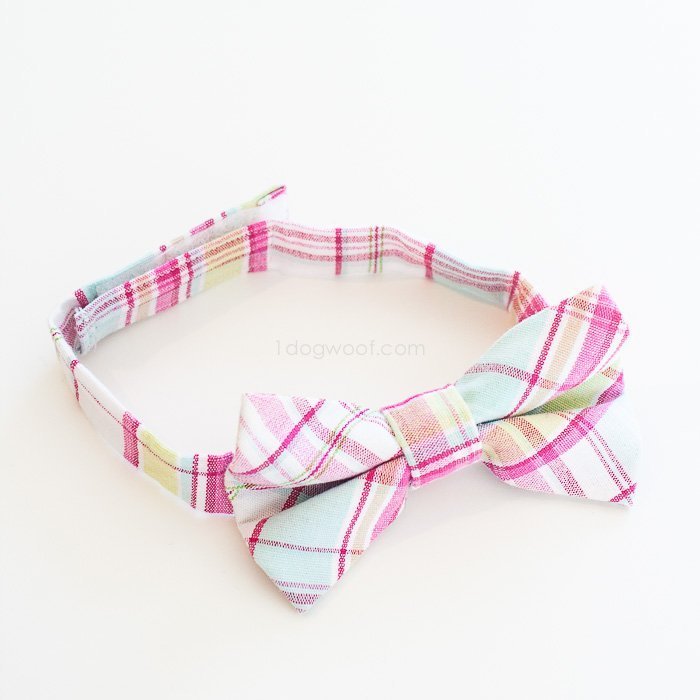
The BowTie in Action!
Click HERE to see my little man in all his plaid glory and check out what else I made to go along with his bowtie!
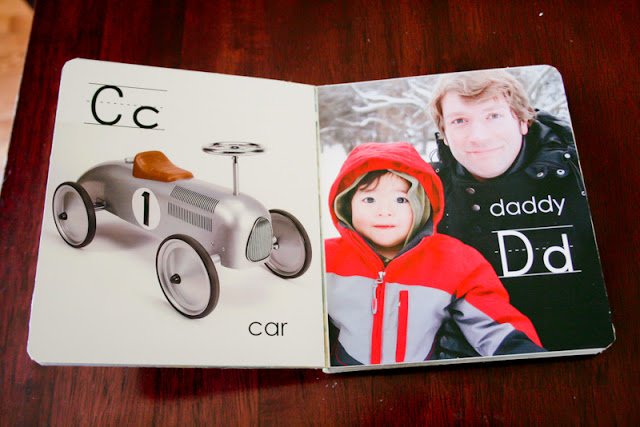
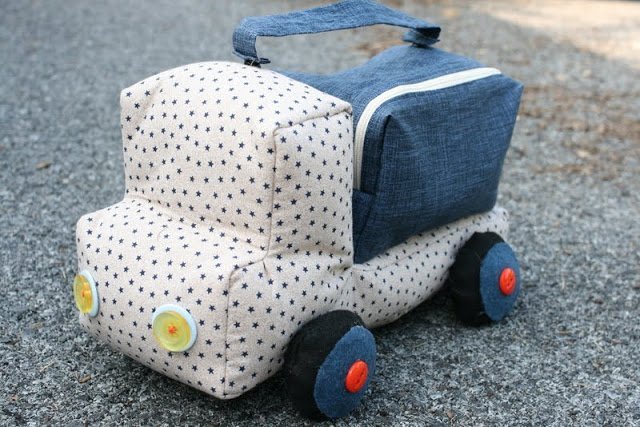
Interested in what else I’ve made for this spoiled little boy? Here are a few other projects he has inspired!


Oh..this is adorable!! Love the plaid! Thank you for sharing a great tutorial! 🙂
Bonnie @ Uncommon
this is so cute!
Love this!!! Thank you so much for sharing. Hugs! P.S. I hope you will add it to today’s hop.
So stinking cute!!! Love the print and colors too! Thanks so much for sharin this at LLL Thursday! Have a happy and blessed Easter.
Too Cute! I get soooo frustrated when I try to get clothes for my 1 year old…there are definetly MANY more things for girls than boys! I would Love to have you share these at my link party going on!
http://www.pincushioncreations.com/2012/04/homemade-by-you-6.html
CUTE! And perfect for Easter. Love this!
Hey lady! I am going to be featuring you tomorrow morning on Blissful and Domestic. Stop by and grab a button.
Danielle
http://www.blissfulanddomestic.com
So cute Chi Wei! I’ll be this could be used to make headbands too!
This is so cute! My little guy wore a seersucker jacket for Easter and this would have been adorable with it!
Great tutorial! I made bow ties for my boys too but just used elastic for a strap. Cause I’m lazy like that 😉
http://sarahsworld-sarahsworld.blogspot.com/
That is precious. It is so hard to find Sunday clothes for little boys. Believe me, I know. I’ve got FIVE of them! I love this bow tie, and I’d love for you to link it up over at Crafty Cousins.
http://crafting-cousins.blogspot.com/2012/04/what-i-wore-sunday-week-11.html
See you soon!
~Nat
Holla! We’re your newest followers! 🙂
That is just precious, perfect for spring! I would love for you to share this (and any other creations) at my new linky party “Pin It and Win It Wednesday” @ http://www.cheapcraftymama.com!
I’m going to have to make one of these now. Thanks for the tips! I like your blog 🙂
This is fanTAStic! I totally know what you mean about shopping for cute toddler boy clothes!! Sheesh! I love this bowtie. Can you pleeeeease post a pic of him wearing it? Thanks for sharing at Shine on Fridays!
This is adorable, and such a great idea! I’d love to have you stop by and share at What’s New Wednesday, going now through Saturday night!
http://www.gratefulbelly.com/2012/04/whats-new-wednesday-four.html
Thanks so much for linking to Take-A-Look Tuesday – you were featured today!
–Mandy, http://www.SugarBeeCrafts.com
Adorable! Thanks so much for linking up to Terrific Tuesdays.
Rachel
adventuresofadiymom.blogspot.com
Aww makes me wanna wish i had a baby boy!! 🙂
Stopping by from TT&J.. I’d love for you to come by and link this up or any other project at my linky party! 🙂
http://littleinspiration.com/2012/04/create-inspire-features.html
Thanks,
Angie
This is adorable! I followed you over from Southern Lovely and would like to invite you to share this, and any other posts, on my link party at http://www.michellestastycreations.blogspot.com. Have a great weekend.
Hugs,
Michelle
This is absolutely adorable! Great job 🙂 [email protected]
Many thanks for your tutorial, I made my own version and it was great. I blogged it here http://carolinecameron.wordpress.com/2012/10/15/bow-tie/
Thanks again, great job
Did you know this is the THIRD link that came up when I just googled ‘toddler bow tie tutorial?’ Thought you’d be excited to know you’re so popular, if you didn’t know already 😉 And I haven’t forgotten about your email that you sent the other day, by the way, just have had my hands full the last few days. I’ll write back soon, promise!
Looks great! I add a bit of elastic in the back as well for comfort. It’s still fully adjustable with the velcro, but they’re more comfy for the kids and they won’t stress the velcro if they’re pulled on.
woohooo!!
You are soooo right! I get so upset at Target. They have THEEEEE cutest girls clothes and nothing but expensive Mario Brothers shirts for boys. My boy is 4 and likes to dress “fancy.” We spent weeks looking for ties so he would stop wearing and ruining his fathers. We finally found some at Janie & Jack on sale, but STILL expensive. Now I can make a bunch!! Thank you thank you!!
Hey Dawn, glad you found this tutorial useful! I’m able to indulge myself in the baby girls’ section now with my daughter, but yes, it was so frustrating having to go shopping and be stuck with blue and brown all the time. And now is the time for little boys to wear the cute colors they may not want to wear when they grow up, so go go gadget pink bowties!
Thanks for a great tutorial! I tried others out there that had you doing lots of hand stitching and they just didn’t look as “finished” as I wanted. Your instructions were easy and produced a great-looking bow tie!
Thanks so much for your feedback! It’s always good to know that I’m more coherent than I am in my head and someone understood my instructions 🙂
Thanks for the simple tutorial! So, 15 inches for a toddler size? I’m making bow ties for toddlers & young boys…still unsure of the length of the strap. Thanks for your reply