
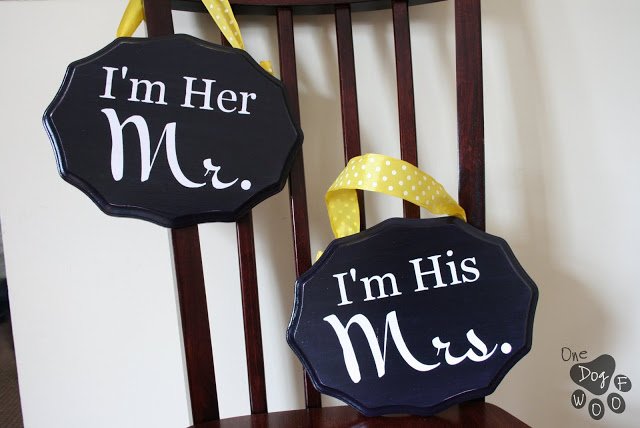
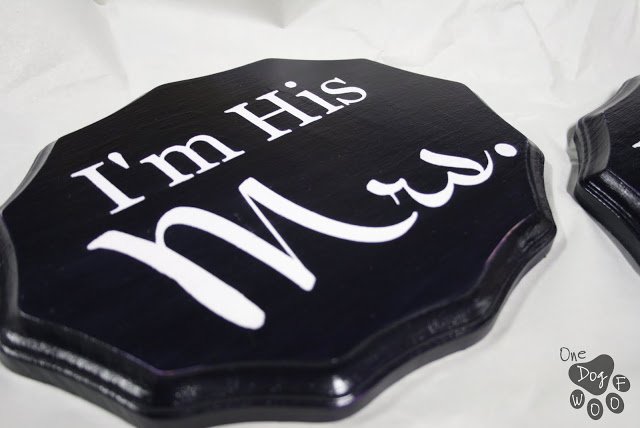
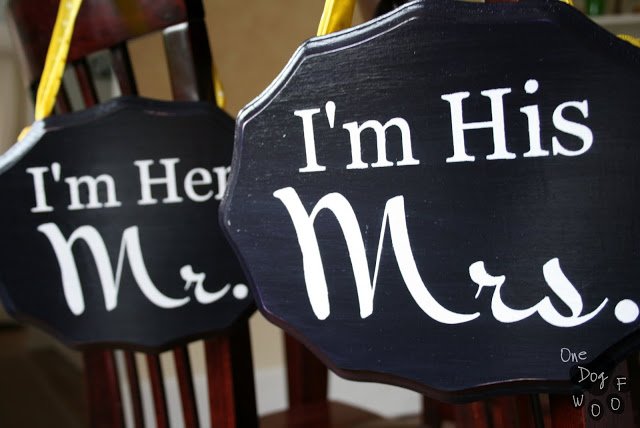
Another shower, another homemade gift! This time it was for my good friend Lara, who is getting married in May. She has such beautiful plans for her wedding, with a lot of attention to detail, so I thought I’d help her with some of the more DIY-able details. Here’s the Pinspiration – a sign for the back of her chair:

After some discussion on color, font and “how do you want it to look”, the consensus was “Just Like That”. Alrighty then.
This project was quite the fiasco too, since I didn’t really know how I was going to do it. I knew a Silhouette would be able to cut out the letters, but how would I transfer that to a piece of wood? And would I be able to find a piece of wood that is suitable, without having to use a saw and a router and a sander? If I can’t find someone with a Silhouette, would I have to cut those letters out by hand?
Tutorial:
1. First, the hunt for the right font for the “Mrs.”. It took a while, but I found it (of all places) on Google Web Fonts. It’s called Mr. Bedfort, and you can download it here for your own use. I ended up just using a normal Serif font for the “I’m His” part, even good old Times New Roman will work.
2. Arrange the words how you like it, size and all, and print it out using a Silhouette on cardstock (or vinyl). I used Open Office Draw for my design tool (it’s free and open source), and then kindly asked my friend to print it on her Silhouette and mail it to me (thanks Jenny!). I wonder if a vinyl cutout would have made this project super easy; if the vinyl would stick directly to the wood and all you would need to do is to seal it.
If any of you would like to pitch in and help me buy a Silhouette, I will love you forever!
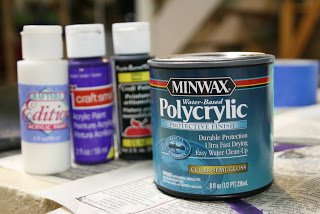
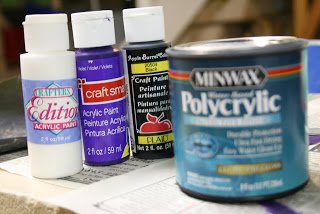
3. For the wood, go to Michaels and buy two wooden plaques, easy peasy, and no router required. Cover it with a couple of layers of acrylic paint and you are ready to stencil!
This is when the fun began, when I started losing concentration and stopped thinking my cunning plan all the way through. I taped the stencil to the wood using little pieces of masking tape rolled up and stuck to the back of the stencil. (I know, expert stencilers are rolling their eyes at this point). I was lucid enough to cover the rest in newspaper and take it outside before spray-painting. This is me, all ready to spray, having run home from work during my lunch break.
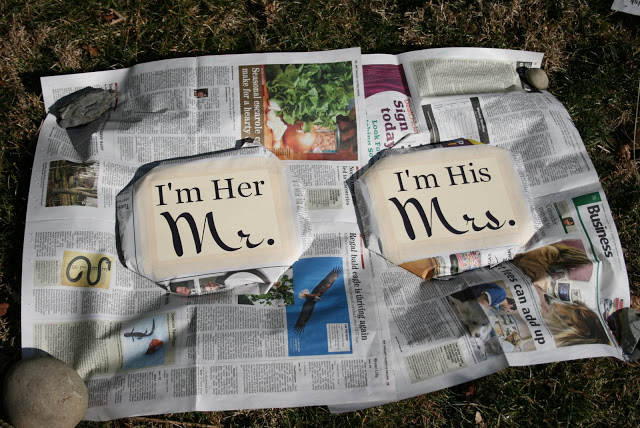
This is me, that night, crying at my masking tape and spray painting failure. Let it be known that I take procrastinating very seriously. This is on the Thursday night before a Saturday shower.
Failure. Is. Not. An. Option.
 |
| ABORT ABORT ABOOOOORT!! |
I took off work on Friday, did a bit of Google research, and went to Plan B…which should be YOUR Plan A.
BUY SPRAY ADHESIVE.
DUH.
The rest of the process went like this:
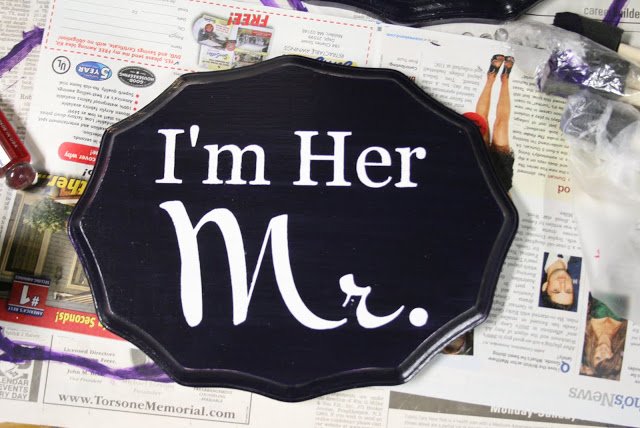
3a. Sand down the letters, repaint in purple. (Sit on your basement floor and drill little holes in popsicle sticks while waiting for the paint to dry – another wedding project).
4. Spray adhesive on the back of your stencil. Wait 5 minutes, and press stencil firmly onto wood. Press again, and optionally go over it with a rolling pin. Breathe, try not to panic, like me.
5. Dab light layers of paint on the stencil with a sponge brush. (Drill more popsicle sticks in between dabbing on several – 5 or 6 – more layers of paint). Let dry.
6. When the paint is dry, say a quick prayer and carefully peel off the stencil. Fix small errors with a teeny tiny brush.
7. Seal with 3 layers of acrylic sealer. Here’s me playing with my camera.
8. Breathe a huge sigh of relief that the hard part is over.
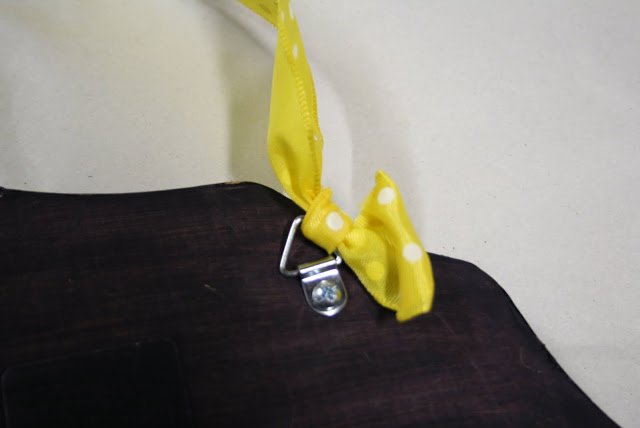
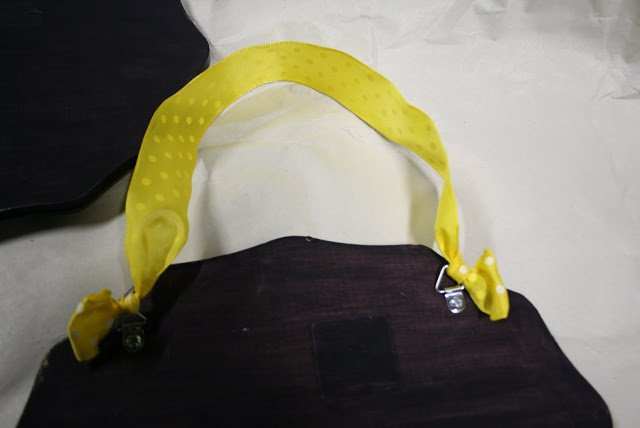
9. Add some picture-hanging hardware and some ribbon, and you’re done!


This is so adorable! I saw it on pinterest but just saw it at Iheartnaptime!
I’d love if you’d link this up at our first ever linky party! We’re partying now!
http://classyclutter.blogspot.com/2012/02/spotlight-saturday-1-our-first-linky.html
xoxo, Mallory @ Classy Clutter
new Linky and GFC Follower! hope you follow back and come check out my great giveaways going on!
http://giveawayhog.blogspot.com/
You are such an incredible friend, I would be lost without you! Thank you so much for this, your effort, the signs, the sticks, it’s all amazing! thank you so much!! -Lara
This comment has been removed by the author.
Love these signs!! Just stopping by from the Linky Party Hop. I hope you will visit http://www.laughterandgrace.com and follow back.
Thanks!!
These are a great idea! They came out perfect. You are a great friend. I have pinned this from a Pinteresting Party. Vicky from Mess For Less
this is FUN! and a great idea!
I joined the linky party and am now your newest follower..pls follow back if you can.
These turned out so good, love the idea. I always have a mini-panic attack just before I pull off a stencil.
I’m a new Linky follower from the hop, would love for you to come visit and follow if you like. 🙂
http://plumdoodles.com
I love this linky party. I can’t believe I have missed out on so many great blogs…like yours. I’m now following on Linky, so follow back and we can stay connected. Lori
These are adorable! What great gifts! I love the picture of the sign hanging on the back of her chair. Great job!
Super super cute! I love this idea!! TFS
Awww, these are so cute! I’m going to pass along to a friend of mine. She’ll love it too!
What a sweet gift!
Thanks for linking up at Simply Klassic Sundays!
So adorable! I love it!
These are so pretty and will be great at a wedding!
Stopping by from Southern Lovely 🙂
This are so great.
Love for you to share it at my linky party here if you haven’t already 🙂
http://www.jaqsstudio.com/2012/02/made-by-me-18-linky-party-and-features.html
So cute! The sayings would work for shirts too. LOVE it!
Erin at takingtimetocreate.blogspot.com
This is SUPER cute..I LOVE it.. Would LOVE if you could please link it up via my Pin’Inspirational Thursday’s linky party happening now pweeease.. ? http://www.theartsygirlconnection.com/2012/02/pininspirational-thursday-21-linky.html I would sincerely appreciate it.. : )) ps:. I have a free blog review happening if you are interested ~ http://www.theartsygirlconnection.com/2012/02/blog-loving-better-blogging-series-1.html .. Wishing you an amazing evening.. Happy rest of the week.. ~Marilyn
to cute! wow. I love this
Ooooohhh I LOVE these!!!! Soooo cute!!!! And beautifully done, too!
I love that you make real human mistakes like me! I’m so excited to start reading your blog! I love this idea, and I love even more that you aren’t perfect! I mean that in the nicest way ever! Thanks for sharing! I love this idea!
Very cute!! I’d love for you to link these up at our party! http://housewivesofriverton.blogspot.com/2012/02/riverton-housewives-round-up-4.html
Okay, I am in love with these! The possibilities are endless! I am hosting my first link party today, and would love for you to add this, and anything else you like!
http://www.mom4realky.blogspot.com/2012/02/4-real-friday-link-party-1.html
Jessica @ Mom 4 Real
Adorable! I have a couple of weddings coming up and this would be perfect!
Featuring you tonight over on my blog! You were one of the top viewed links at last week’s {wow me} wednesday party! Congrats! 🙂
Ginger @ gingersnapcrafts.com
http://www.gingersnapcrafts.com/2012/02/wow-me-wednesday-39.html
This is so sweet! I’m definitely pinning this idea! Thanks for sharing
Oh my goodness…FABULOUS! Thanks for sharing at Overflowing with Creativity! I can’t wait to see what you link up at my party tomorrow! I LOVE following you…you’re so inspiring! Just a little reminder, my giveaway for 1000 free FULL color business cards ends at midnight!! Stop by and enter to wiN!
XO, Aimee
SO CUTE.
Your signs are fabulous – so pretty! I’m Linky Following you now too!
What an adorable project! Love it.
I’m dropping by as The CSI Project guest judge this week. These turned out adorable. I’m adding this to the list of reasons I need a Silhouette. And I’m totally stealing the ribbon tied to the picture hangers for another project I am working on.
I love this idea!! Such a great shower idea! and I want these to hang over our bed!! visiting from CSI!