
Fall Projects
Scrap Busters
Cozy Blankets


Crochet Patterns & Tutorials
Crochet Patterns & Tutorials
Knitting Patterns & Tutorials


Plume Sweater: A Batwing Pullover For All Seasons
With basic stitches and a seamed construction, the Plume Sweater is a classically shaped batwing sweater that works up quickly and drapes beautifully. Let's talk Plume, shall we? ------------------------------------------ Shop the Plume Sweater Pattern Buy the pattern...
Tunisian Crochet Cables Video Tutorial
Work Tunisian Crochet Knit-Stitch Cables, and understand their construction so you’re never intimidated by cables again!

Falling Water Sweater: for Beginner Colorwork Knitters
With it’s simple construction and eye-catching motif, it’s a great colorwork yoke project for beginners who are nervous about colorwork but want to try a new skill.
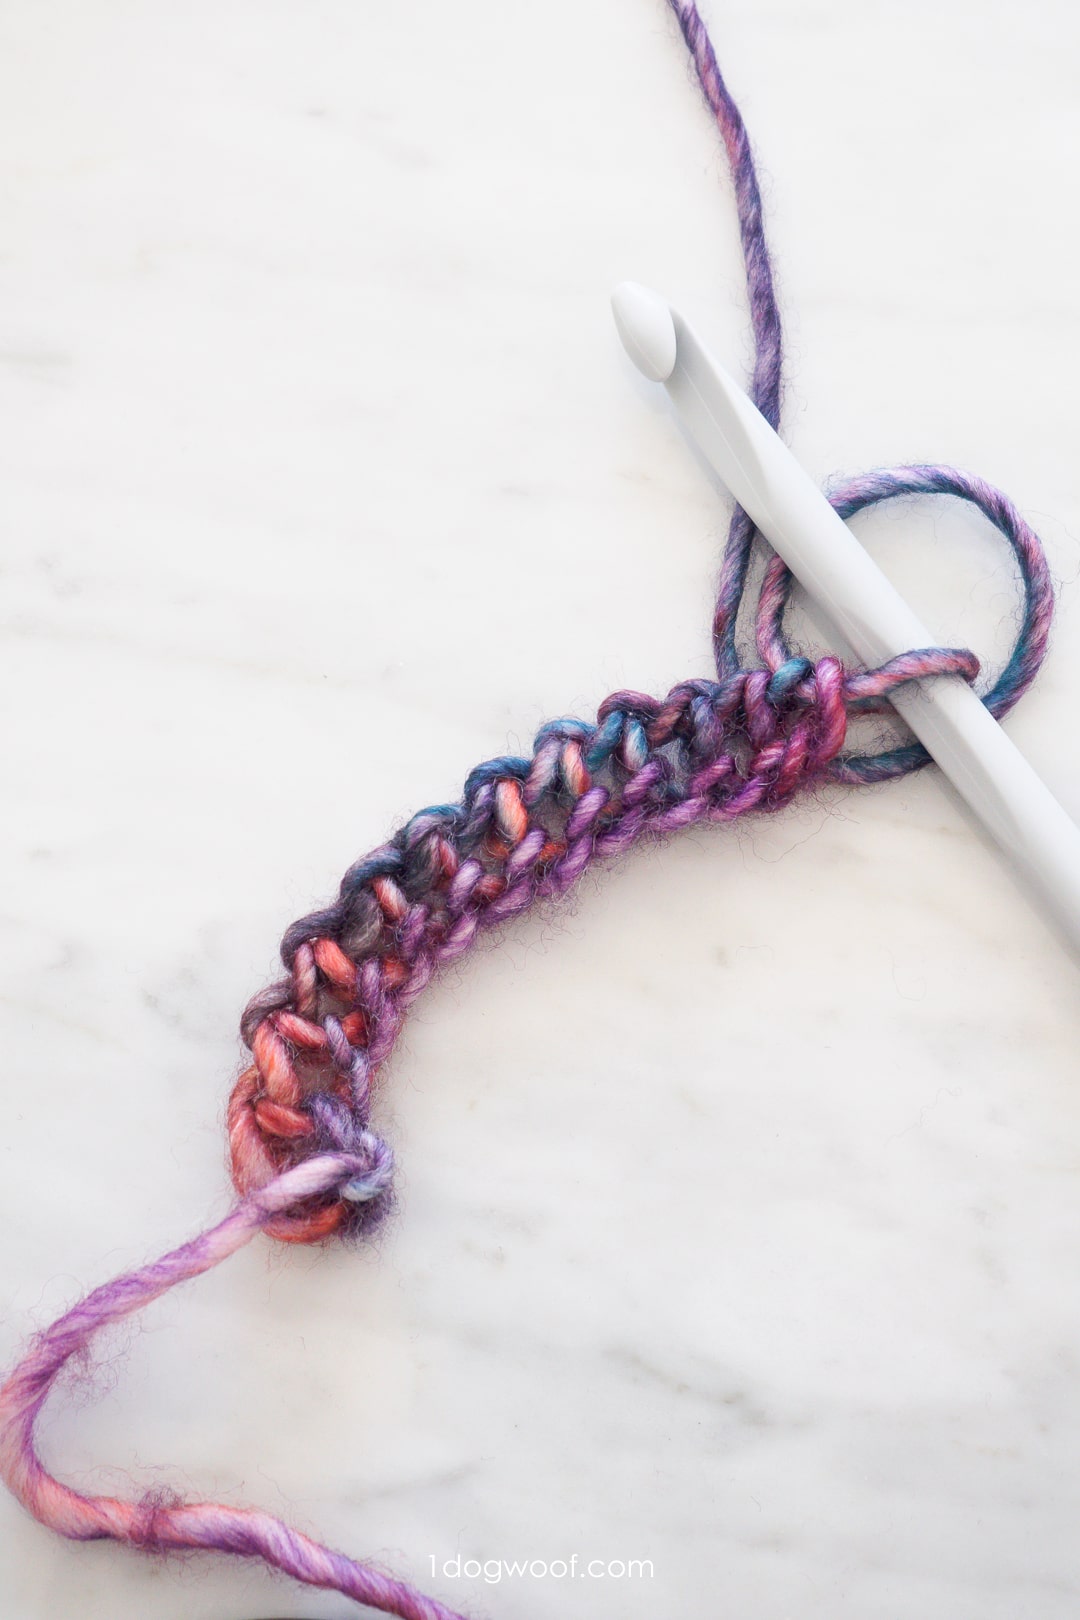
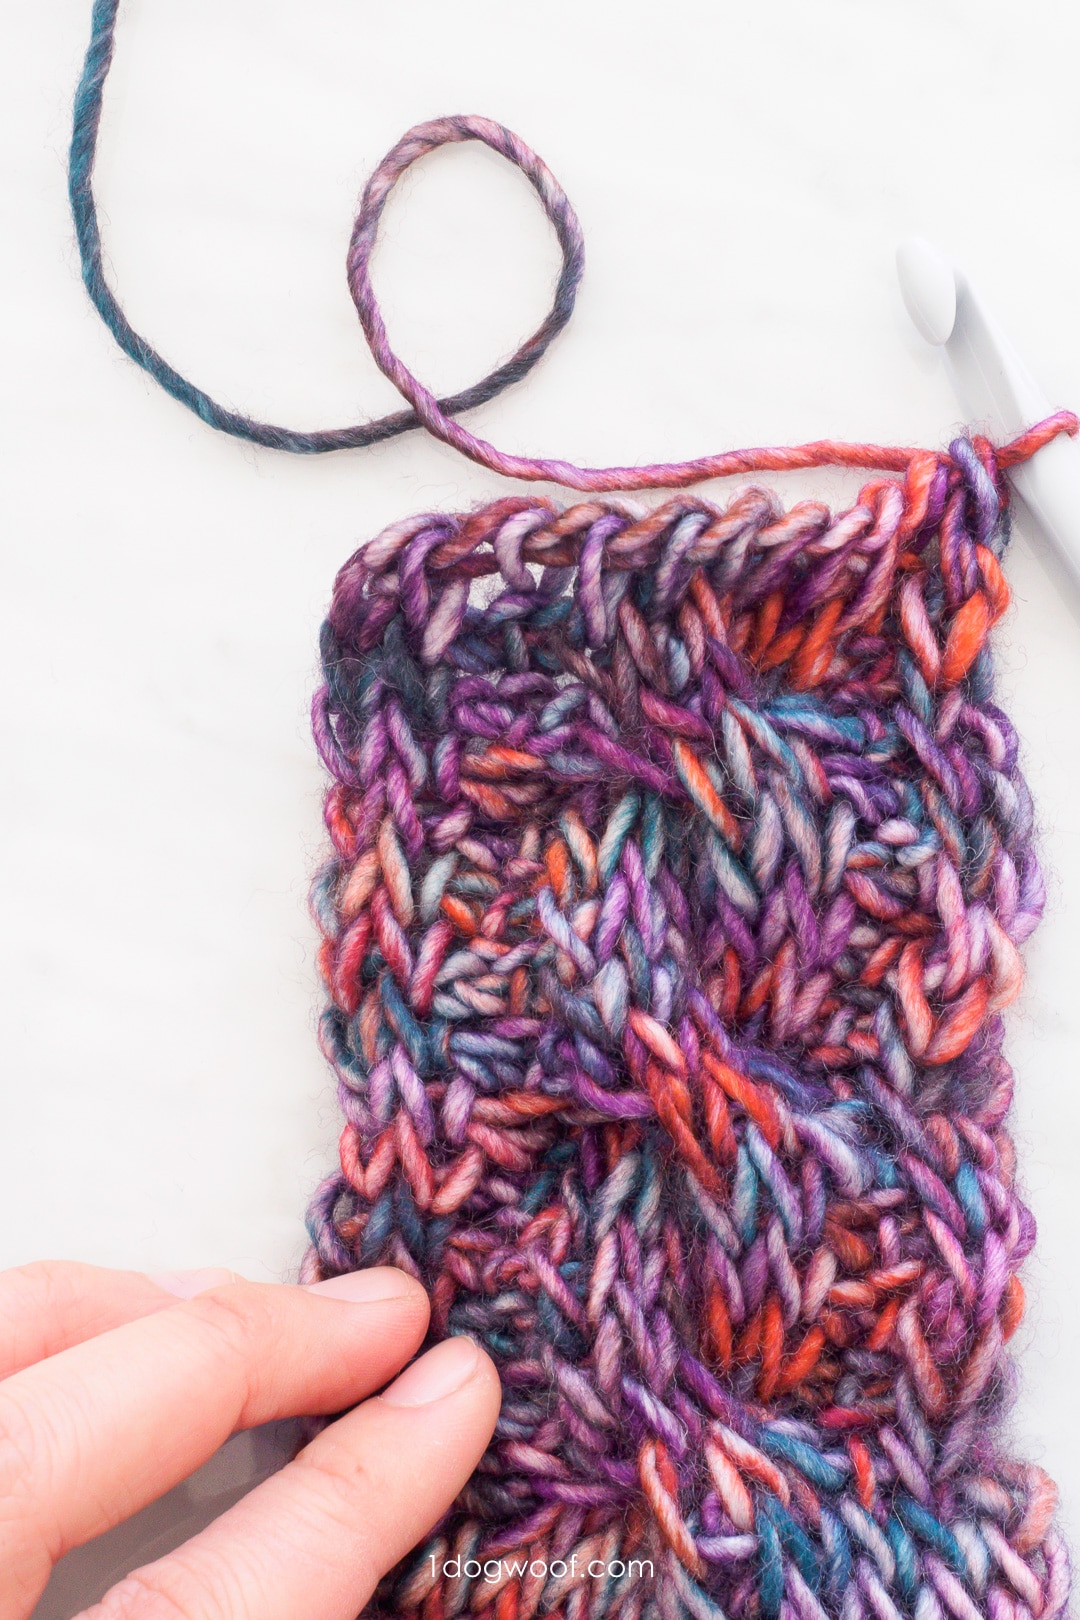
Tunisian Crochet Hack for a Stretchy Foundation Row
See how this basic knitting technique turns into a smart and time-saving hack for making a stretchy Tunisian Crochet foundation row.
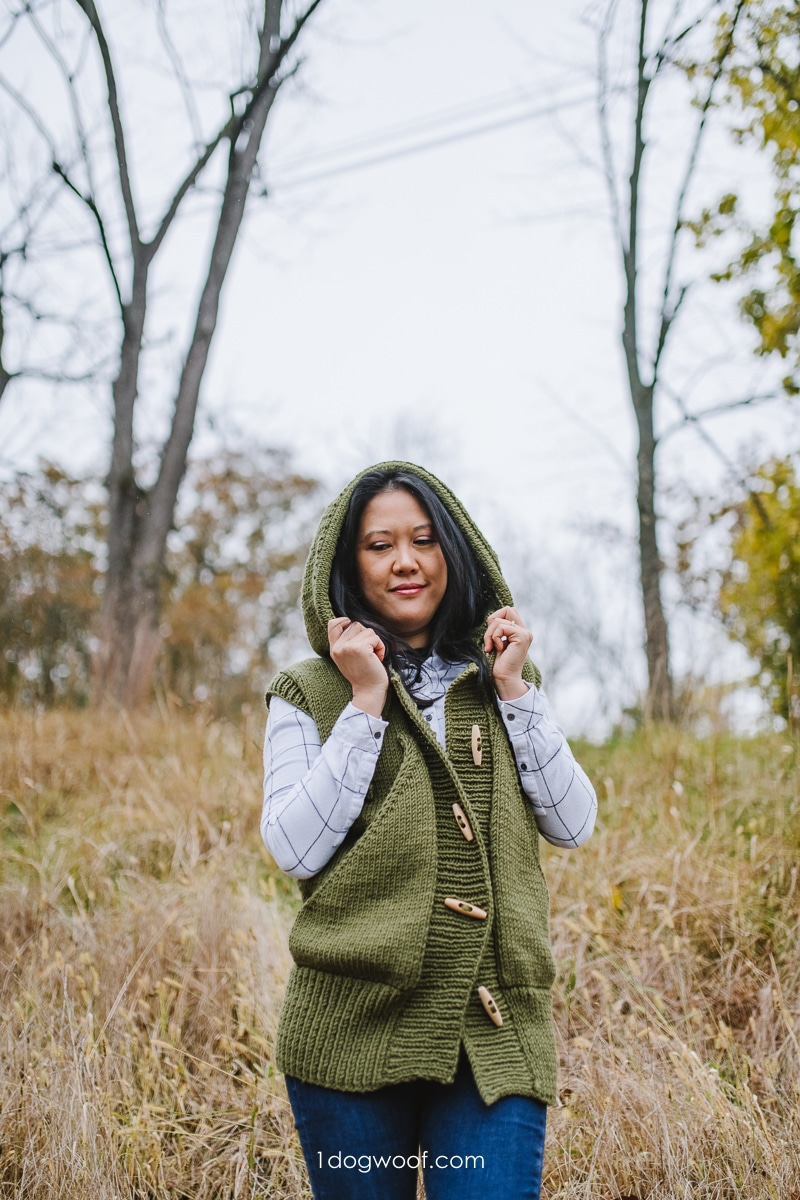
Lola Hooded Vest: Built for Comfort, and Quarantine
Whether you’re out running errands, socializing with friends, or ducking away for some well-earned self-care moments, the Lola Hooded Vest has everything you need to look chic while staying comfortable.
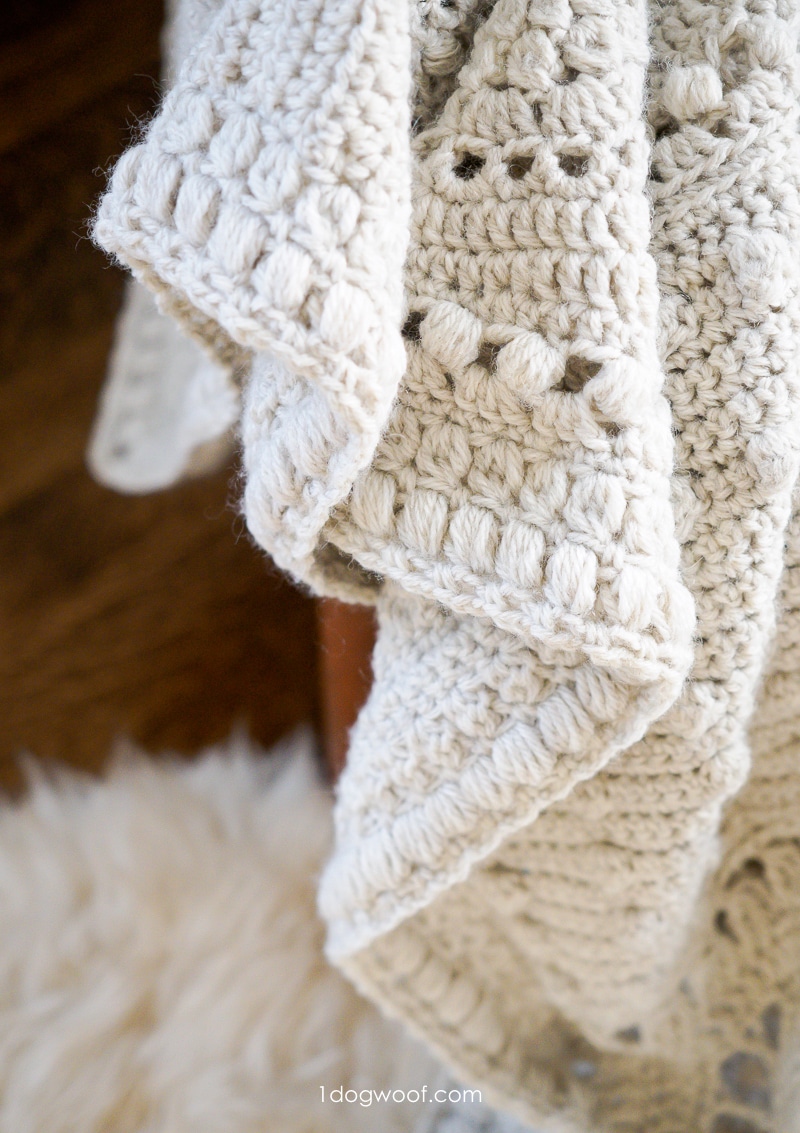
A Simple Crochet Border to Complete Your 2020 Traveling Afghan
The 2020 Traveling Crochet Afghan is complete! Finish off your masterpiece with this simple and elegant border.