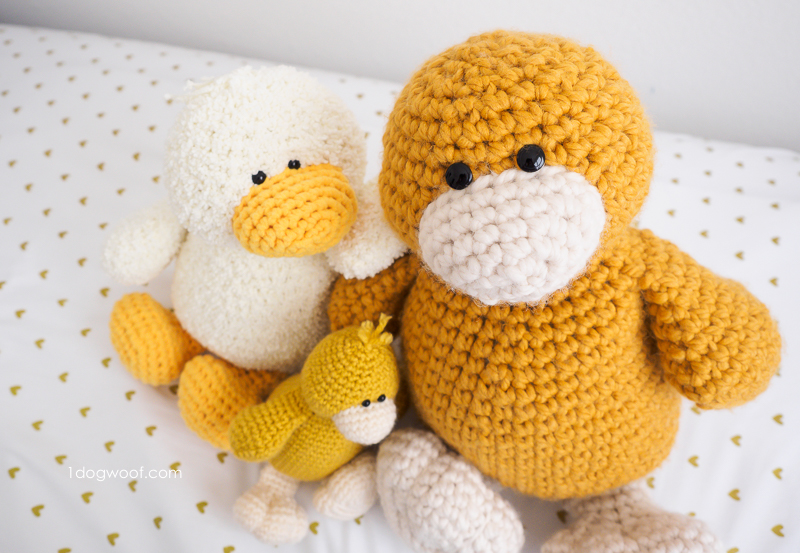
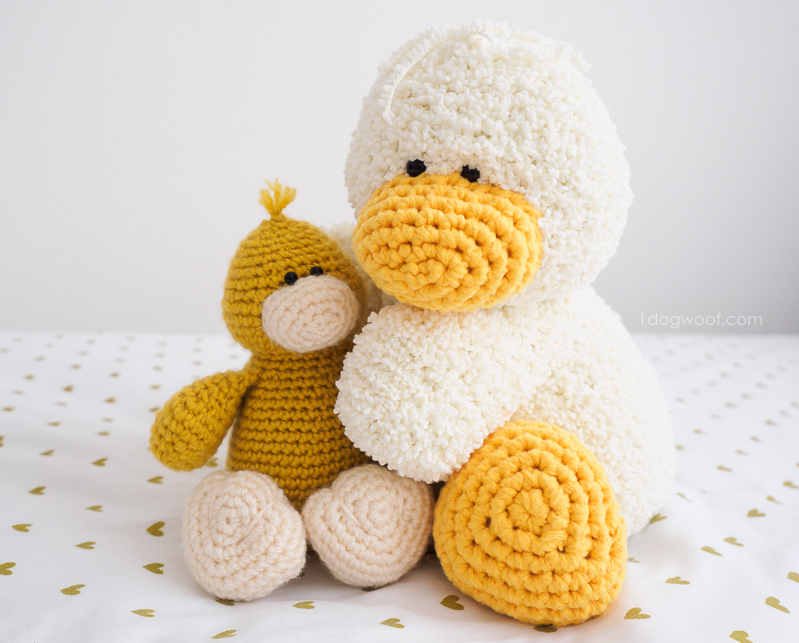
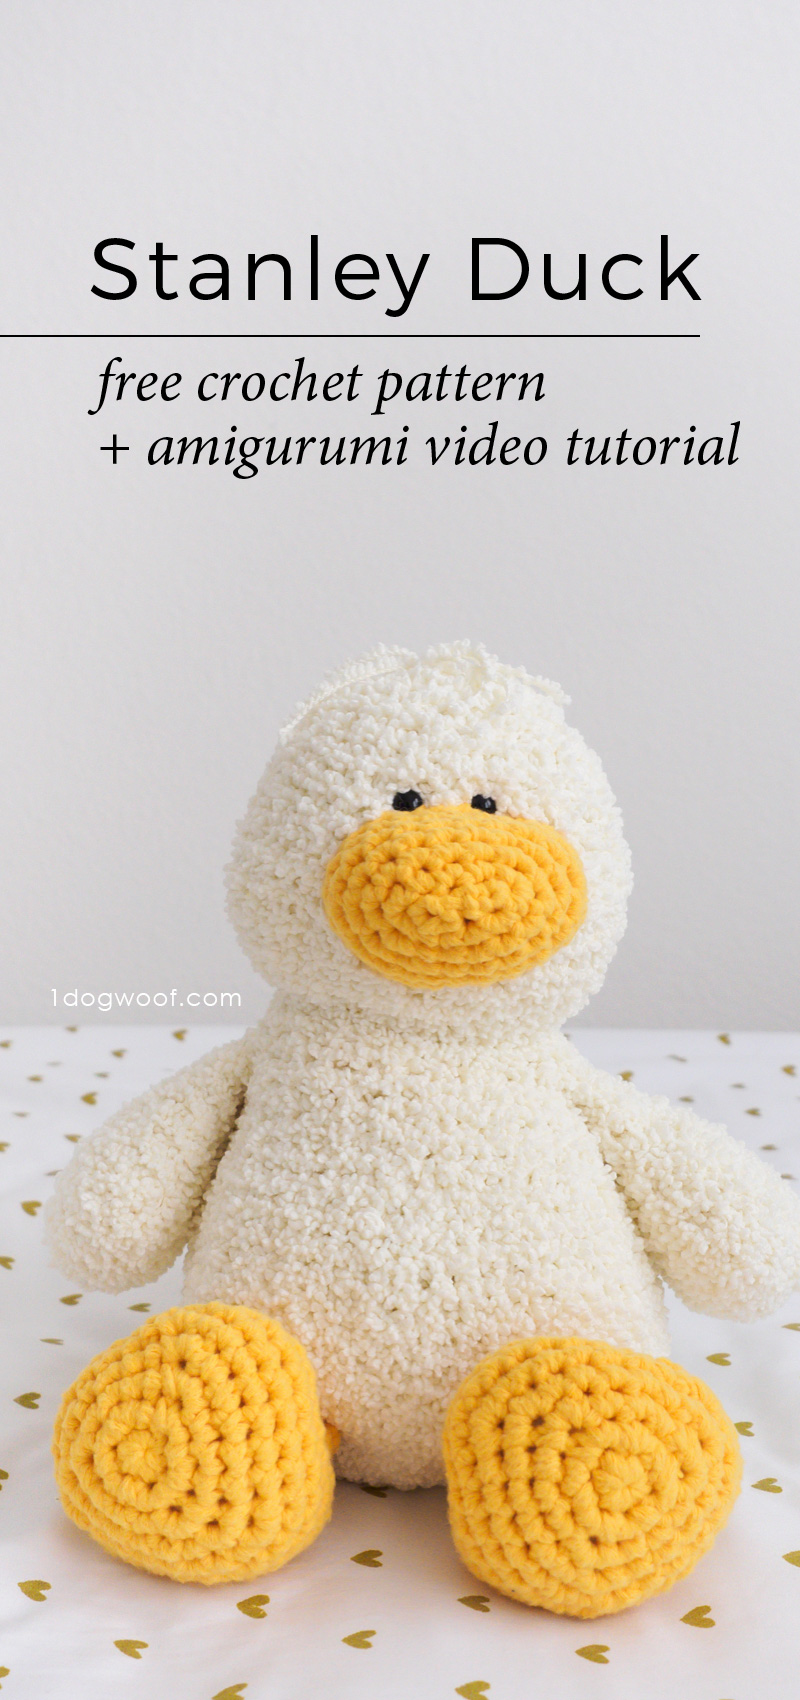
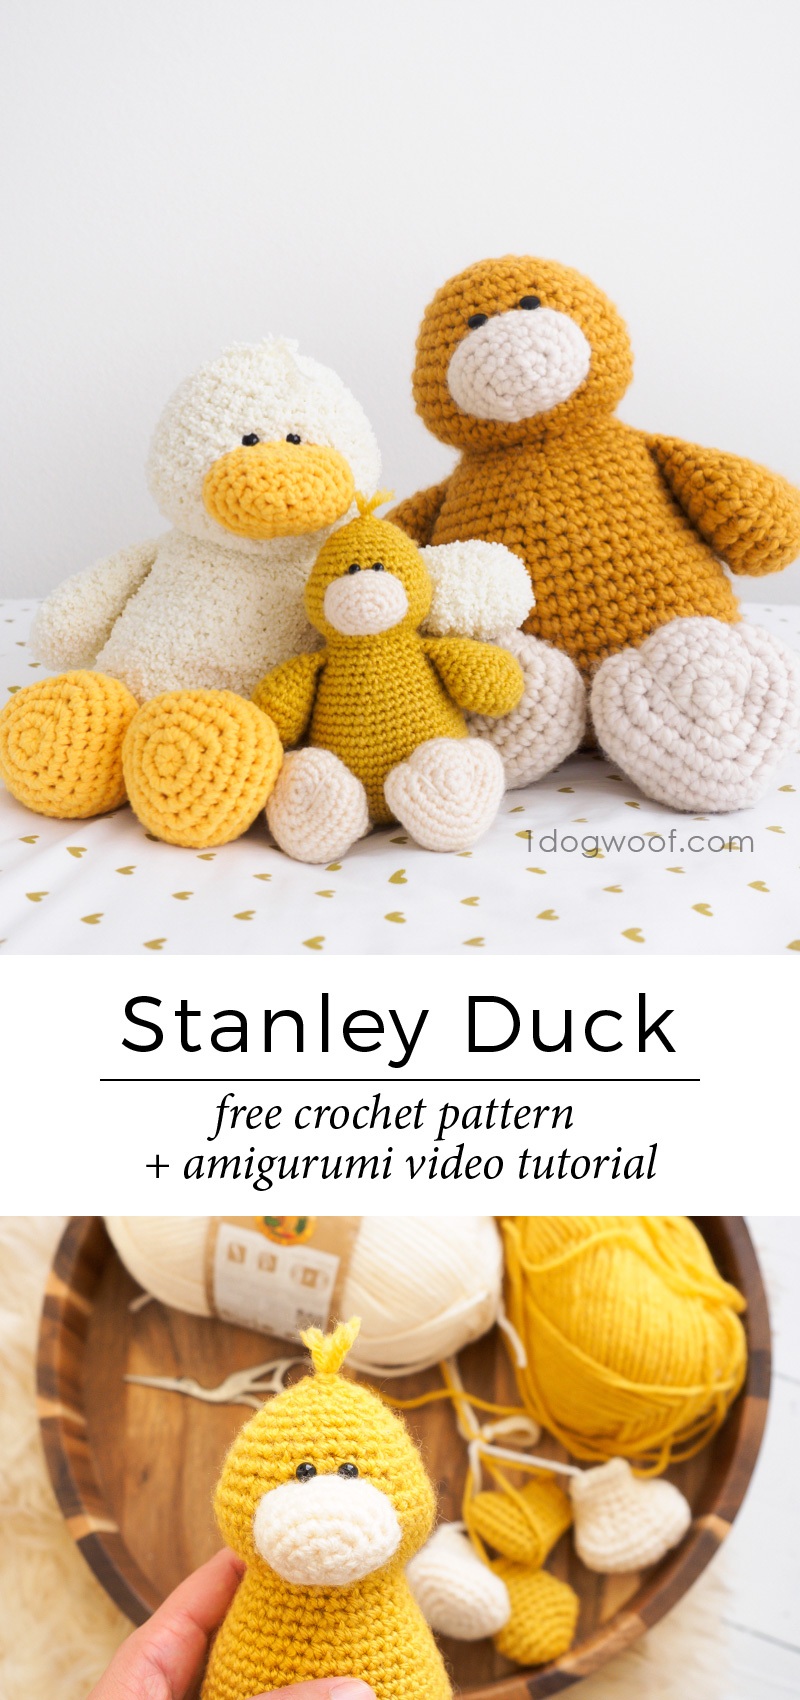
I figured since it’s been half a year since my last amigurumi, it’s time to introduce a new friend. Here’s my Stanley Duck amigurumi! I experimented with different yarns for this project and put together a series of video tutorials to walk you through every step of making your own stuffed duck!
Ever since I published my Classic Bunny pattern, I’ve had many people write in and ask about either the large bunny or the small bunny, expecting there to be 2 different patterns to produce the 2 different products. So this time, I’ll be sharing my experiences making the same duck using 3 different weights of yarn.
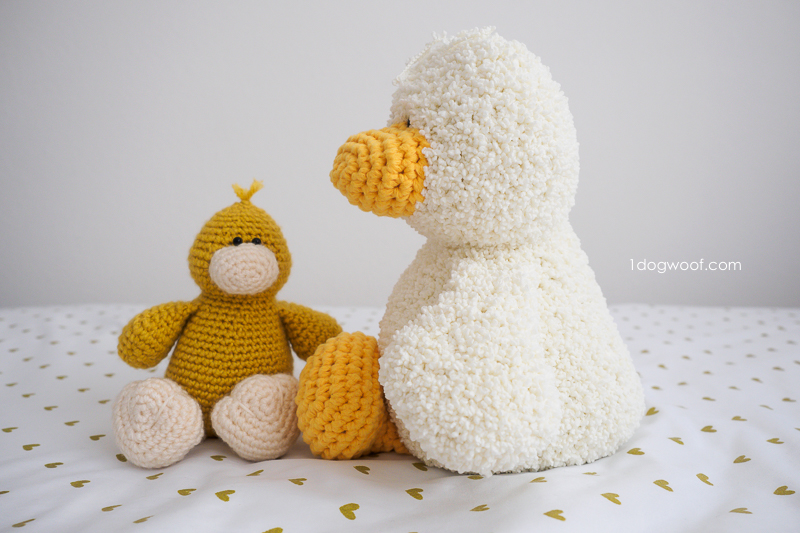
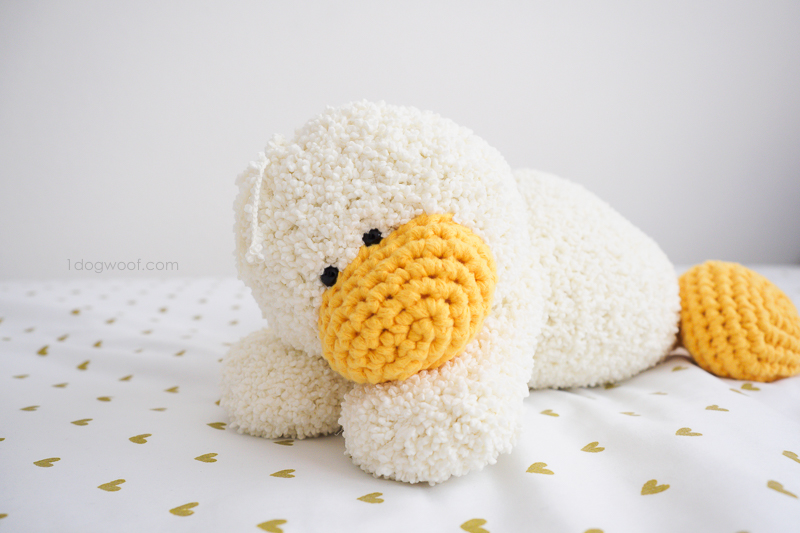
For all three ducks, I used Lion Brand yarn. Papa Duck used Lion Brand Wool Ease Thick and Quick* in Mustard and Fisherman. Mama Duck used Lion Brand Baby Soft Boucle* in Lemonade and Feels Like Butta* in Yellow. Baby Duck used Lion Brand Vanna’s Choice in Mustard and Fisherman. I think it’s a testament to the wide range of Lion Brand’s offerings that I can even do an experiment like this and come up with 3 adorable yet completely different toys.
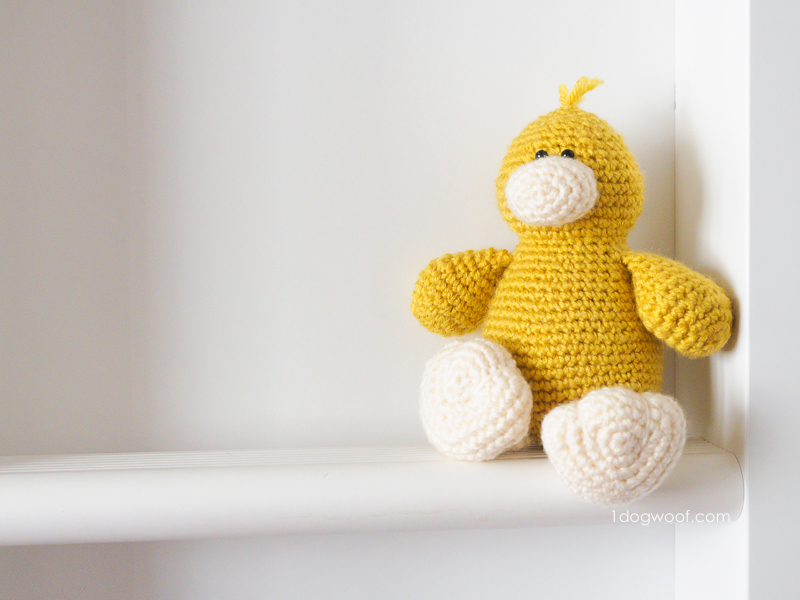
I made Baby Duck first because, well, it’s the smallest, and when you’re trying to design amigurumi and determine the exact right shape, you don’t want to waste time, yarn or stuffing. I love Vanna’s Choice for this step – the stitches are easy to see, and I can frog it over and over without losing the integrity of the yarn. Which, trust me, I did. Frog it over and over. Because getting the right perky tail and bulging belly took FOREVER.
This is the first amigurumi I’ve made that doesn’t use a plain circle for the body. It starts off with the magic circle like all my other stuffed animals, but the base of the body is actually a triangle! Having a triangle as the base allowed for the tail, and actually made the placement of the legs so much easier than on a round body. Of course, once you get to the belly, you switch back to circular rounds, all the way up through the head, which is worked in a single piece. The beak is sewed on and the eyes are added before closing off the head. Then the wings and legs are worked separately and sewed on at the end.
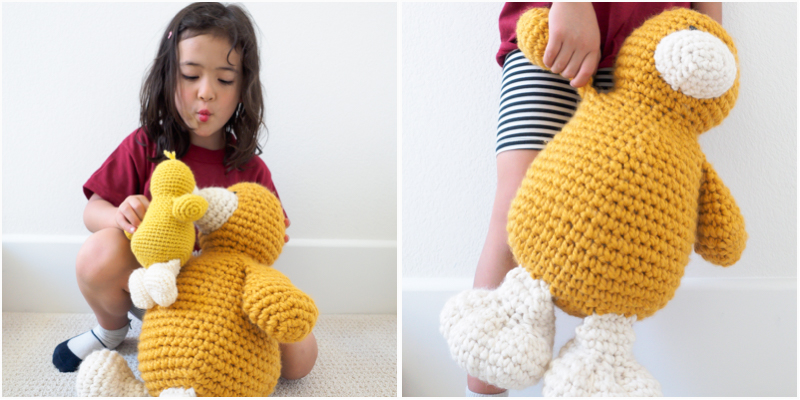
Once I had the pattern finalized, I made Papa Duck for my video tutorials. By using a larger hook and thicker yarn, hopefully you can more clearly see each step of making an amigurumi, without my hands getting in the way of seeing the stitches. This guy used a TON of stuffing, and weighs quite a bit, but is adorable huggable.
My favorite, or the Goldilocks of the bunch, is Mama Duck. She was also the hardest to make, because the stitches are so difficult to see with the boucle yarn. Baby Soft Boucle is a chenille yarn that has little loops all coming off a central strand, so it makes for the softest, squishiest feel, but it’s impossible to count stitches on. This is similar to using Homespun Thick and Quick for the Classic Bunny – you need to use a larger hook, make it looser, and stuff it lightly. The end result is a really floppy and soft duck.
For Mama Duck, I also chose not to create the webbing on her feet, mostly because I was pretty tired of making ducks and really wanted to finish, lol. Otherwise, all 3 ducks use the exact same instructions, which I’m sharing below!
For the how-to, I spent my time making the video tutorial, so unfortunately, I don’t have picture tutorials for this project. I’ll be sharing the videos in new posts as I get them edited. Here’s the first few videos – you’ll learn how to start the body with a magic circle and see how I join my rounds so the seam doesn’t spiral around the duck, then see how to choose the stuffing based on the size of the duck you want to make!
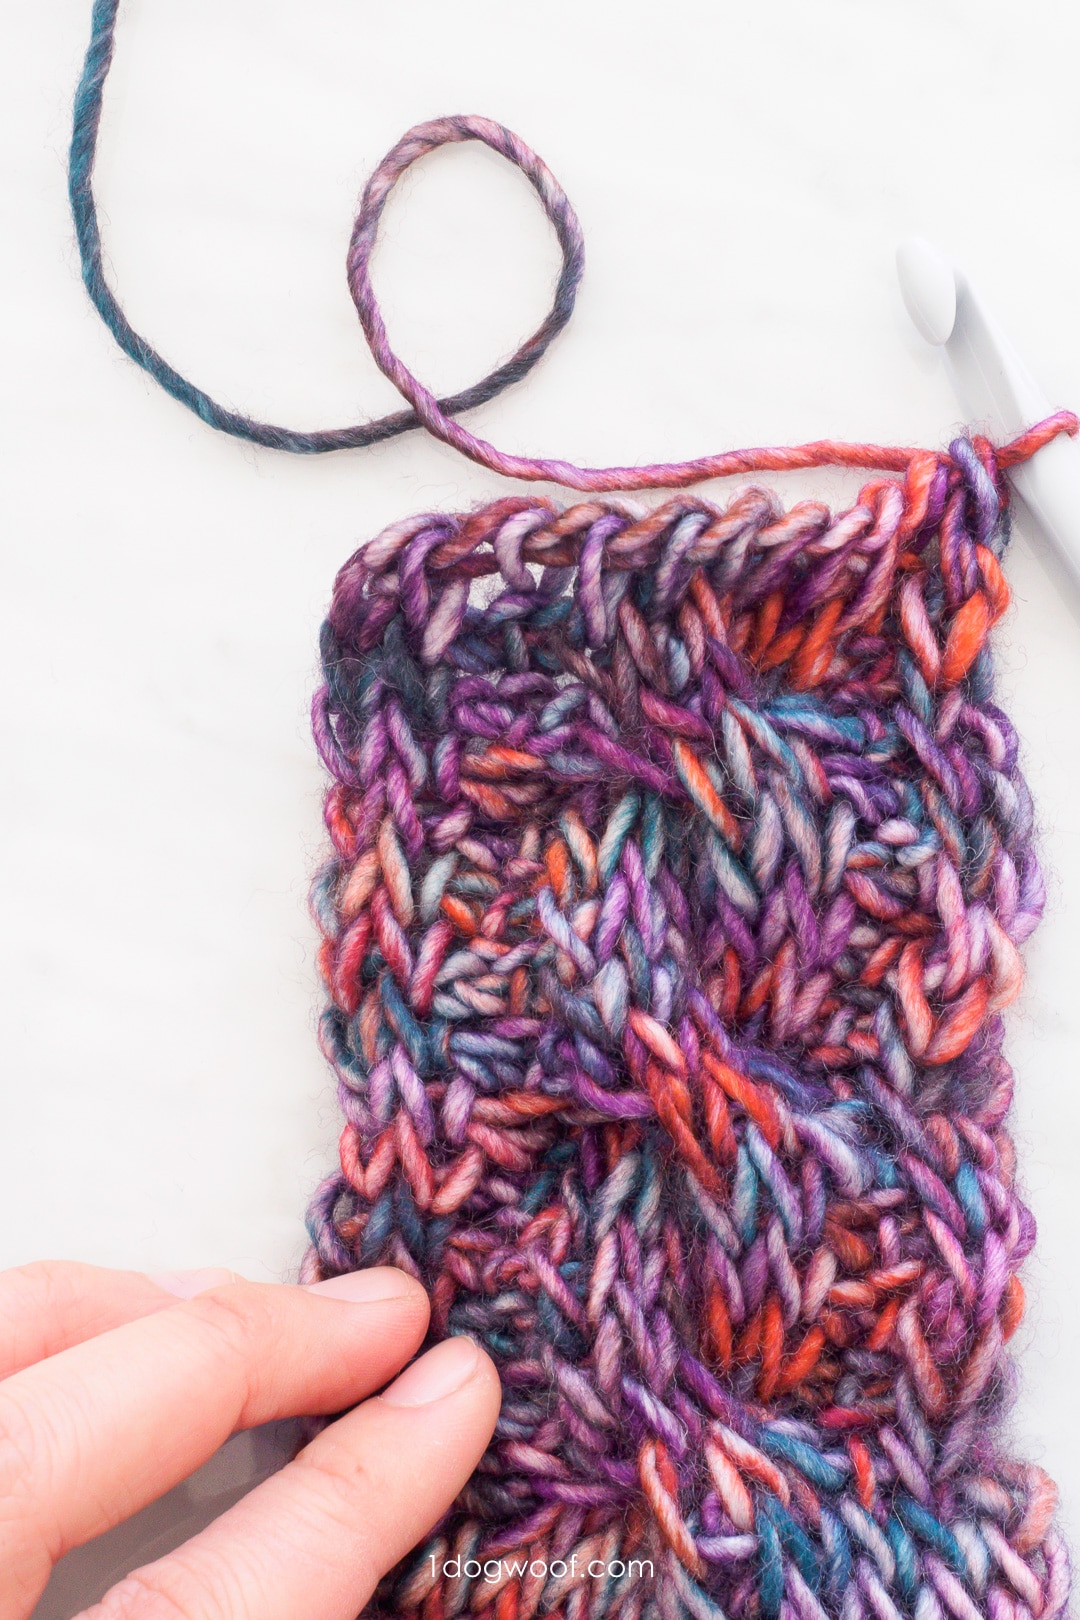
If you’re making the fuzzy duck, here’s how I manage that type of yarn:
The Stanley Duck amigurumi pattern is also available as a formatted and comment-free PDF for purchase through my pattern shops. You can find them on Etsy, Ravelry, LoveCrochet and Craftsy, whichever you prefer.
——————————————
Buy the pattern from Ravelry or add to your queue
Buy the pattern from LoveCrochet
——————————————
Who will you be making ducks for this season?
Supplies
Small duck:
- 1 ball each of Lion Brand Vanna’s Choice* in Mustard & Fisherman
- Size G/4.0mm crochet hook*
- 6mm safety eyes
Medium duck:
- 2 balls of Lion Brand Baby Soft Boucle* in Lemonade
- 2 ball of Lion Brand Feels Like Butta* in Yellow
- Size K/6.5mm crochet hook*
- 9mm safety eyes
Large duck:
- 2 balls of Lion Brand Wool Ease Thick and Quick* in Mustard + 1 ball of Lion Brand Wool Ease Thick and Quick in Fisherman
- Size K/6.5mm crochet hook*
- large safety eyes / button
All ducks:
- tapestry needle
- scissors
- fiberfill stuffing
Abbreviations
- st(s) – stitch(es)
- sl st – slip stitch
- ch – chain stitch
- sc – single crochet
- inc – increase – work 2 sc in st
- tr inc – work 3 sc in st
- dec – decrease – work 2 sc together
- sc3tog – work 3 sc together
- sm – stitch marker
Pattern Notes
- Skill level Intermediate.
- Gauge is less important, as long as the stitches are tight enough to prevent stuffing from coming out.
- Small duck is 8.5” laid flat, 6” seated
- Medium ducks is 14″ laid flat, 11″ seated
- Large duck is 17” laid flat, 13” seated
- Pattern is worked in the round. Join each round using a regular slip stitch join unless noted otherwise.
- Always knot the magic circle securely before weaving in ends.
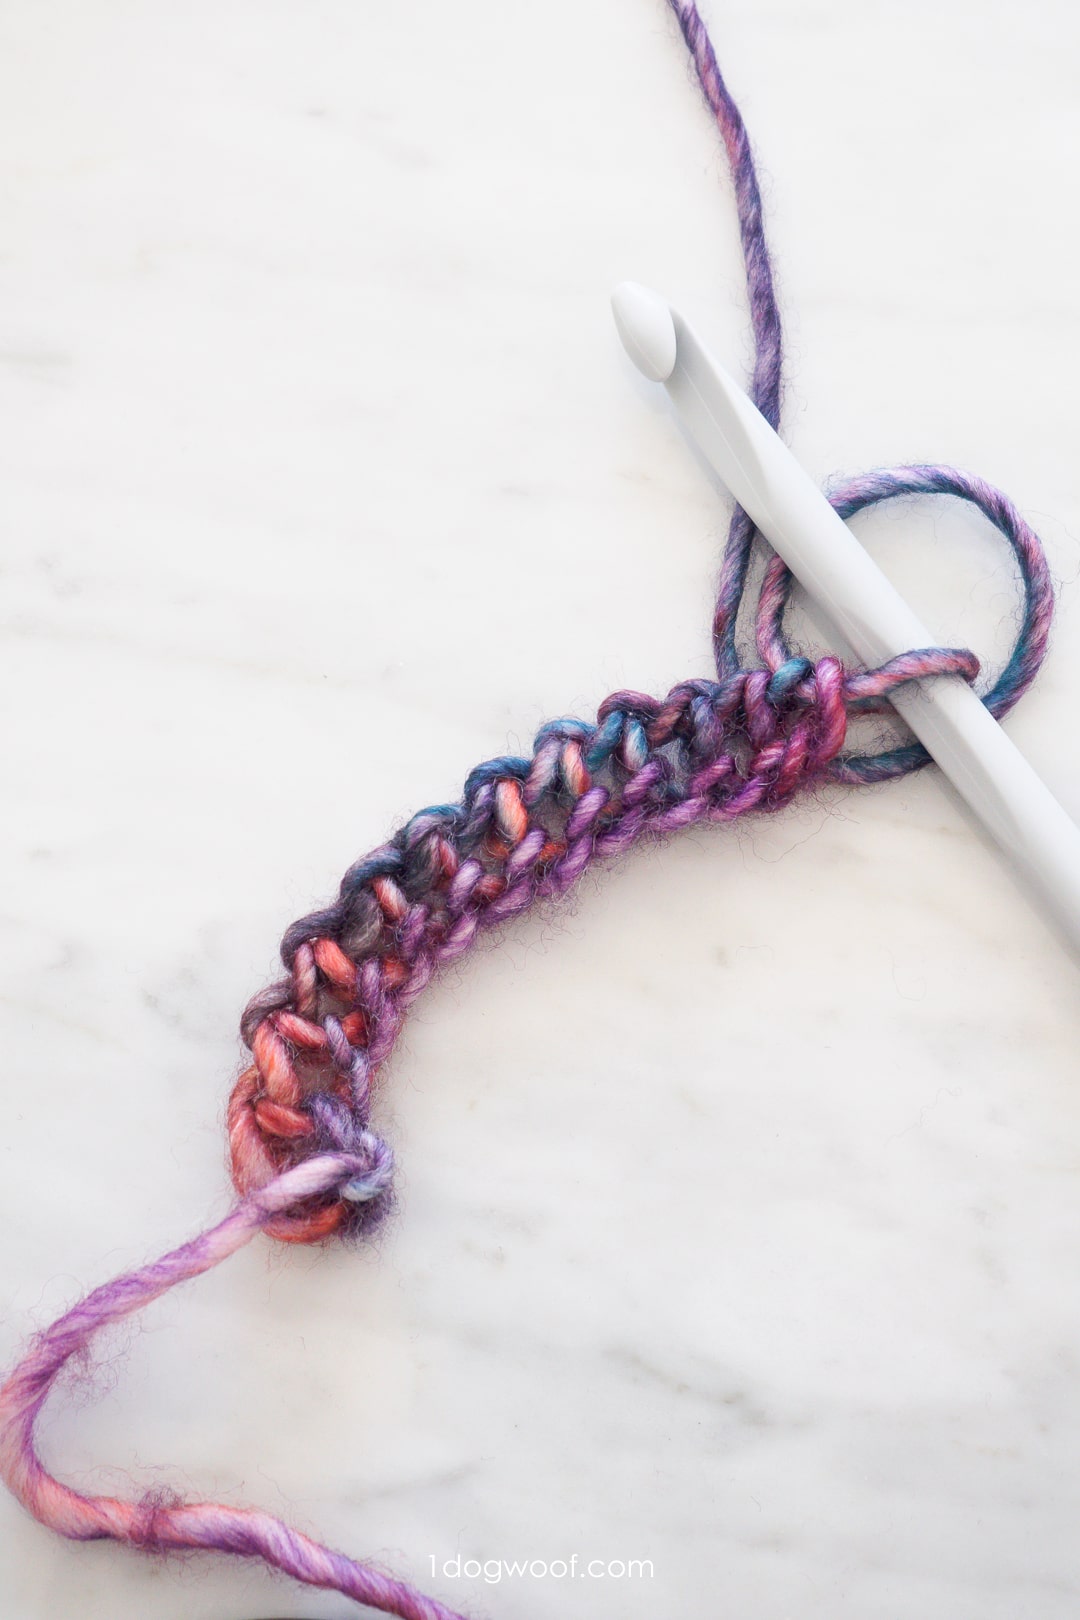
- Seamless join: At the end of the round, remove your hook from the active stitch, insert the hook into the 1st stitch of the round from back to front, pick up the loop from the last stitch, and pull the last stitch through from front to back. (See the third photo in this post)
Stanley Duck Amigurumi Pattern Instructions
BODY
Round 1: Work 6 sc into a magic circle. Join to first st with regular join. (6)
Round 2: Ch 1. Work 2 sc in each st around. Join to first st with seamless join. (12)
Round 3: Ch 1. Work [3 sc, tr inc] 3x. Join to first st with seamless join. (18)
Round 4: Ch 1. Work [5 sc, tr inc] 3x. Join to first st with seamless join. (24)
Round 5: Ch 1. Work [7 sc, tr inc] 3x. Join to first st with seamless join. (30)
Round 6: Ch 1. Work [8 sc, tr inc, 1 sc] 3x. Join to first st with seamless join. (36)
Round 7: Ch 1. Work [9 sc, tr inc, 2 sc] 3x. Join to first st with seamless join. (42)
Round 8: Ch 1. Work [10 sc, tr inc, 3 sc] 3x. Join to first st with seamless join. (48)
Round 9-11: Ch 1. Work 1 sc in each st around. Join to first st with seamless join. (48)
Round 12: Ch 1. Work 16 sc, inc, 5 sc, inc, 25 sc. Join to first st with seamless join. (50)
Round 13: Ch 1. Work 1 sc in each st around. Join to first st with seamless join. (50)
Round 14: Ch 1. Work 48 sc, dec, dec, 1 sc. Join to first st with seamless join. (48)
Round 15-16: Ch 1. Work 1 sc in each st around. Join to first st with seamless join. (48)
Round 17: Ch 1. Work [6 sc, dec] 6x. Join to first st with seamless join. (42)
Round 18-19: Ch 1. Work 1 sc in each st around. Join to first st with seamless join. (42)
Round 20: Ch 1. Work [5 sc, dec] 6x. Join to first st with seamless join. (36)
Round 21: Ch 1. Work 1 sc in each st around. Join to first st with seamless join. (36)
Round 22: Ch 1. Work [4 sc, dec] 6x. Join to first st with seamless join. (30)
Round 23: Ch 1. Work 1 sc in each st around. Join to first st with seamless join. (30)
Round 24: Ch 1. Work [3 sc, dec] 6x. Join to first st with seamless join. (24)
Round 25: Ch 1. Work 1 sc in each st around. Join to first st with seamless join. (24)
Round 26: Ch 1. Work [2 sc, dec] 6x. Join to first st with seamless join. (18)
→ Stuff the body up to the neck.
Round 27: Ch 1. Work [1 sc, inc, inc] 6x. Join to first st with seamless join. (30)
Round 28: Ch 1. Work [8 sc, inc, 1 sc, inc, 1 sc, inc, 4 sc (add sm in 4th sc), 3 sc, inc, 1 sc, inc, 1 sc, inc, 5 sc. Join to first st with seamless join. (36)
Round 29-32: Ch 1. Work 1 sc in each st around. Join to first st with seamless join. (36)
Round 33: Ch 1. Work [8 sc, dec, 1 sc, dec, 1 sc, dec (add sm), 7 sc, dec (add sm), 1 sc, dec, 1 sc, dec, 5 sc. Join to first st with seamless join. (30)
Round 34: Ch 1. Work 1 sc in each st around. Join to first st with seamless join. (30)
Round 35: Ch 1. Work [3 sc, dec] 6x. Join to first st with seamless join. (24)
Round 36: Ch 1. Work 1 sc in each st around. Join to first st with seamless join. (24)
Round 37: Ch 1. Work [2 sc, dec] 6x. Join to first st with seamless join. (18)
Round 38: Ch 1. Work 1 sc in each st around. Join to first st with seamless join. (18)
→ Make BEAK (see below)
→ Using the stitch markers to indicate the center of the face, sew on the beak using a whip stitch.
→ Stuff the beak lightly and close off.
→ Attach safety eyes/buttons right where the beak meets the head.
Round 39: Ch 1. Work [1 sc, dec] 6x. Join to first st with seamless join. (12)
→ Add stuffing for the body if necessary and stuff the head before closing off.
Round 40: Ch 1. Work 6 dec. Do not join. Cut yarn leaving a tail. Pull tail out of last sc. Thread the tail unto a tapestry needle and sew through the front loops of the 6 sc. Pull tight, fasten off.
BEAK
Round 1: Ch 4. Work 1 sc into the 2nd ch from hook. Work 1 sc, tr inc, 1 sc, inc. Join to first st. (8)
Round 2: Ch 1. Work 3 sc, tr inc, 3 sc, tr inc. Join to first st. (12)
Round 3: Ch 1. Work 4 sc, inc, inc, 4 sc, inc, inc. Join to first st. (16)
Round 4: Ch 1. Work 5 sc, inc, inc, 6 sc, inc, inc, 1 sc. Join to first st. (20)
Round 5: Ch 1. Work 1 sc in each st around. Join to first st. (20)
Fasten off, leaving a long tail for sewing on to the head.
WING (Make 2)
Round 1: Work 6 sc into a magic circle. Join to first st with regular join. (6)
Round 2: Ch 1. Work 2 sc in each st around. Join to first st. (12)
Round 3: Ch 1. Work [1 sc, inc] 6x. Join to first st. (18)
Round 4: Ch 1. Work [2 sc, inc] 6x. Join to first st. (24)
Round 5: Ch 1. Work 2 inc, 4 dec, 4 inc, 4 dec, 2 inc. Join to first st. (24)
Round 6: Ch 1. Work 8 sc, 4 dec, 8 sc. Join to first st. (20)
Round 7: Ch 1. Work 1 dec, 6 sc, 2 dec, 6 sc, 1 dec. Join to first st. (16)
Round 8: Ch 1. Work 1 dec, 5 sc, 1 dec, 5 sc, 1 dec. Join to first st. (13)
Round 9: Ch 1. Work 1 sc in each st around. Join to first st. (13)
Round 10: Ch 1. Work 1 dec, 4 sc, 1 dec, 3 sc, 1 dec. Join to first st. (10)
Round 11: Ch 1. Work 1 sc in each st around. Join to first st. (10)
→ Stuff the wing lightly.
→ Flatten (fold with the join seam as the front edge), and work 4 sc + 1 sl st across.
→ Fasten, leaving a tail for sewing on to the body.
FEET (Make 2)
Round 1: Work 6 sc into a magic circle. Join to first st with regular join. (6)
Round 2: Ch 1. Work 2 sc in each st around. Join to first st. (12)
Round 3: Ch 1. Work [3 sc, tr inc] 3x. Join to first st. (18)
Round 4: Ch 1. Work [5 sc, tr inc] 3x. Join to first st. (24)
Round 5: Ch 1. Work [7 sc, tr inc] 3x. Join to first st. (30)
Round 6-8: Ch 1. Work 1 sc in each st around. Join to first st. (30)
Round 9: Ch 1. Work 3 dec, 1 sc3tog, 1 dec, 12 sc, 1 dec, 1 sc3tog, 1 dec. Join to first st. (20)
Round 10: Ch 1. Work 1 dec, 1 sc3tog, 12 sc, 1 sc3tog. Join to first st. (15)
Round 11: Ch 1. Work 1 sc, 1 dec, 3 sc, 2 dec, 3 sc, 1 dec. Join to first st. (11)
Round 12-13: Ch 1. Work 1 sc in each st around. Join to first st. (11)
→ Stuff the feet well to fill out the shape.
→ Flatten, and work sc across. Note: You will need to stretch the working stitch to work sc from 2 st back.
→ Fasten, and leave an extra long tail.
→ Use the tail to sew through the feet and tighten to create the “webbed feet”. Make sure the tail is worked back to the top of the legs to be used to join the feet to the body.
ASSEMBLY
→ Attach wings on either side of the body, at either Round 24 or Round 25 of body.
→ Attach legs at Round 6 of body, with the outer edge of either feet lined up with the front points of the triangle base.
That’s it! Now all you have to do is hug your new duck!
Check out my pattern shops on Ravelry and Etsy where you can purchase printable PDFs of my latest crochet patterns. These PDFs are formatted without comments or ads, and have instructional photos at the bottom for optional printing.
I sometimes include affiliate links in my supply lists. Purchasing from these merchants earns me a small commission with no extra cost to you, and goes towards supporting One Dog Woof.
Please be respectful and do not sell or distribute this pattern in any way, especially as your own. Instead, share the original blog post link! You can sell finished products made from this pattern by giving credit to One Dog Woof as the pattern designer and linking to the blog post. If you have any questions regarding distribution or translation of this pattern, please see my Terms of Use. Thank you for your consideration!




I am stuck. Lol. On rows 17-19 of the body. Do I repeat this row 3 times? I am assuming yes, but the stitch count is throwing me off. Help! TIA!
Hi Aimee, yes, I see the confusion. Let me clarify that right now! Row 17 is a decreasing row, and then Rows 18 and 19 are single crochets around.
Hello,
On round 14, should it be 45 sc and not 48 sc? Once I reach 48 sc, I only have two stitches left to complete dec, dec, sc.
Please advise on you lovely pattern.
Thank you!
Hi, thank you for pointing out my typo! Yes, you work 45 single crochet and then the dec, dec, sc to come out with 48 sts in that round. Thanks!
I am confused at the start of the beak. Am I supposed to crochet around the chain 4?
Hi Karrin, Yes, you crochet around the chain 4. The beak is oblong shaped, worked in the round.
I’m currently making the fluffy medium sized duck and I’m very confused. I’m using the exact yarns you suggested but using a 6.5mm hook with the yellow leaves massive holes and using a smaller hook makes the beak and feet too small.
I’m really confused how you got yours to look how you did.
Did you use a different yarn to this? Is there a way I could scale up the feet??
Thanks.
Hi! So I’m almost done making the momma duck. I was wondering, how do you make the little hair on the top? I know only the baby duck has it, but I really want to add it to the mom. I’ll appreciate your help. ☺️
Hi Karrin. Did you figure out how to start the beak? What did you mean by “crocheting around Chain 4”?
I’m really confused, maybe you can help me?
This may sound really stupid, but where I should the pattern for the head? I can’t find it anywhere in your pattern?!
Never mind. Found it!
Hi, I had the same problem. I tried using two strands for all the parts of momma duck. I ended up using three balls of boucle yarn and one of the yellow by splitting the balls. Hope it helps!
Has the type been corrected in round 14 for the body/head in the pattern??
I can’t figure out how to do the beak without ending up with holes especially at the tr inc. A video tutorial would be very helpful. For now I’ve gone done two hook sizes (and I’m already a tight crocheter) to close up some gaps but I’ll have to figure out how to adjust so the finished piece is the correct size. I’m try trying the small size – this is such an adorable pattern! Thank you for sharing it!
What’s the purpose of the sm placed in round 28?
No. I think there are a few typos along the way. Frustrating because this is a really cute pattern. I wish there were video tutorials.
I just started making the posted pattern above, and the numbers aren’t adding up. Round 6 should be 9sc, round 7 should be 11sc, round 8 should be 13sc. It took me awhile to figure that out.
Hi how tall is mama and baby duck?
Thanks
Small duck is 8.5” laid flat, 6” seated
Medium ducks is 14″ laid flat, 11″ seated
Large duck is 17” laid flat, 13” seated
it says under the pattern notes. lol.
cute pattern but i got confused with the beak, feet, and wings. a video tutorial would be EXTREMELY helpful.
to help know where the center of the face is
Thank you for that, I have tried making this about four times and the numbers just didn’t work out. I’ll have another try.
Your share is the great knowledge I have gathered, you are an important person I admire, thank you
I am also having difficulty with the feet. Large holes, I’ve tried a smaller hook, but still holes, any help would be appreciated…
Love making this duck but should the wing have a particular shape? Lots of inc and dec, I clearly can’t see if the shape is correct on mine.
It should be a kind of teardrop shape. The increases at the beginning of the wing get you to the fullest part, and then the decreases will start to form the “teardrop” as you get to the top of the wing where it will attach to the body.
Wow I bought this pattern and have so far pulled it out 3 times. Luckily I have now read the comments and found out about the mistakes in it . Very confusing. So I gather 22-23 and 24-25 are the same as what you said about 17-19? That only the first row is the decrease and the other two are actually just SC around?
Yes, 22 is a decrease row, and 23 you sc around. 24 is a decrease row, and 25 you sc around.