
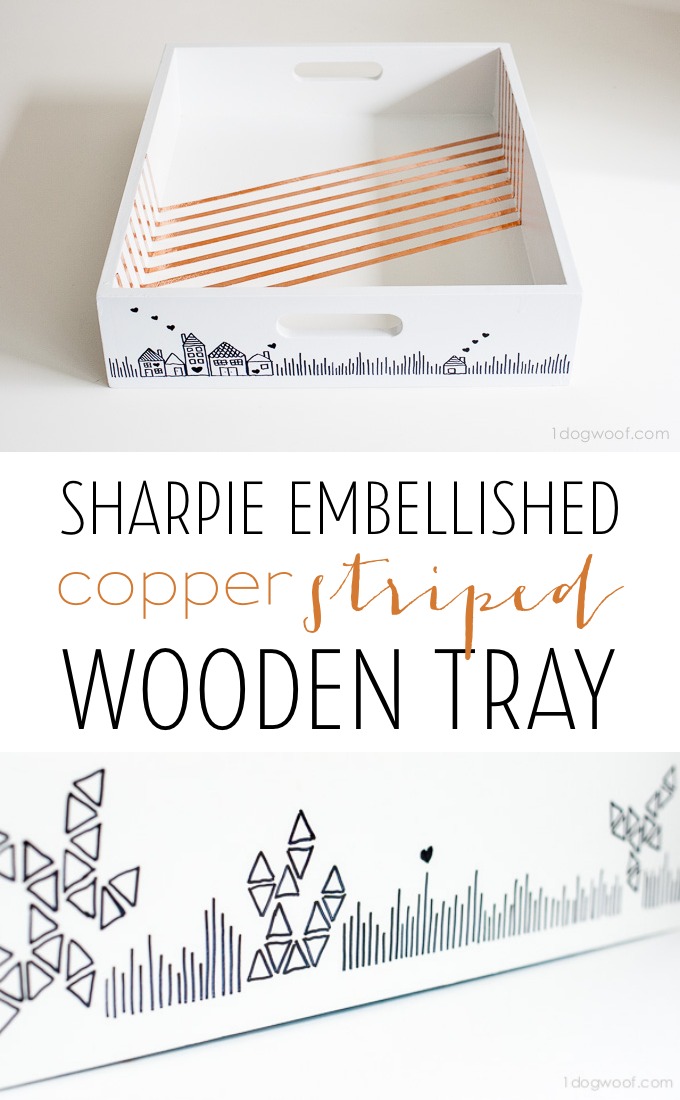
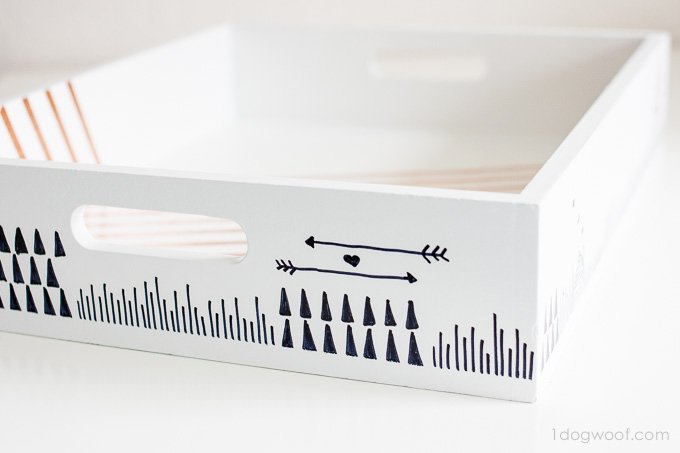
Remember when I asked whether I should cover an entire tray in copper stripes? Well, the opinion was pretty unanimous to keep it at 8 stripes, so I did what I was told and left it at that. And left it. And left it. And left it some more. It sat, with its 8 lovely copper stripes, for much too long. After doodling around with a black permanent marker, I can officially (as opposed to a #wip pic on Instagram) show you my Sharpie embellished copper striped tray. Enough adjectives for ya?
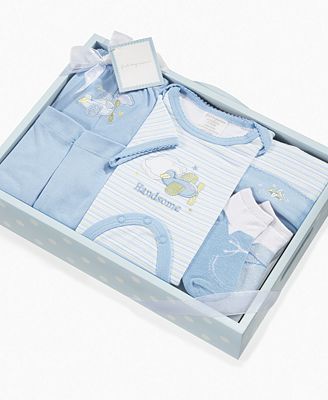
The tray originally came from a baby clothes gift set that was given to me when J was born. You know, over 4 years ago. The hoarder in me kept it all this time, and finally got around to repurposing it. Well, I guess it’s not really repurposed, since it still holds stuff as a tray was born to do, but it’s not blue and polka-dotted and holding baby clothes anymore.
It was sanded, primed and painted white, and then it sat and waited for me to figure out the rest of it. Let’s just say, the paint on this tray cured FULLY before the copper tape went on. And yes, it was copper tape. The oh so lovely copper tape*![]() that you may have seen before.
that you may have seen before.
The Beauty of Copper Tape
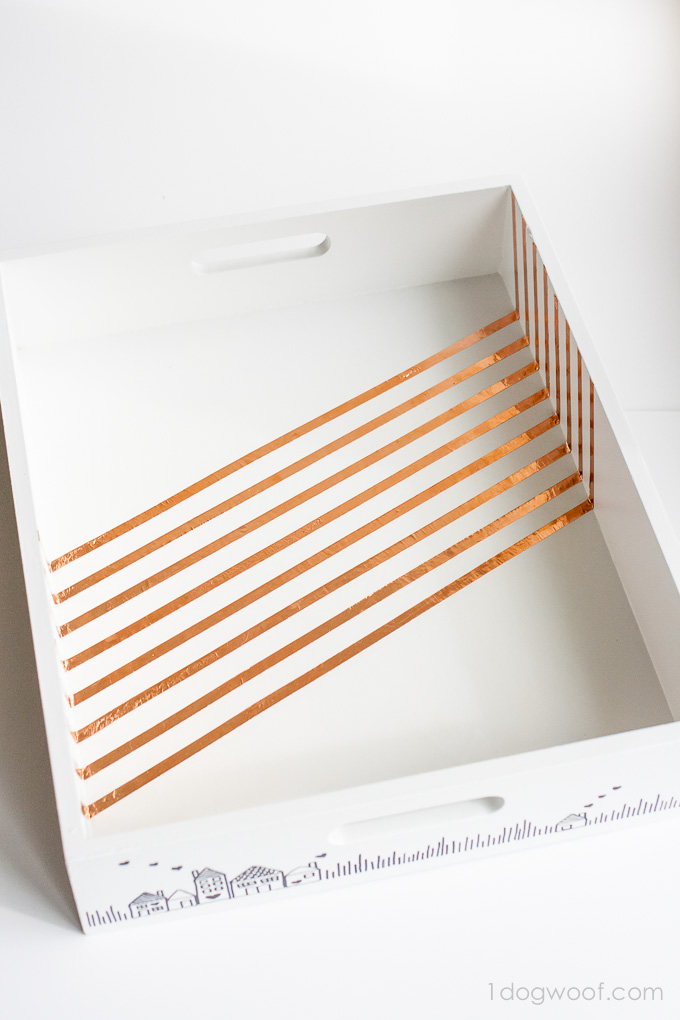
The tape was a bit difficult to put on, especially in slanted stripes. It was very delicate work! Here’s how I did it:
1. Cut a long piece of poster board that was 1/2″ wide to use as a guide.
2. Tape the guide down where you want it on the tray, and fold it up the sides at the desired angle.
3. Slowly apply the copper tape on both sides of the guide. The guide keeps your stripes parallel to each other!
4. Once the first 2 stripes are down, remove the guide and place it up against one of the copper stripes. Apply another copper stripe on the other side of the guide.
5. Lather, rinse, repeat until you have all the striped you want, or until your readership tells you to stop!
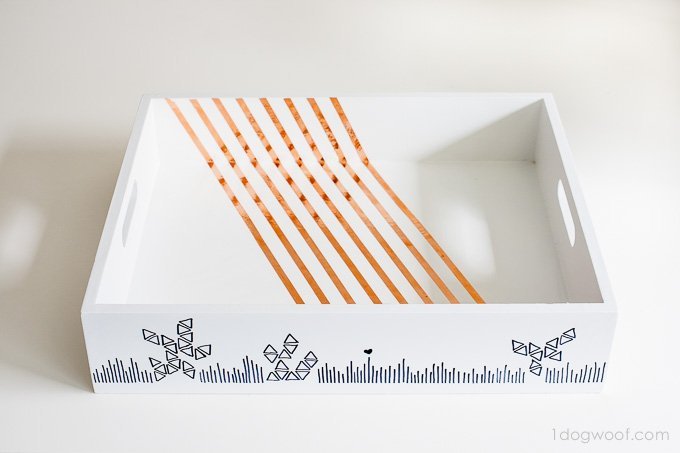
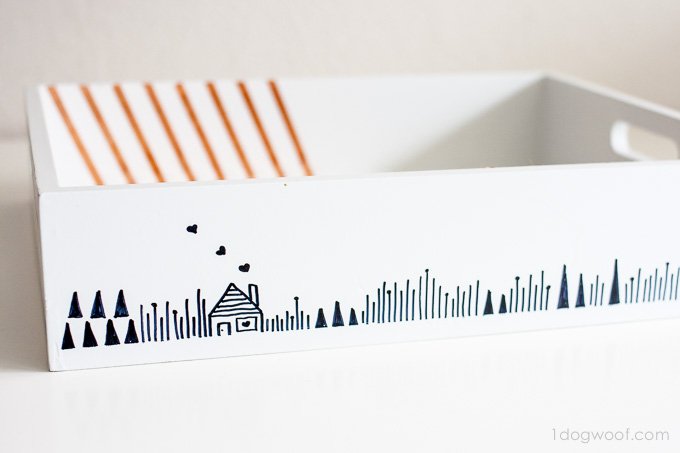
The inside of the tray was all done, but the outside was still super plain. What to do?! I thought about drawing skylines along the side, but couldn’t decide on whether I wanted an imaginary skyline or whether I really want to have an accurate depiction of a city skyline…and then, what city? Decisions, decisions. #lifeofacrafter
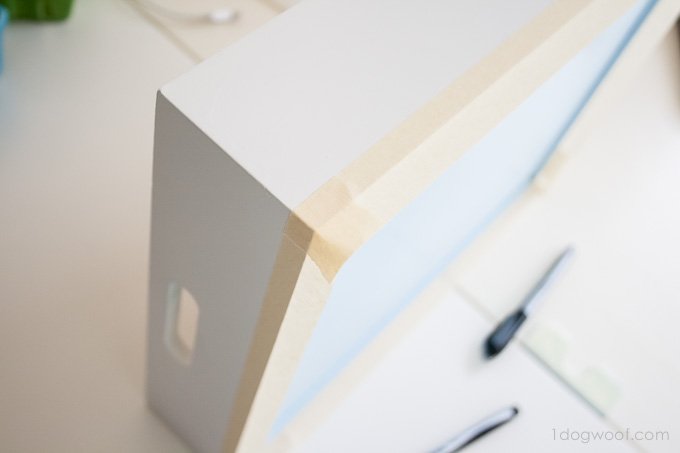
In the end, I threw up my hands and wanted to FINISH ALREADY, so I just grabbed a Sharpie and went at it. I taped the bottom to give me a clean edge, found some fun doodles online for inspiration and I just made it up.
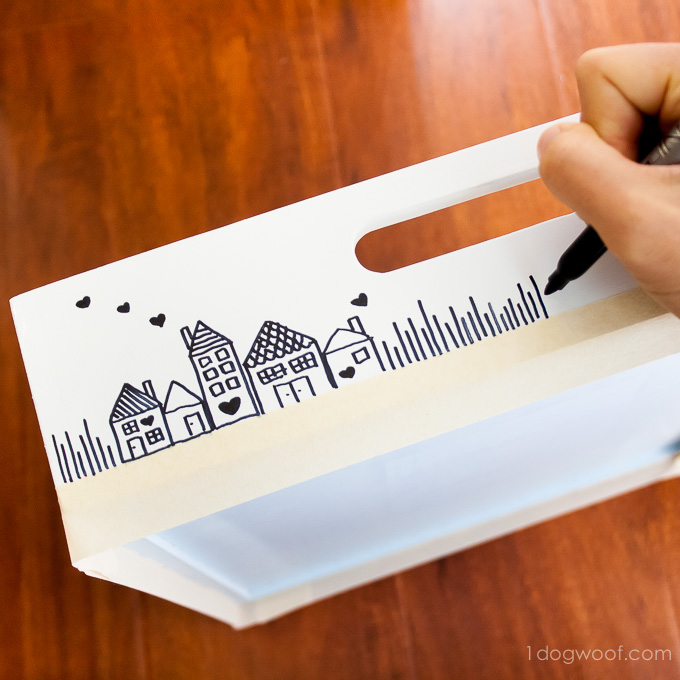
It was a great way for me to try out different motifs and designs.
At one point, J started requesting houses that he could live in, and mountains he could climb, but I decided to stop him when he asked for clouds. He was a bit disappointed, but perked up when I drew some hearts coming out the chimney.
It ended up being a lot of fun to freehand a project. And I think it’ll look great on my hallway table!

* indicates affliate links. If you purchase items through the links, I’ll earn a small commission, so thank you!


Adorable!
What a great re-purpose…Love the little details!
Your tray turned out beautifully! I love the freehand details!
LOVE the copper stripes! Beautiful!
What a cute idea! I would be honored if you would link it up at our Found & Foraged Linky party tonight starting at 8PM CST over at http://www.thebigrevealblog.com if you were interested. Hope to see you there!
Thanks Jenna!
Thank you Marilyn!
Thanks! My son likes looking at the little houses and doing a bit of pretend play with them 🙂