
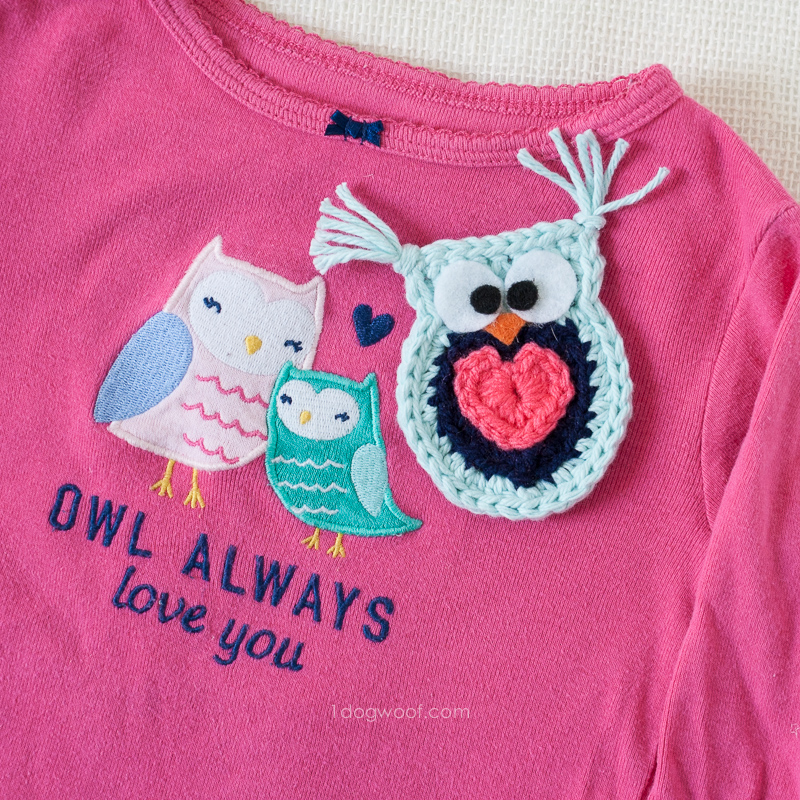
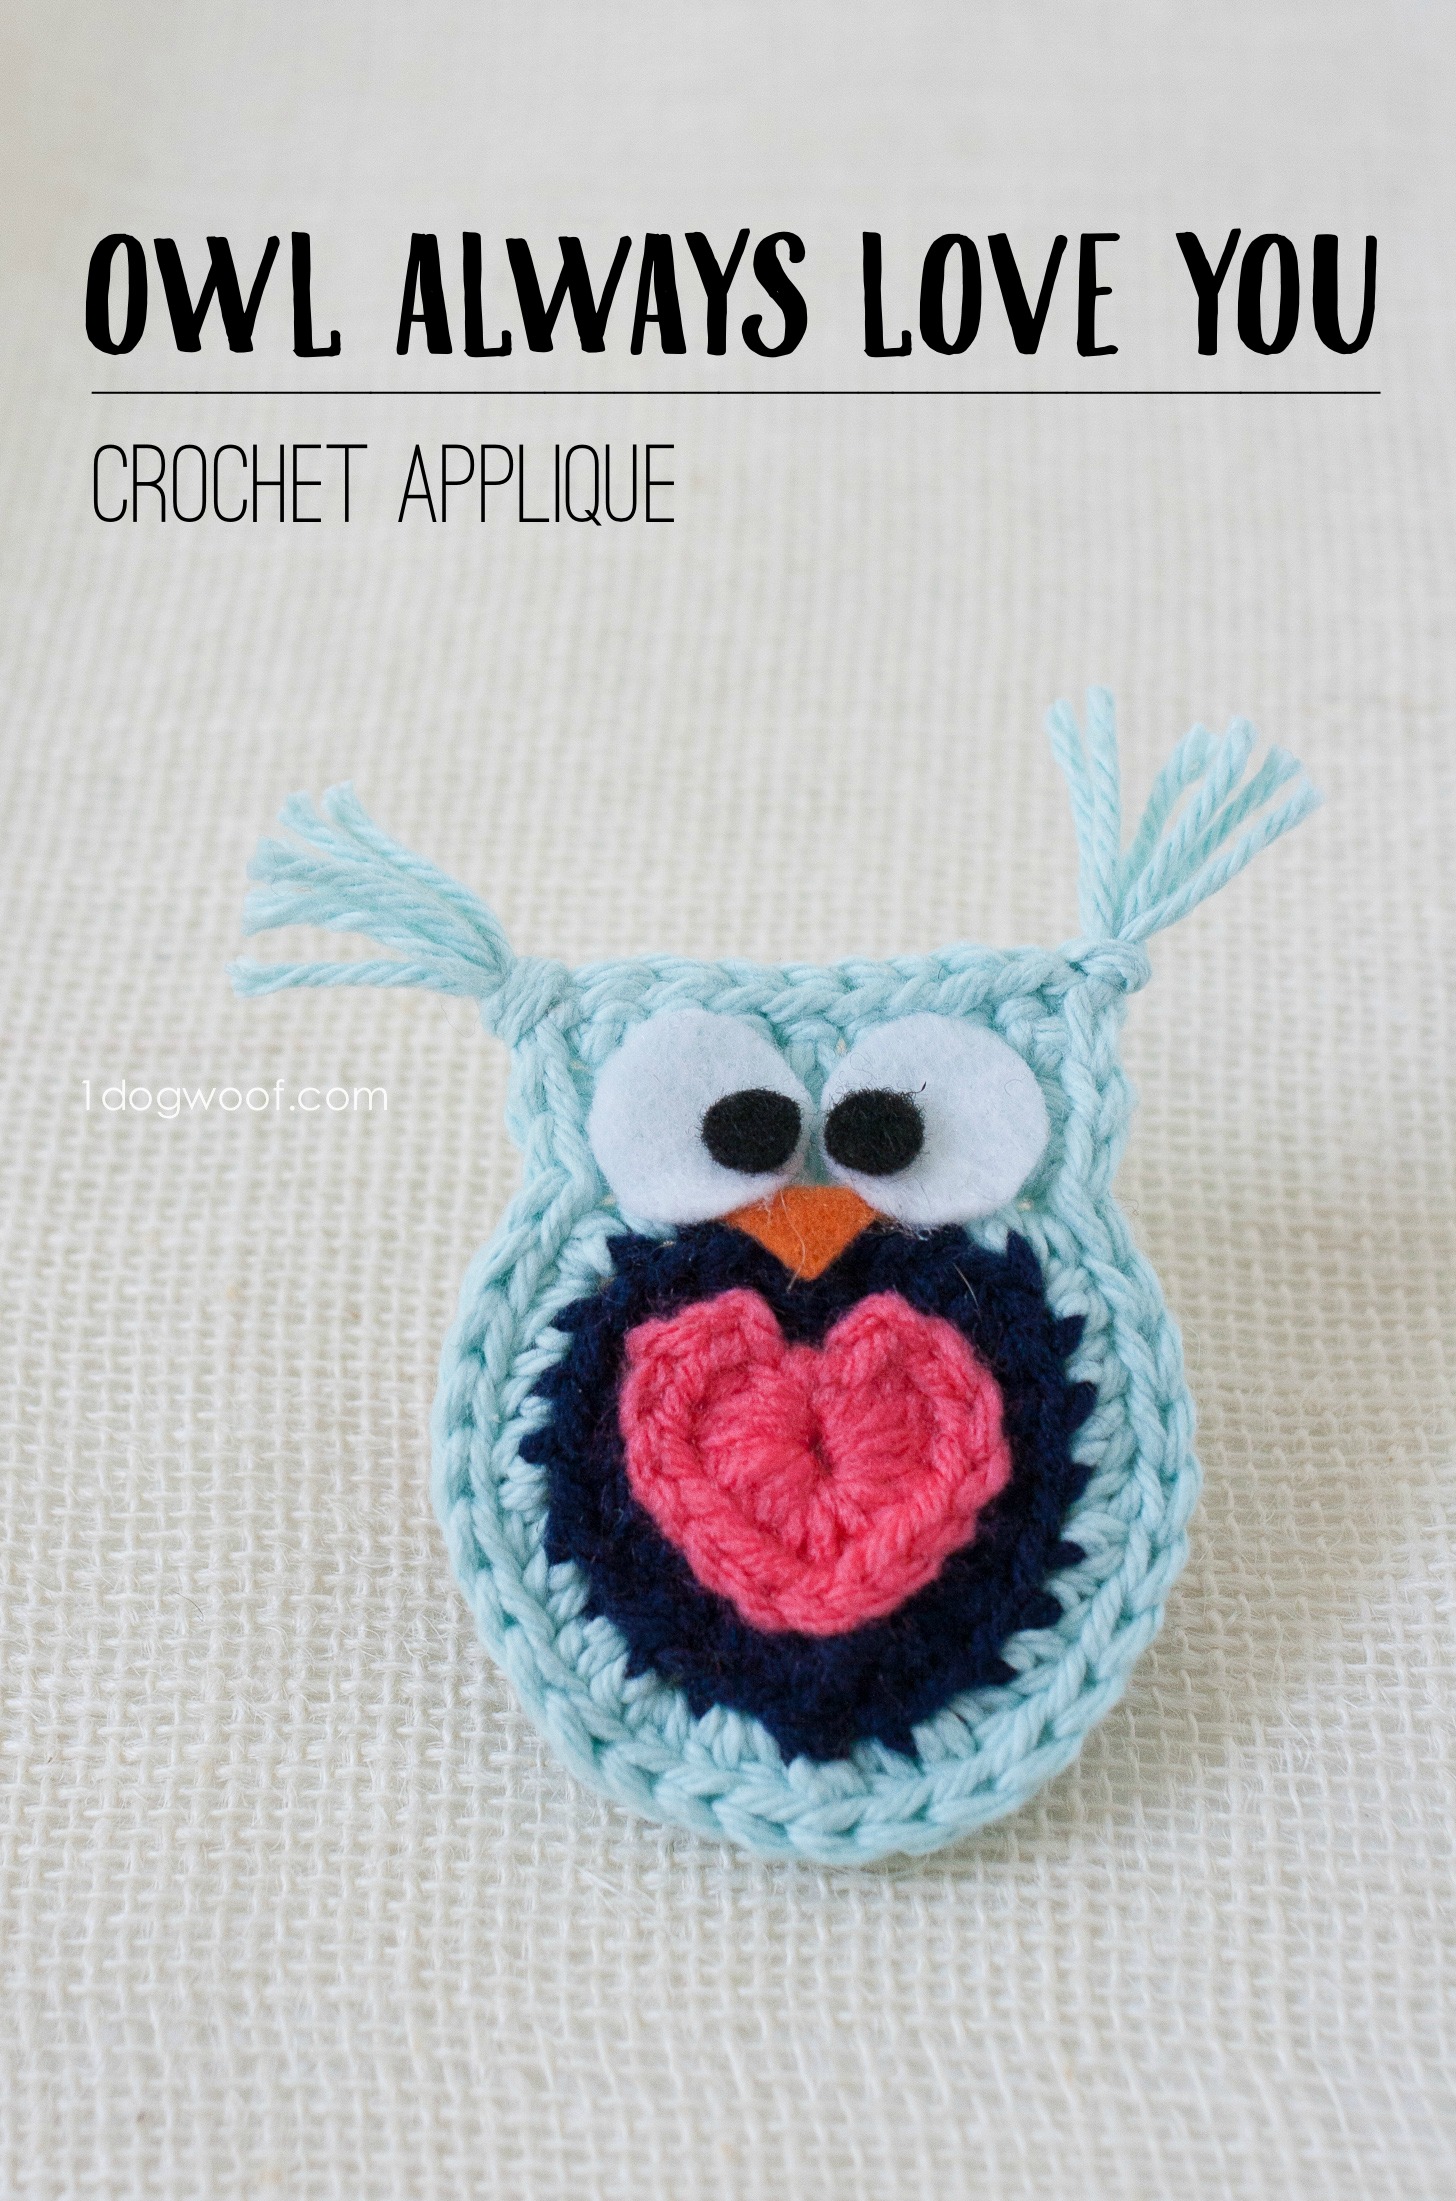
Gah! It’s taken me so long to get this post published, even though I finished it weeks ago. Well, here it is, finally, my ‘Owl Always Love You’ crochet owl applique. This was inspired by my daughter’s pajamas while I was taking photos for the Sweetheart Beanie.
I’ve obviously seen the pajamas numerous times before, but the profusion of pink put me in a punny Valentine’s mood, and I thought it’d be fun to create an Owl Always Love You applique to go along with the shirt.
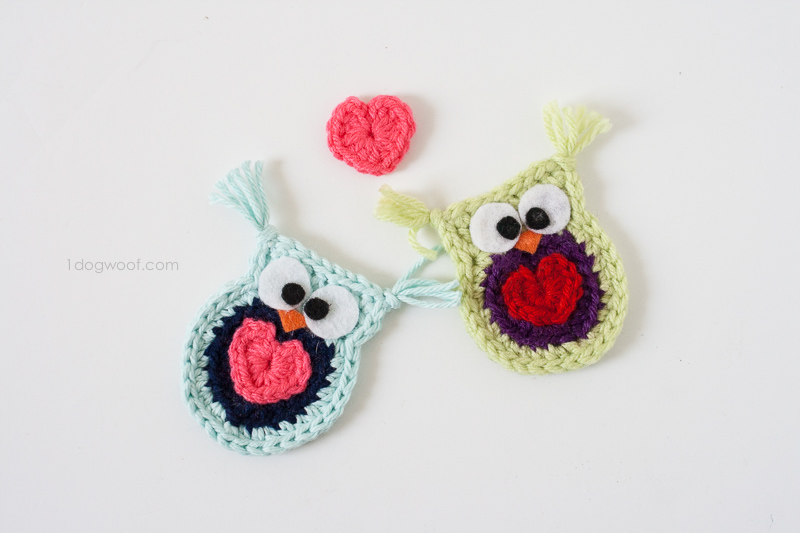
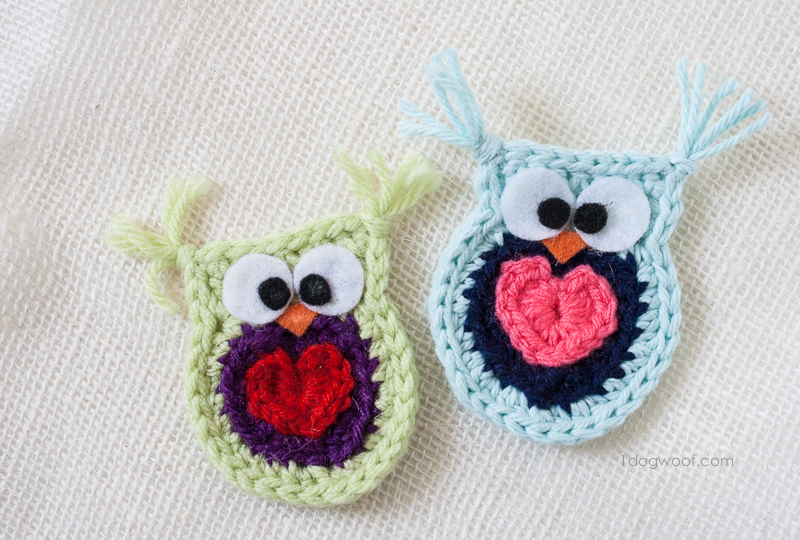
There’s a ton of owl appliques out in the world, so I made mine a bit different by making the owl tummy a little heart. Enjoy!
Supplies
G (4 mm) hook – Clover Amour Hooks*.
scrap yarn in fun colors
scissors
embroidery needle
white, black and orange felt scraps
Abbreviations
sl st – slip stitch
ch – chain stitch
hdc – half double crochet
dc – double crochet
Instructions for Owl applique
Heart center: Start with a magic circle. Chain 2, then work the following into the magic circle: 3 dc, 3 hdc, ch 1, 3 hdc, 3 dc, ch 2. Work 2 sl st into the center of the magic circle. Fasten off, and pull the magic circle tight.
Note before starting round 2. The following round is worked not in the front loop, and not in the back loop. It’s actually worked in the 3rd loop behind the first 2. Both hdc and dc stitches should have a visible 3rd loop on the back in which you can insert your hook. This enables the heart to look complete from the front.
Round 2: Work a standing sc on the 1st hdc after the ch 1 from the previous row. (You’re starting from the bottom of the heart.) Work 2 hdc in same stitch. Work 1 dc in each of next 2 stitches. Work 1 hdc in next st. Work 2 hdc in each of next 2 st. Work 1 hdc in back hump loop of 1st ch. Work 2 dc in the 2nd sl st from the previous round. Work 1 hdc in the first ch. Work 2 hdc in each of the next 2 st. Work 1 hdc in next st. Work 1 dc in each of the next 2 st. Work 2 hdc in next st. Join to the first hdc.
Note: You can also try my invisible stripes method to create a seamless look while changing colors between round 2 and round 3.
Round 3: Ch 2. Work 1 hdc into the same stitch as join. [Work 2 hdc in next st, 1 hdc in each of next 2 st] 2x. Work 2 hdc in next st. Work 1 hdc in next 6 st. [Work 2 hdc in next st, 1 hdc in each of next 2 st] 2x. Work 2 hdc in each of next 2 st. Join with an invisible join to the 2nd sc.
Row 4: With the piece right side facing you, work 1 standing ch in the 1st of the 6 hdc in the previous row (this should be on the top right of the heart). Ch 3, sl st in 2nd ch from hook. Work 1 dc in same stitch. Work 1 sc in next 5 st, 2 dc in next st. Ch 1. Turn.
Row 5: Work 1 sc in each st across. Turn.
Row 6. Work slip stitches around the entire piece. Fasten off and weave in ends.
Cut 6 pieces of yarn, approximately 6 inches long each. Tie a lark’s knot using 3 pieces of yarn in each top corner to create the ‘ears’.
Finish the owl by gluing on the felt beak and 2 felt eyes.
I do have to admit the pattern is a bit confusing because of the odd shaped, heart shaped center. For the most part however, once you finish the heart, you just want to create 2 concentric circles around it, and then top it off with 2 rows of stitches to make room for the eyes. If you miss a stitch or have to fudge a little bit, it’s ok!

If you liked this post, you may also like my Owl Pouch! Be sure to follow me on Facebook and Instagram to see what else I’m working on!


How many chains for magic circle?
A magic circle doesn’t use chains – you work directly into the magic circle.
I have crochet hundreds & hundreds of hearts for the Peyton Heart Project but your pattern is the most perfect & easy one. I was looking for a tiny heart to sew on crochet preemie hats and found yours on Crochet Maze. Will be using this heart pattern from now on. Thank you very much!
Thank you!
Hi,
Found it very difficult to make this pattern without a video or pictures, would be great if you could post those.
Hi Divya, unfortunately, I do not have a video for these. I am learning how to make videos and will provide them more often for future projects!