
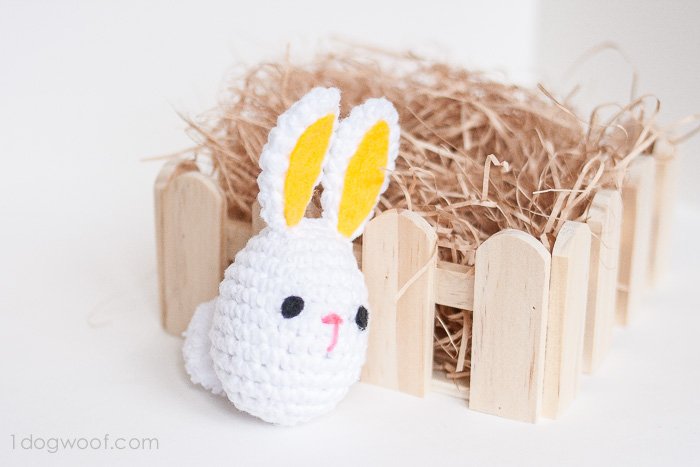
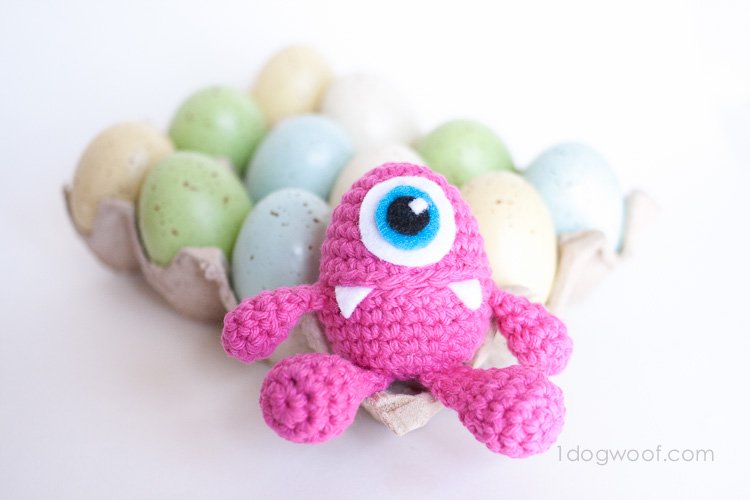
Well, my crochet monster easter egg was quickly confiscated by J as soon as he laid eyes on it, so I figured I should make something for LM as well, since now with two kids, everything needs to be fair. One for you, and one for you. Since LM is too young for a toy that opens and holds candy, she got a 1-piece bunny as her (teething) toy. A bunny rattle, actually.
I don’t have any pictures of it because it was a last minute idea, but I stuffed a bell into the egg with a bit of fiberfill before crocheting completely around the egg. When I shake it, there’s a muffled ringing sound that attracts LM’s attention. It doesn’t hold her attention, but that’s life…
Supplies
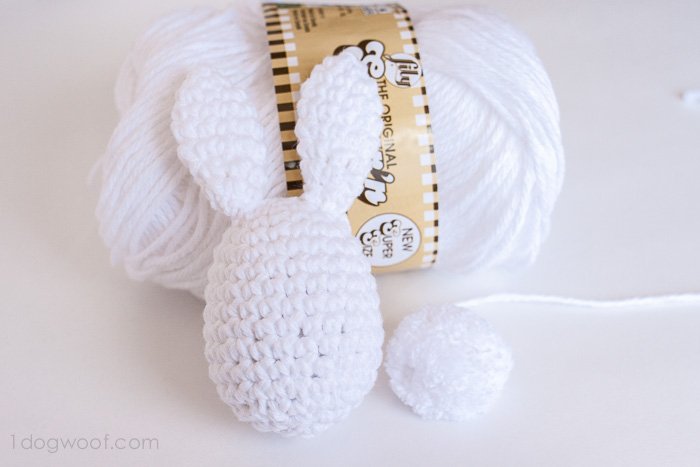
Lily Sugar ‘n Cream Cotton Yarn in white, or other worsted weight yarn
size F (3.75 mm) crochet hook <- affliate link to Susan Bates crochet hooks
regular sized plastic egg
felt pieces for the ear and eyes
pink yarn or embroidery thread
scissors
yarn needle
hot glue
Abbreviations
sts – stitch
sc – single crochet
sc2tog – single crochet to stitches together, to decrease a stitch in the round.
For this egg, I worked from the top down. Once the bottom started to close up, I stuffed the plastic egg in, and worked the stitches around the egg.
Egg Top
Round 1: Start with a magic circle. Work 6 sc into magic circle. (6 sts)
Round 2: Work 2 sc in each stitch around. (12 sts)
Round 3: *Sc 2, then sc 2 in next stitch.* Repeat from * around. (16 sts)
Round 4: *Sc 3, then sc 2 in next stitch.* Repeat from * around. (20 sts)
Round 5: *Sc 4, then sc 2 in next stitch.* Repeat from * around. (24 sts)
Round 6-12: Work 1 sc in each stitch around. (24 sts)
If you use a plastic egg instead of just stuffing with fiberfill, insert the egg here or at the latest, after the next round. Otherwise, it won’t fit.
Round 13: *Sc 2, then sc2tog.* Repeat from * around. (18 sts)
Round 14: *Sc 1, then sc2tog.* Repeat from * around. (12 sts)
Round 15: sc2tog 6 times. (6 sts)
Once you have 6 stitches left, cut the yarn leaving a long tail and pull through the last stitch on the hook. Using a yarn needle, sew through the front loops of each of the 6 stitches from the center outwards and then pull tight. You can find a detailed tutorial for this closing method on Planet June called the Ultimate Finish.
Ears (Make 2)
Round 1: Start with a magic circle. Work 6 sc into magic circle. (6 sts)
Round 2: *Sc 1, then sc 2 in next stitch.* Repeat from * around. (9 sts)
Round 3: *Sc 2, then sc 2 in next stitch.* Repeat from * around. (12 sts)
Round 4-5: Work 1 sc in each stitch around. (12 sts)
Round 6: *Sc 2, sc2tog next stitch.* Repeat from * around. (9 sts)
Round 7: Work 1 sc in each stitch around. (9 sts)
Round 8: *Sc 1, sc2tog next stitch.* Repeat from * around. (6 sts)
Round 9-10: Work 1 sc in each stitch around. (6 sts)
Cut the yarn, leaving a long tail. Flatten the opening and sew together, then attach to the top of the body.
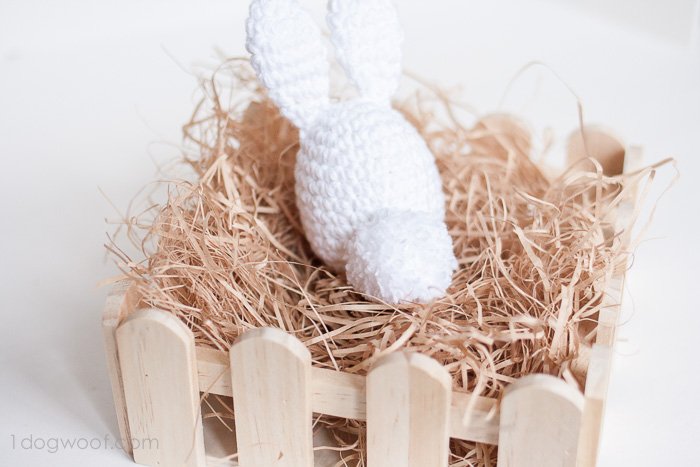
Make a pom-pom and attach it to the body.

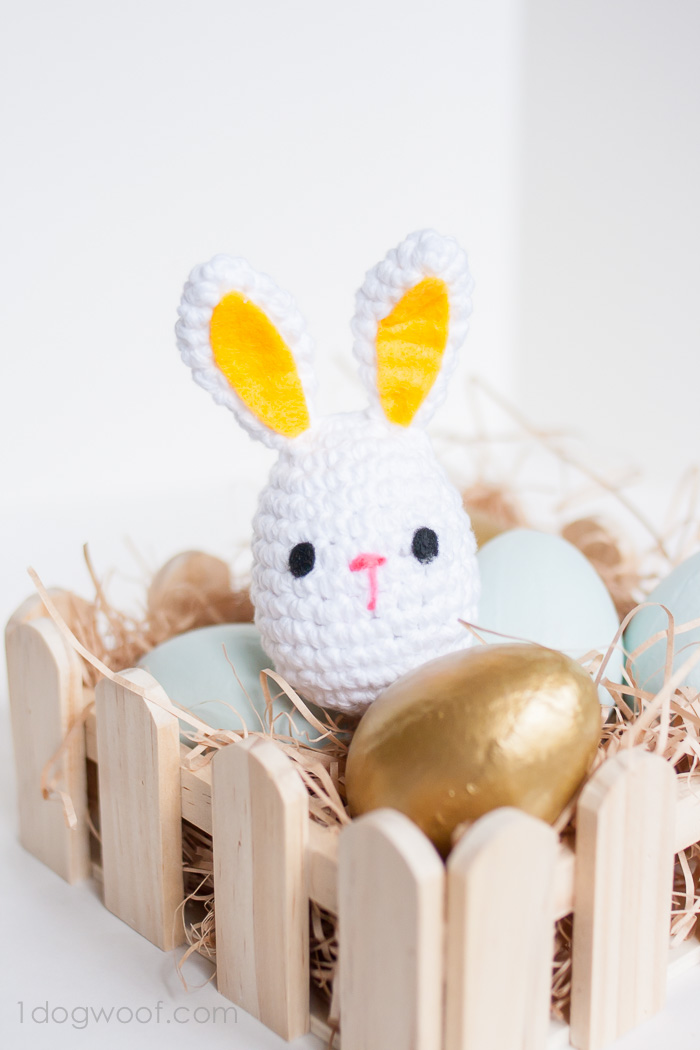
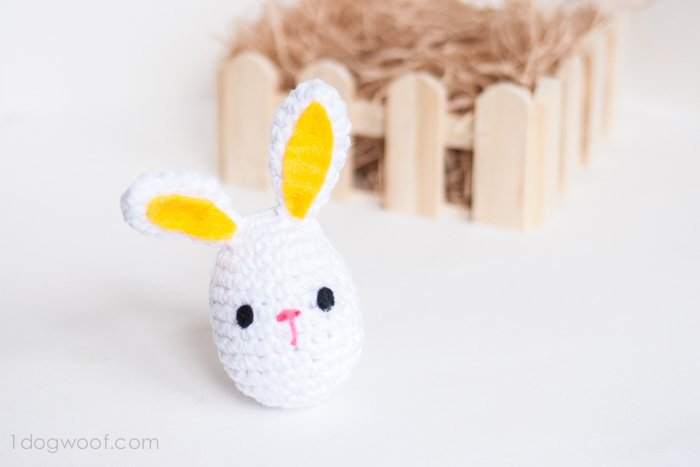
Cut out pieces of felt for the inner ears and eyes. Use pink embroidery thread or a strand of pink yarn to sew a small nose/mouth and create any expression you’d like.
Don’t forget to check out her partner in crime!


This is so precious, ChiWei!
So dang cute, ChiWei! You are rocking the Easter crochet.
This is one very cute Easteregg bunny. Thanks for sharing the pattern with us.
Oh my goodness that is just too cute!! Thank you for sharing this amazing design. Love It!!!
Thanks Patricia!
Thanks Erika, enjoy!
Ha, thanks Rachel!
Thanks Kara!
Cute! I like your staging , too!
yup, totally adorable. I can hardly stand it!!!
Thanks Nancy!
Thanks Melanie! I don’t have a lot of space or a lot of light, so always trying to get creative with the staging, as we all are 🙂
this is adorable! Thanks so much for the pattern
This one is the cutest easteregg bunny. Thankyou for sharing the pattern 🙂
You’re welcome!
These crocheted Easter bunnies are so cute…
This bunny is beautiful! I have a question (I’m new in this) Do I close every round with a slip stitch or I continue the nexo round?
This pattern is worked in the round.