
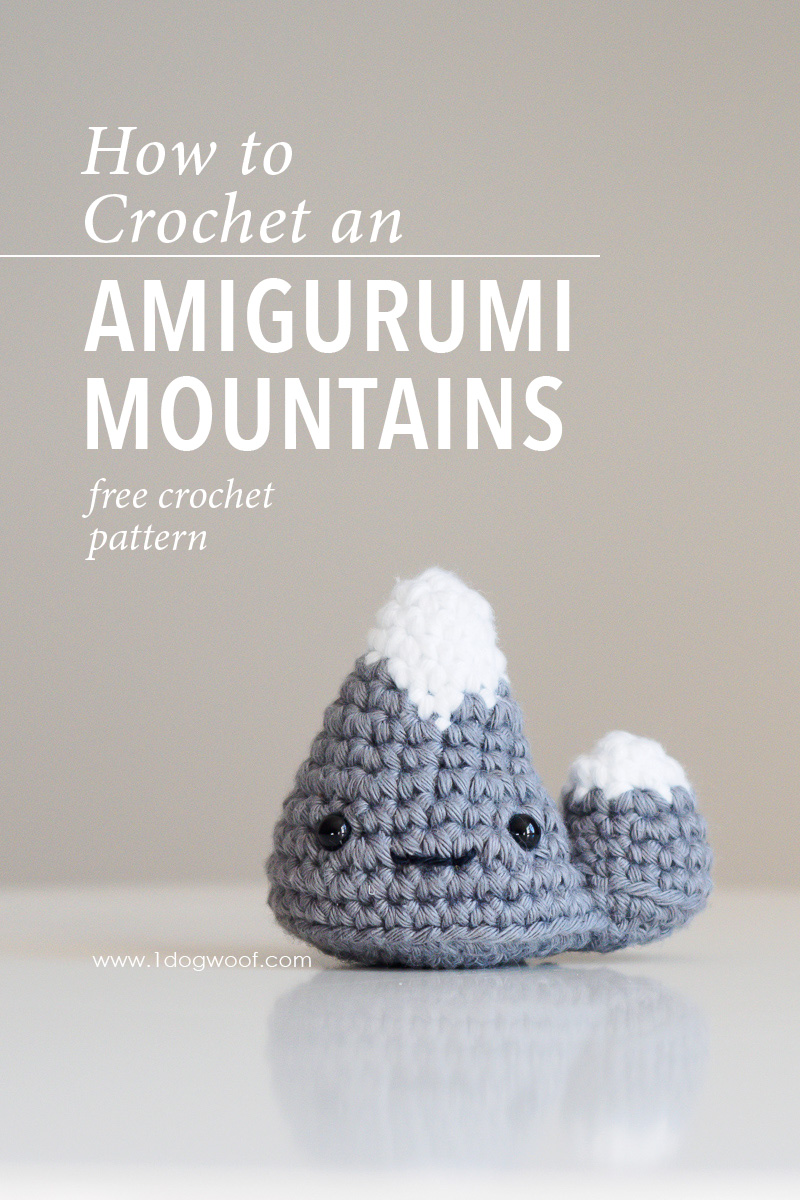
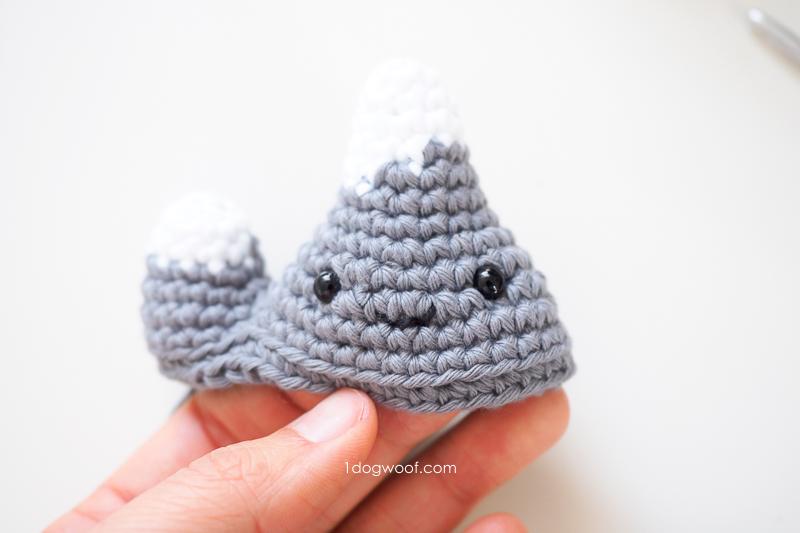
I don’t remember the inspiration for the mountain range, but I guess I associate the craggy peaks with winter and thought it’d fit in with a winter advent. I know I also wanted to try merging two separate pieces together and see how that works out. Here’s my amigurumi mountain peaks, or rather, one big peak and his buddy!
——————————————
Purchase the PDF from Ravelry or Add to your queue
——————————————
These two peaks are worked in continuous rounds because I thought it get too complicated to find the end of each round when you’re trying to join two peaks together. This creates a bit of a jog at the bottom when you work in the back loop for a round. The jog shows on one side only though, so you can always put the face on the side where it doesn’t show.
Let’s walk through the construction of this amigurumi!
First, you’ll want to make the small peak, so you can cut your yarn and move on to the large peak. Both peaks change colors in the middle of the round, and you can use this color changing tutorial to help you out.
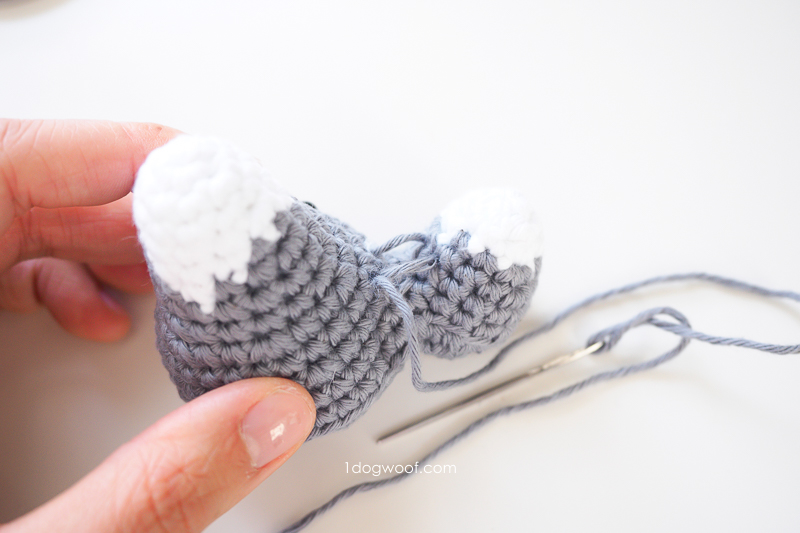
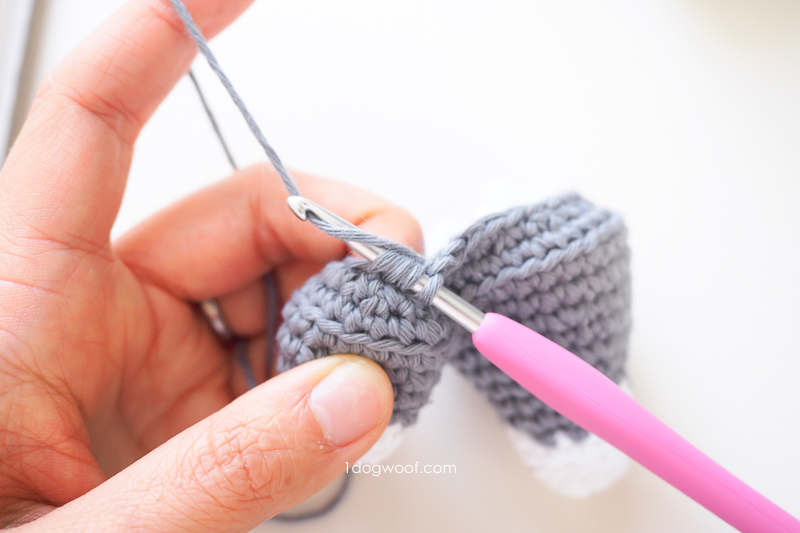
Once you’ve completed about half the large peak, it’s time to connect the two. You really just want to create one large round of stitches, and it takes about 2 rounds to connect it securely enough to really see the combined round. At this point, you’re almost to the end already! Because the shape of the rounds are not your usual circles anymore, the decreases get a bit wonky. Just remember to follow the stitch instructions and it should work out fine. The rounds are continuous so even if you might be a stitch off, the final shape won’t be affected too much because there’s no seam to have to line up.
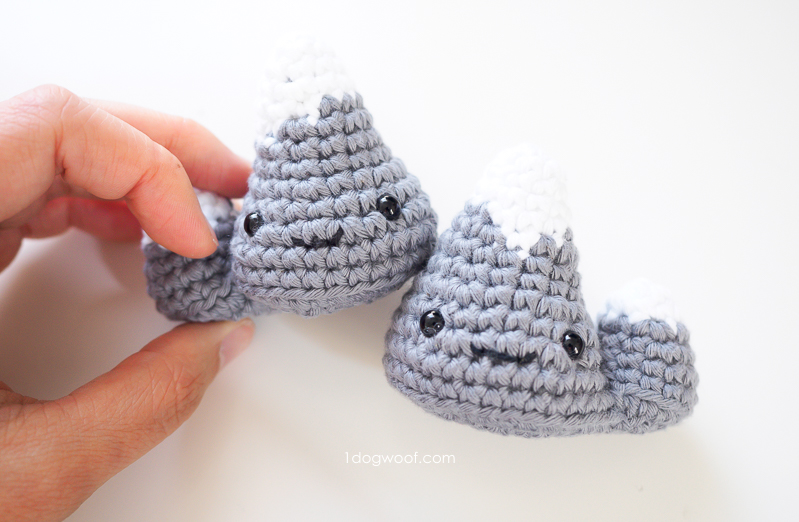
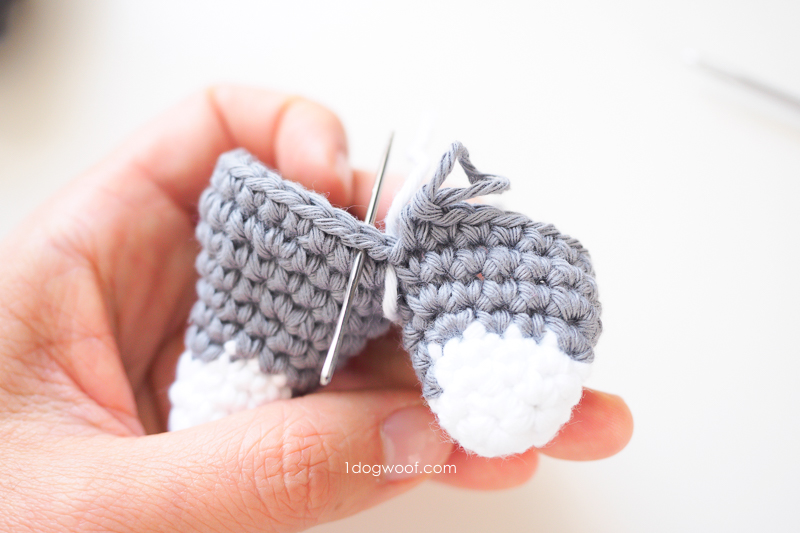
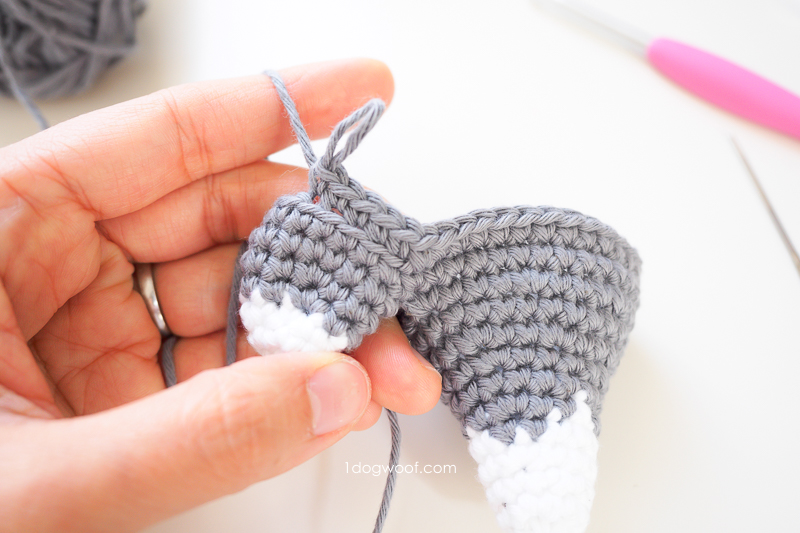
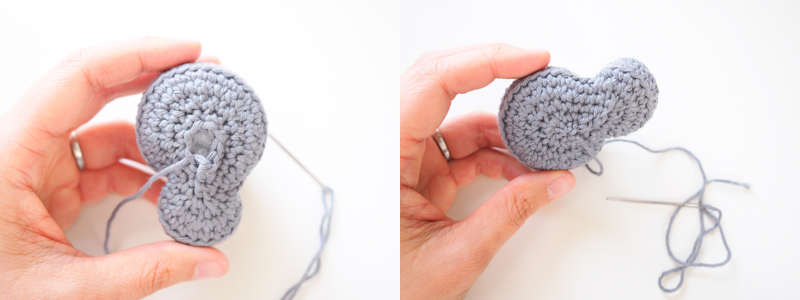
The smaller peak does tend to stick way out to the side, so you have the option of using one of your yarn ends (either the one from the small peak, or bring up the last yarn end) to sew the tips of the peaks together. Once you pull those stitches tight, the peaks should stand almost straight next to each other instead of looking like a literal sore thumb to one side!
Supplies
- MC: Paintbox Cotton Aran Slate Gray
- C1: Paintbox Cotton Aran Paper White
- F/3.75mm crochet hook
- Cluster fiberfill
- 6mm safety eyes
- scissors
- embroidery thread or lightweight yarn in Black
Abbreviations
- st(s) – stitch(es)
- sl st – slip stitch
- ch – chain stitch
- sc – single crochet
- inc – increase: work 2 sc in same st
- dec – decrease: work 2 sc together
- BLO – back loop only
- sc3tog – work 3 sc together using same method as the dec. Just pick up an extra stitch.
Pattern Notes
- Rounds in mountain are worked in continuous rounds.
- Eyes are placed approximately 1.0-1.25 inches apart.
- Amigurumi can be closed using this technique.
Amigurumi Mountain Instructions
SMALL PEAK
- Worked in continous rounds.
- Start with C1.
Round 1: Work 6 sc into a magic circle. Join to first sc with sl st. (6)
Round 2: Work [1 sc, inc] 3x around. (9)
Round 3: Work 1 sc in each st around. (9)
Round 4: Switch to MC. Work [2 sc, inc] 3x around. (12)
Round 5: Work [3 sc, inc] 3x around. (15)
Fasten off with a long tail.
LARGE PEAK
- Worked in continous rounds.
- Start with C1.
Round 1: Work 6 sc into a magic circle. Join to first sc with sl st. (6)
Round 2: Work [1 sc, inc] 3x around. (9)
Round 3: Work 1 sc in each st around. (9)
Round 4: Work [2 sc, inc] 3x around. (12)
Round 5: Switch to MC in the middle of the round as indicated. Work [C1: 4 sc | MC: 3 sc | C1: 3 sc | MC: 2 sc]. (12)
Round 6: Work [C1: 3 sc | MC: inc, 3 sc, inc | C1: 1 sc | MC: 2 sc, inc]. (15)
Round 7: Work [MC: 1 sc | C1: 1 sc | MC: 13 sc]. (15)
Round 8: Worked all in MC from here onwards. Work [4 sc, inc] 3x around. (18)
Round 9: Work [2 sc, inc] 6x around. (24)
Round 10: Work 1 sc in each st around. (24)
Round 11: Work [3 sc, inc] 6x around. (30)
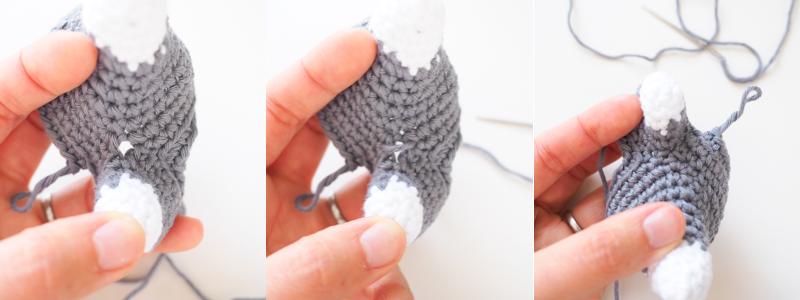
Round 12: Insert hook into next st on SMALL PEAK, join to LARGE PEAK with sc. Work 14 more sc around SMALL PEAK. Insert hook into next st on LARGE PEAK, join to SMALL PEAK with sc. Work 29 more sc around LARGE PEAK.
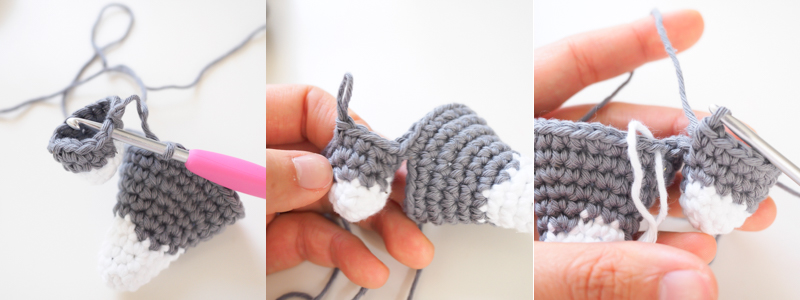
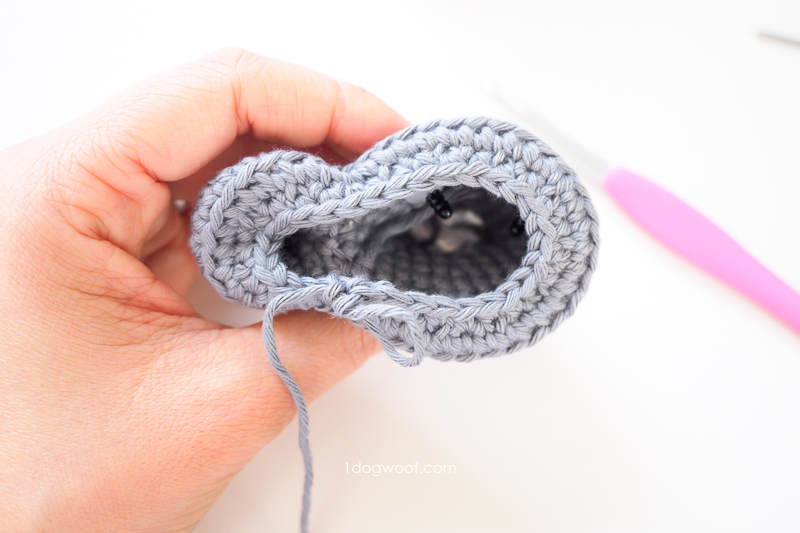
Round 13: Sk 1, work 14 sc around SMALL PEAK. Sk 1, work 29 sc around LARGE PEAK. In photo below, skip the st where the white yarn indicator is, and work into the st where the needle is.
Round 14: Work 1 st in BLO of each st around. (43)
- Take long tail from SMALL PEAK sew the gap between the 2 peaks closed. You can also use the tail to pull the two peaks closer together.
- Add eyes between Rounds 9 and 10.
- Sew mouth between Rounds 10 and 11, centered between the eyes.
- Stuff the tops of both peaks.
Round 15: Work [1 sc, dec] 4x, 2 sc, ]1 sc, dec] 9x, 2 sc. (30)
Round 16: Work 1 sc, 2 sc3tog, 2 dec, 2 sc, 7 dec, 3 sc. (17)
Round 17: Work 1 sc, 1 sc3tog, 2 sc, 5 dec, 1 sc. (10)
Round 18: Work 1 sc3tog.
Fasten off. Close the remaining stitches with amigurumi close.


I am on round 4 of the larger peak, and the stitch count goes from 9 to 12 with no increases – should there be increases on this round?