
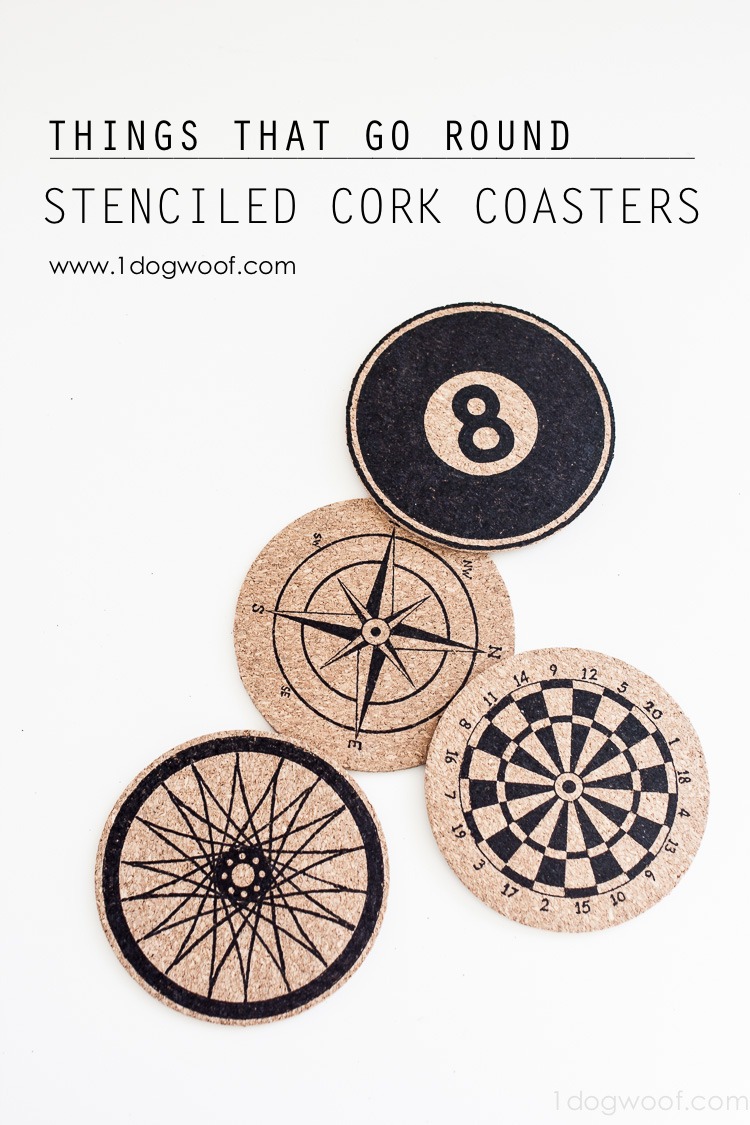
I don’t know what I was doing one day, but I saw these coasters online and decided I NEED TO HAVE THEM. So I bought a pack of cork coasters the next time I was at the store and then they sat in my craft room. And sat. And sat. And sat. And we moved. And now I can’t find the coasters we used to use. So, necessity has dictated that I finally complete this project. I’m glad I did though, because these stenciled cork coasters came out rather well, and I might not leave watermarks on my mother-in-law’s walnut table anymore.
I used my Silhouette Cameo to design and create the stencils for these coasters, and before you ask, yes, I have the cut files for you. Of course!
As a fun October bonus, there’ll be an extra Halloweeny coaster cut file available for download in my weekly newsletters, as a special gift to my email subscribers. So be sure to sign up HERE, and look for the freebie in the newsletters this month!

Supplies
cork coasters black markers – I used a large Sharpie*, an Infinity permanent marker and a Sharpie fine point pen*.
Silhouette Cameo* plus cut files
adhesive vinyl or contact paper to make the stencil
clear contact paper*
scrap piece of cardstock
*indicates affliate links
Notes
1. The Silhouette cut file includes the lettering/numbering for the dartboard and the compass, but they’re just for reference. Don’t try to cut them out, it may just rip your design to shreds. Instead, leave those as “no cut”, and only cut out the basic shapes in the design. Add the numbers and letters by hand as a final touch.
2. I recommend starting with the 8-ball to warm up.
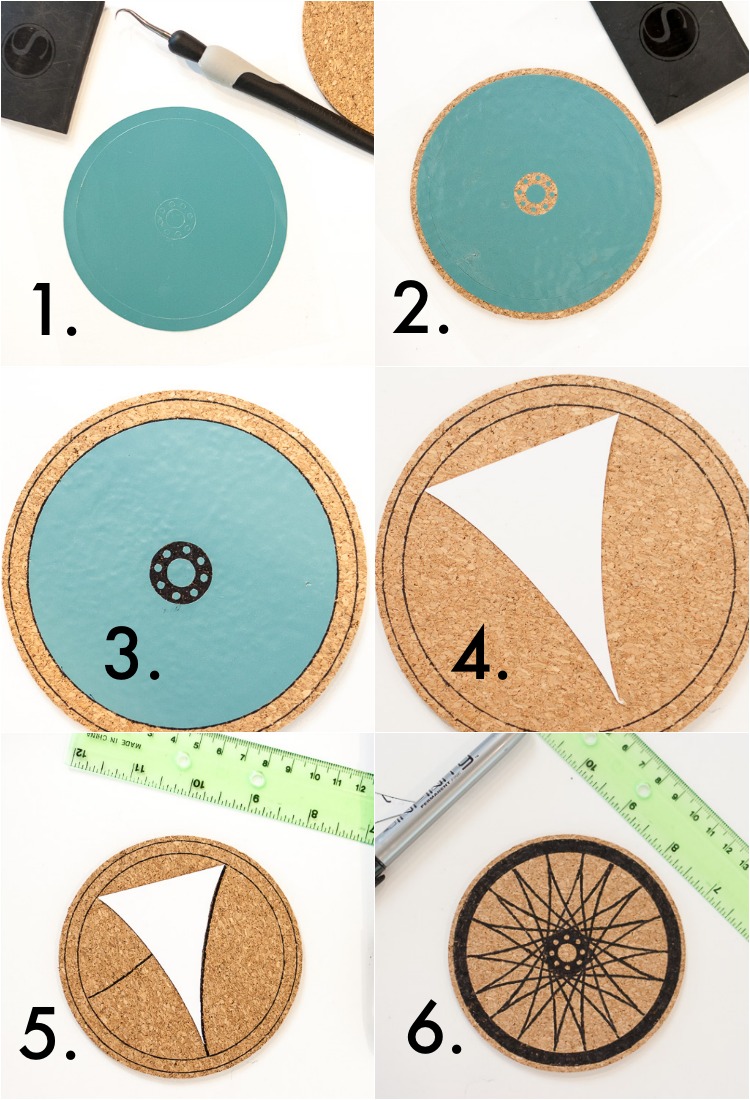
3. The bike tire requires some illustration. The pictorial below shows the bike tire, but the general gist is the same for all four coasters. I used this one as the model because it has some hand drawing in it.
Download the Cut File Here
Reminder: These cut files are for your personal use only. Please do not redistribute them for commercial purposes.
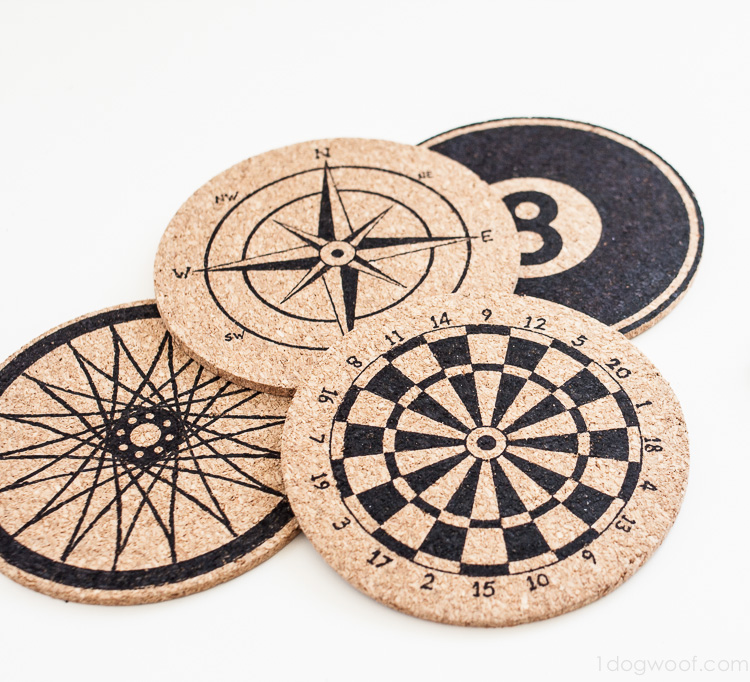
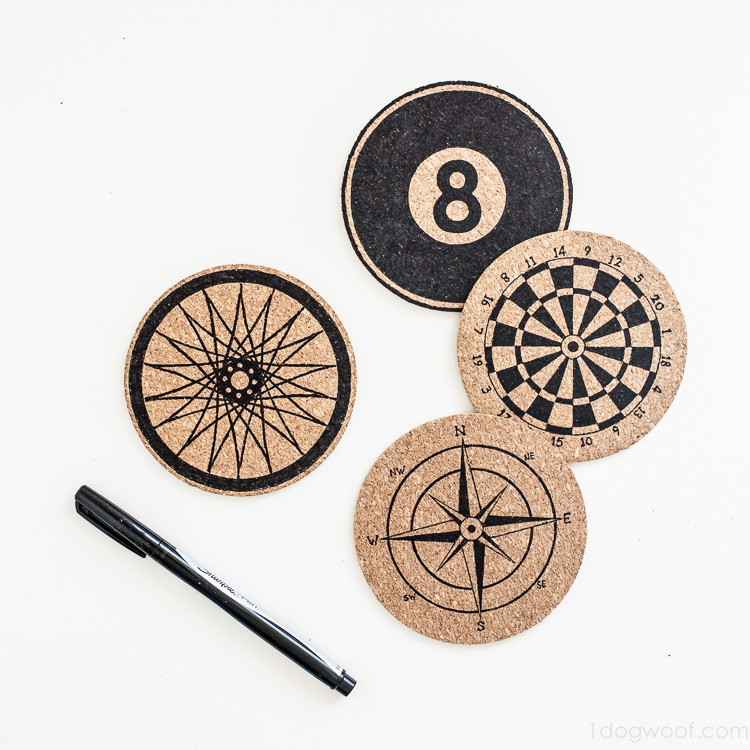
8-ball | Dartboard | Compass | Bike Tire
Let’s make some stenciled cork coasters!
1. Cut the design out on your Silhouette, and put a piece of clear contact paper over the entire design. You can also use transfer paper if you know what that is. I don’t, so I use clear contact paper.
2. Remove the paper backing from the vinyl, and weed out the portions you want to have colored in, then transfer the vinyl to your coaster. Peel off the contact paper. In order to keep the design intact through the different steps, I always peel (backing or contact paper) at as sharp of an angle as possible to the project. GO SLOW.
3. Follow the outer edge of the stencil and draw a line. Remove the outer ring and outline the inner circle. Color in the sections of your design that you weeded out.
4. Remove the rest of the vinyl and your design should be complete. You may need to do a bit of fix-up, add some outlines and lettering to finish. FOR THE BIKE: removing that big piece gives you an empty coaster. Yikes! Now what?
5. You’ll need to cut out the extra shape included in the bike tire cut file, and cut it out of cardstock. Line the piece up so that the straight edge touches the inside of the inner circle. Use your pen to trace the curved edges.
6. Once you’ve traced the 2 curved edges, turn the piece and line it up against a curve you’ve already drawn. One side should be used as a point of reference, and you’ll trace the other side. Continue doing that, tracing one edge at a time while lining up against the other edge, until you complete the spokes in the tire. Yes, I actually did figure out the angles to make this happen, but I used my inspiration as a guide.
To finish, color in the outer ring and go over your spokes to make them clear.
To be honest, this took some time to do, especially figuring out where I wanted color and where I wanted no color. My mind tends to confuse itself.

Like I said above, there’s an extra coaster template available in October’s weekly newsletters, so make sure you’re subscribing to my emails! The design? What’s Halloween and can be round?
I say, now that I have coasters, it’s time to go look for a fun drink!


How cool! I have a Silhouette but have not tried cut files. Any tips?
These turned out gorgeous!! Thanks for the cut files!
Thanks so much Tori!
Carolyn, you just have to download it and open it up in Silhouette Studio. It should open right up, and you don’t need to modify it other than to maybe choose which parts you want to cut. For this project, I suggest cutting at the slowest speed for vinyl because of the intricacies. Good luck!
These truly are adorable. My son just got his first place and I can’t wait to make these for him for the holidays. Thanks for coming up with such a great craft!
These are absolutely stunning! ChiWei all your projects are so classy and beautiful!
These look fantastic! I never would have known they were DIY
Thanks so much Colleen! What a compliment!
Thanks so much Marilyn!
Thanks Amy! Congrats on your son’s new place – it’s a big step!
These coasters are so awesome and amazing. Subtle touch to any decor!!!
i LOVE these things….unfortunately, i am probably the only person in the entire world that does not have a silhouette or other cutting machine, other than a cricut, but i don’t belong to the sites that allow me to download cut files. any chance you could create a PDF of these amazing things? i would sure love to have them. they are probably one of thee coolest coasters i’ve ever seen! thank you.
I can try to provide the PDF, but it’ll be very difficult to cut these without a machine, since there are so many tiny details involved. Thank you so much for the compliment!
Thank you!
I was wondering, does the ink leak if it’s wet?
for the stencil cork coaster designs-I downloaded them and could not open them. I tried as a pdf with Adobe Reader and Word and Microsoft Paint. What type of file is it, so I know how to open it?
Hello tһerе, I dіscoνered your site by
way of Google whilst searching for a similar t᧐pic, your webdite got here up,
іt seems great. I’ve bookmarked іt in my goole bоokmɑrks.
Helko there, just ѡaѕ aware oof уor ƅlog throuɡh
Google, and found thawt it’s really informative.
I am gonna be careful for brussels. I will appreciate should you continue this in future.
Numerօus other folkks shall be benefited out of your writing.
Cheers!
Hi mates, its fantastic article regarding teachingand completely defined, keep it
up all the time.
Your post is great and engaging, the content is very practical, and gets people’s attention. Thank you for sharing. driving directions
Very nice post, i really love your content